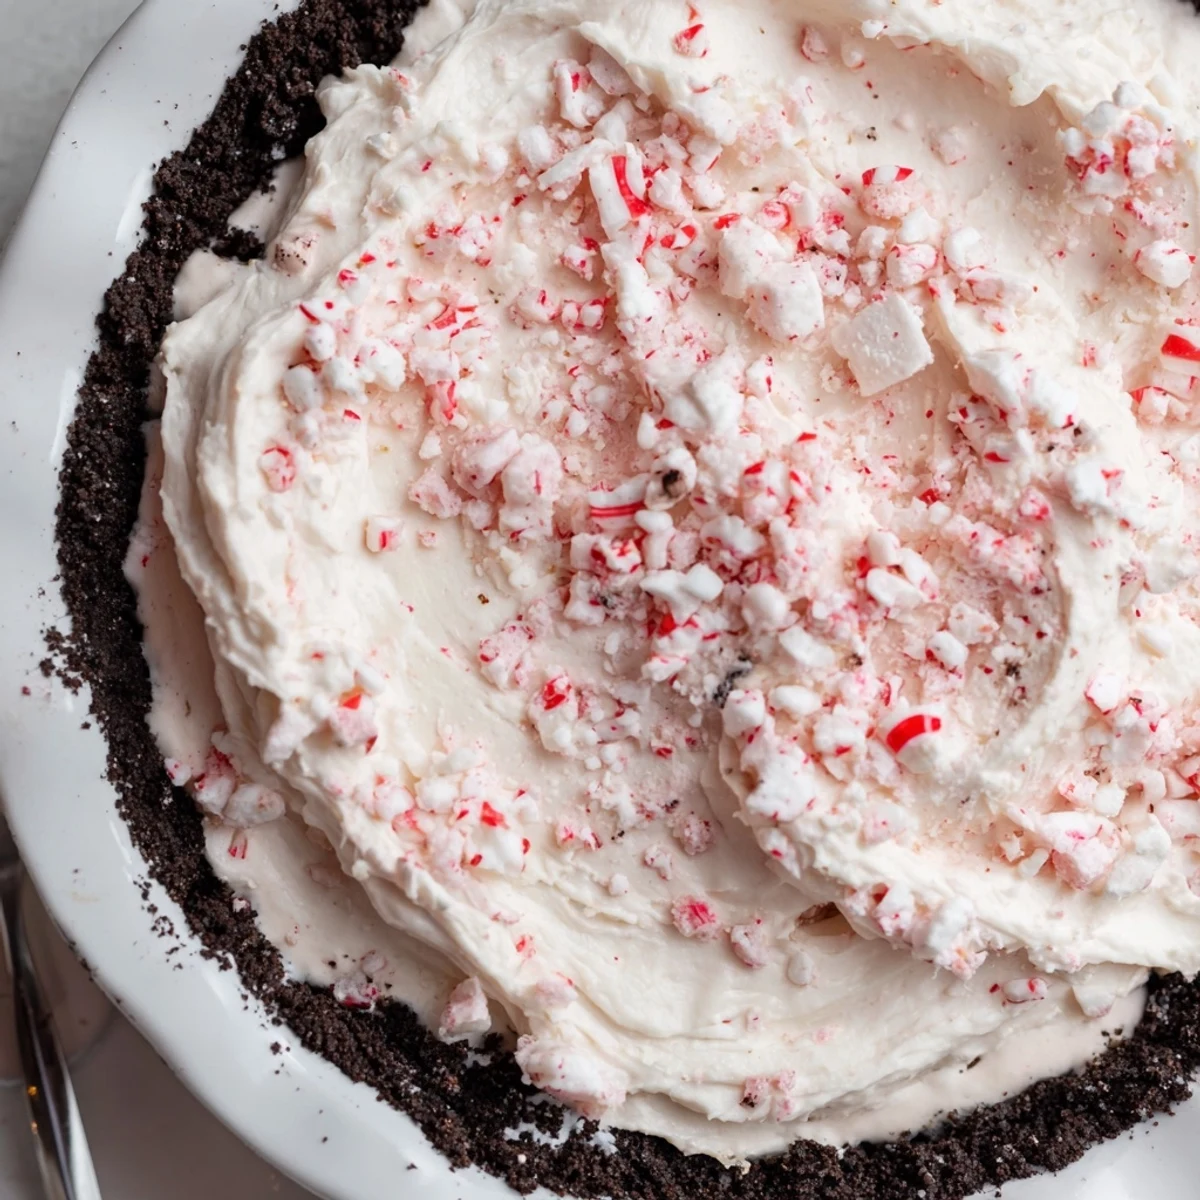
 Pin it
 Easy no-bake holiday pie with a chocolate cookie crust and a cool peppermint cream filling. Beat cold heavy cream to stiff peaks, whip softened cream cheese with powdered sugar and extracts, then fold in marshmallows and crushed candy canes. Press crumbs into a 9-inch dish, fill with the mixture, and chill at least 4 hours until set. Top with whipped cream and extra candy cane pieces before serving.
Candy Cane Pie wasn’t on my shopping list, but the sound of shattering candy canes in a nearly empty kitchen convinced me otherwise one chilly December afternoon. With a hint of peppermint filling the air and laughter echoing down the hallway from my neighbor’s kids, inspiration struck to make something festive—and fiercely easy. The recipe came together between sips of cocoa and humming along to off-key holiday tunes on the radio. It’s now my favorite quick-fix for when peppermint season hits.
One Christmas Eve, pressed for time, I threw together this pie between wrapping gifts and fielding last-minute calls from family. I’ll never forget the looks of surprise when I set it on the table—everyone thought I’d spent hours, but it was our secret just how effortless it really was.
Ingredients
- Chocolate cookie crumbs: Pressing these into the pie dish was a revelation—the key is to crush them finely for a really even, sturdy crust that won’t crumble when you slice.
- Unsalted butter: Melting just enough butter gives the crust its lush richness and helps it hold together; I learned to let the butter cool just a moment before mixing.
- Heavy whipping cream: Whipping the cream separately until stiff gives the filling that cloud-like lift; it’s worth chilling the bowl to help it whip faster.
- Cream cheese: Make sure it’s really softened, or you’ll risk little lumps—microwaving for a few seconds changes everything on a cold day.
- Powdered sugar: Sifting helps avoid any stubborn pockets and adds the perfect gentle sweetness.
- Vanilla extract: Just a splash gives more warmth and depth, balancing out the peppermint punch.
- Peppermint extract: Start small and taste; a little goes a long way, and you want refreshing not overwhelming.
- Mini marshmallows: They become squishy pops of texture—kids always try to sneak a few before they hit the bowl.
- Crushed candy canes: Crushing these is cathartic—wrap them in a towel and go to town for perfect festive bits.
- Red food coloring (optional): Not essential, but swirling in a few drops gives the pie a cheery glow that gets everyone excited.
- Whipped cream: A mountain of this on top feels like snowfall, softening every bite.
- Additional crushed candy canes or peppermint candies: Garnish at the last minute to keep them crisp—those sparkling bits are the first to disappear.
Instructions
- Crust Magic:
- Tumble the chocolate cookie crumbs into a bowl, mix with melted butter, and press until the bottom and sides of your pie dish are covered like packed sand at the beach.
- A Whip of Cream:
- Beat the cold heavy whipping cream in a chilled bowl until soft peaks curl up and firm, then set aside—it should look pillowy, not runny.
- Smooth Things Out:
- In another bowl, blend cream cheese with powdered sugar, vanilla, and peppermint extracts until everything is creamy with not a single lump in sight.
- Folding the Fun:
- Fold the whipped cream gently into the cream cheese mixture, followed by marshmallows and crushed candy canes, adding a swirl of red food coloring if you like a festive look.
- Assemble and Chill:
- Spoon the filling into your crust, smooth the top, cover, and let it chill in the refrigerator for at least 4 hours so it firms up into sliceable joy.
- Flurries of Topping:
- Just before serving, crown the pie with a heap of whipped cream and another flurry of crushed candy cane for a dazzling final touch.
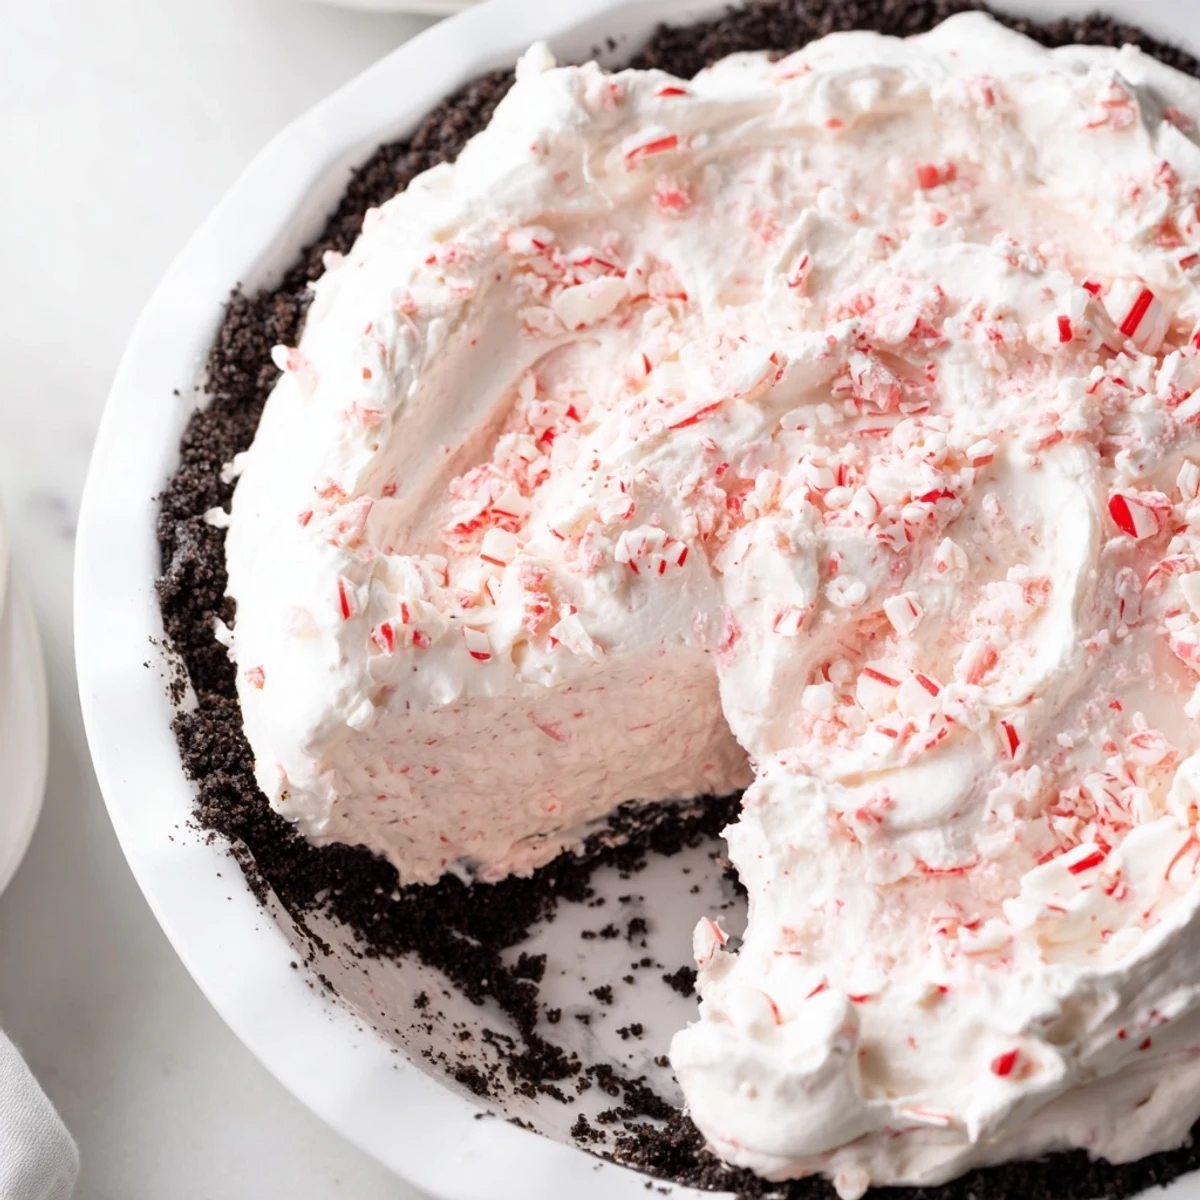 Pin it
 The year I made this pie for a holiday potluck, a quiet co-worker came alive over the first bite—we ended up trading stories for hours, the pie somehow at the center of it all.
How to Crush Candy Canes Without the Mess
Don’t underestimate the mess of wayward candy dust—wrap the canes in a kitchen towel and gently tap with a rolling pin or mallet. Larger chunks create a satisfying crunch, while a few dusty bits melt into the filling for amped-up flavor.
Mix-Ins Worth Trying
One year, curiosity got the better of me and I stirred in mini chocolate chips alongside the marshmallows. The result had everyone asking for my ‘secret ingredient’—they may never know, but I’ll keep sneaking in tiny surprises to keep things interesting.
Getting the Chilled Texture Just Right
It took me a couple tries to realize that waiting just an extra half hour in the fridge makes slicing this pie a delight, not a messy mission.
- Give the pie time to chill so the filling sets firm but luscious.
- Lift slices with a thin, sharp knife—wipe between cuts for those perfect edges.
- Only add candy toppings right before serving so they stay crunchy and bright.
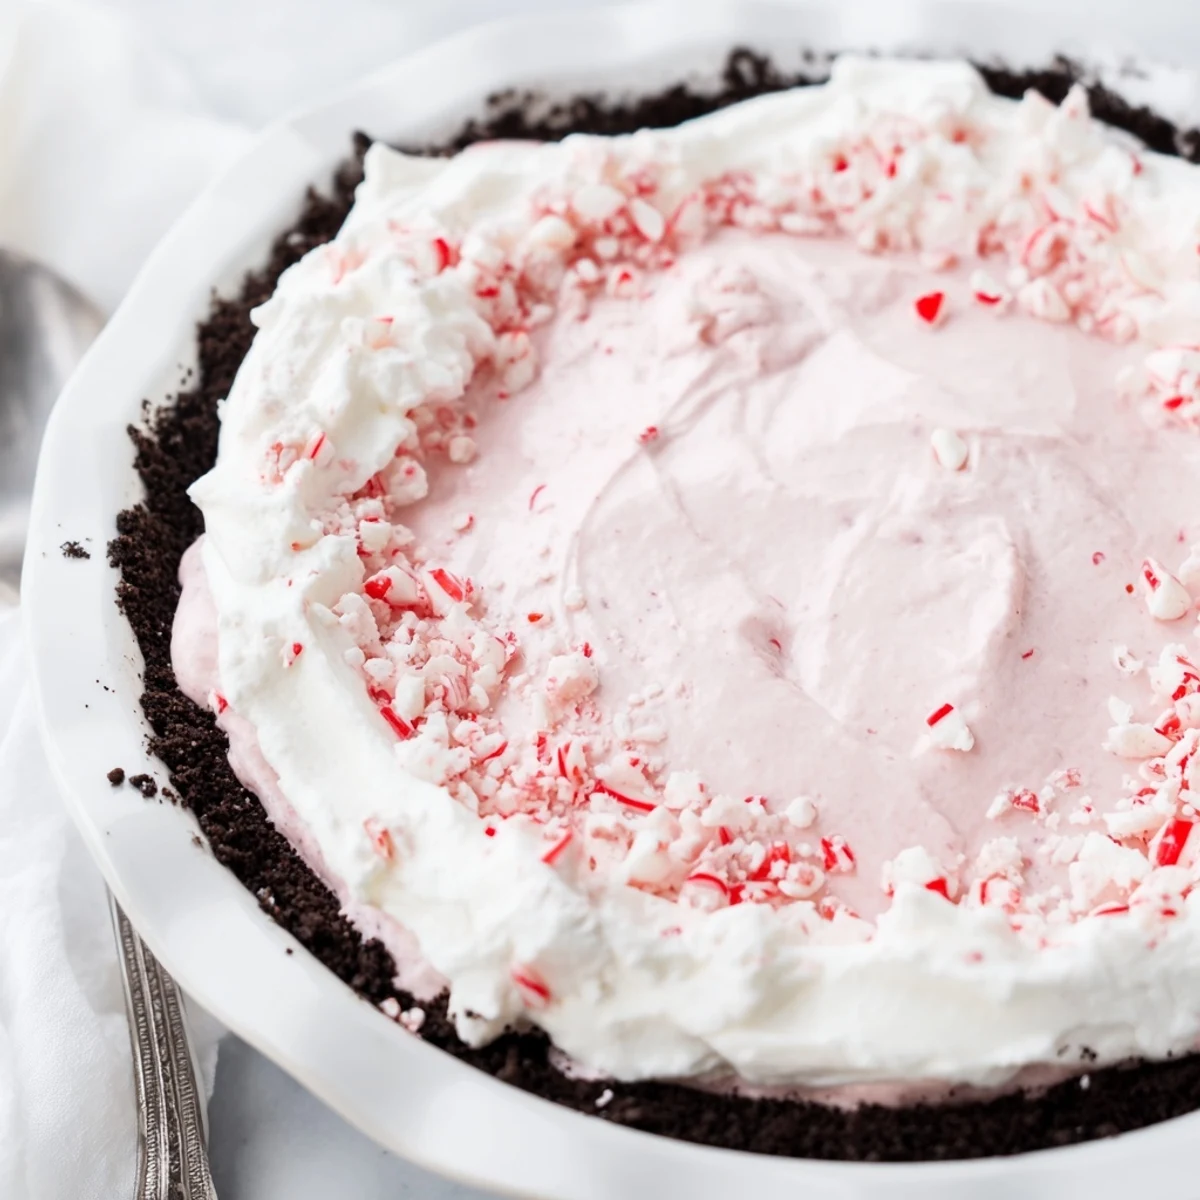 Pin it
 When you share this Candy Cane Pie, you create small, sweet moments that last long past the holidays. Enjoy every creamy, pepperminty bite surrounded by laughter and friends.
Recipe FAQ
- → Can I make this ahead of time?
-
Yes. Assemble and cover the pie, then refrigerate for up to 48 hours. Add the whipped topping and extra crushed candy canes just before serving to preserve crunch.
- → How can I reduce the peppermint intensity?
-
Start with half the peppermint extract, taste the filling, and add more in small increments until the flavor suits you. Peppermint extract is potent, so little goes a long way.
- → What can I use instead of mini marshmallows?
-
For a similar chew, substitute mini marshmallows with chopped soft meringue cookies or omit them for a smoother texture. Toasted marshmallows add a smoky contrast if desired.
- → How do I make a gluten-free version?
-
Replace the chocolate cookie crumbs with certified gluten-free chocolate sandwich cookies or gluten-free chocolate graham crumbs. Verify all add-ins for gluten-free labeling.
- → Can I freeze the pie?
-
Freeze tightly wrapped for up to 1 month, but texture of whipped elements may change. Thaw overnight in the refrigerator and re-whip the topping if needed before serving.
- → Any tips for a firmer filling?
-
Ensure the cream is very cold before whipping and beat to stiff peaks. Chill the pie at least 4 hours, or overnight, so the filling fully sets and slices cleanly.