 Pin it
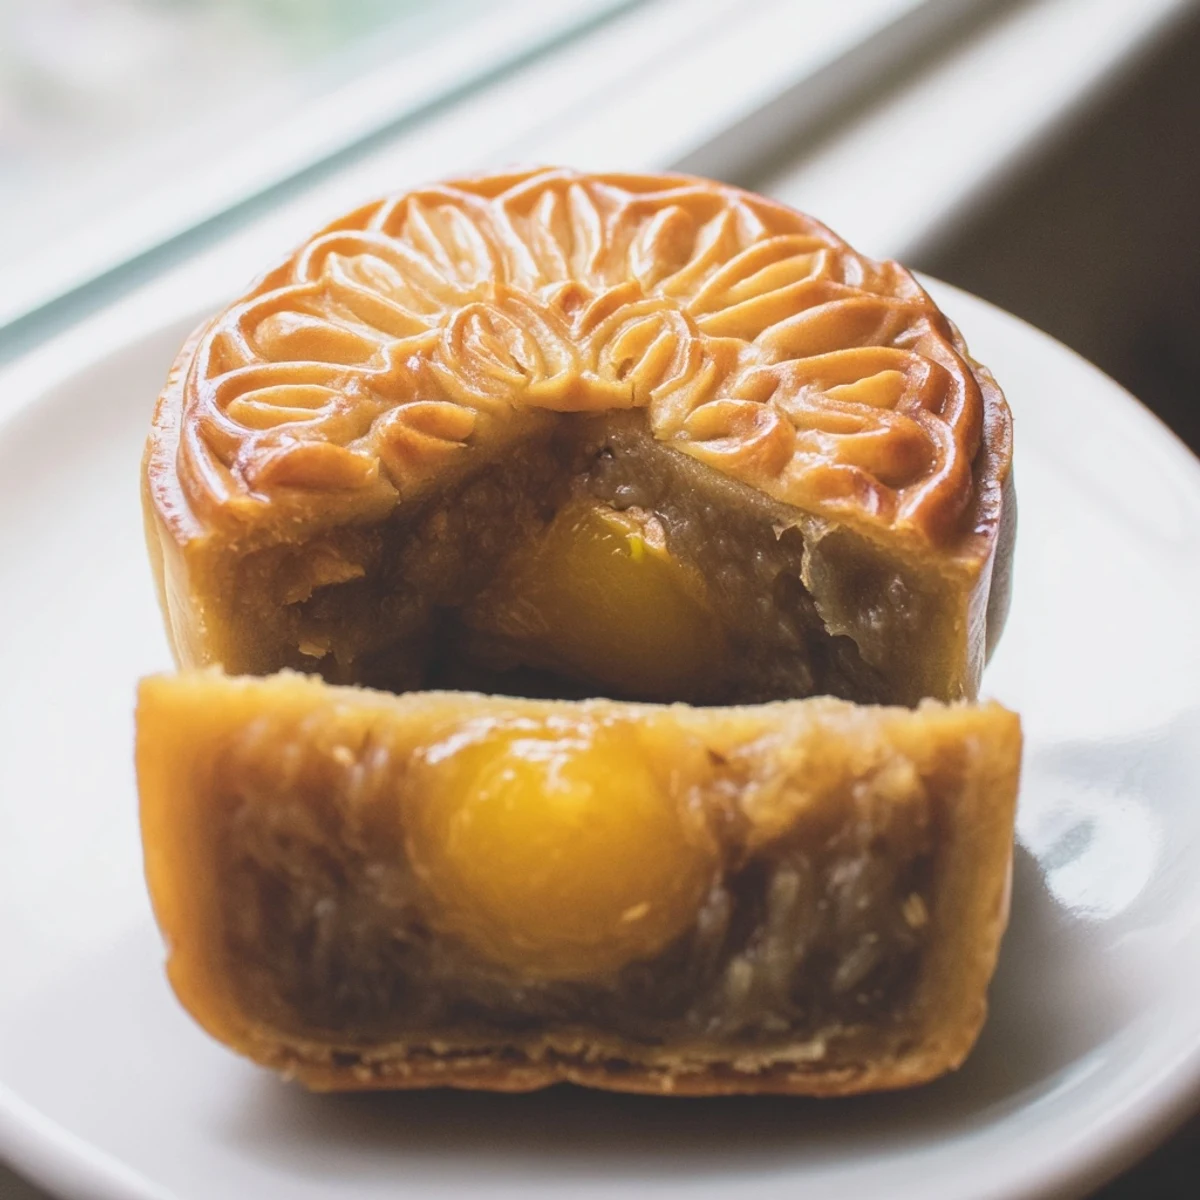
 Create these iconic Mid-Autumn Festival treats with a tender, golden pastry crust enclosing rich lotus seed paste. The dough combines golden syrup with alkaline water for that signature mooncake texture and color. Each piece can hold a whole salted egg yolk at its center, representing the full moon. After shaping in traditional molds, a brief initial bake sets the structure before an egg wash glaze creates the characteristic glossy finish. Allow these delicate pastries to rest for a day or two—the skin softens beautifully while the filling develops depth. Serve alongside Chinese tea for the complete authentic experience.
The first time I attempted mooncakes, my kitchen smelled like golden syrup and nervous anticipation. Id watched my grandmother press these intricate designs into dough every autumn, but her hands moved with decades of muscle memory I was desperately trying to replicate in one afternoon.
Last Mid-Autumn Festival, I brought a slightly lopsided batch to a neighborhood gathering. An elderly neighbor took one bite, eyes lighting up, and told me my mooncakes reminded her of the bakery she visited as a girl in Shanghai. That imperfect moment taught me that food carries memory far more precisely than any mold could.
Ingredients
- 200 g all-purpose flour: This forms the delicate shell that holds everything together, so measure carefully
- 120 g golden syrup: The traditional sweetener that gives mooncakes their signature amber hue and tender crumb
- 50 g vegetable oil: Keeps the dough pliable without overwhelming the subtle flavors
- 1 tsp alkaline water: This secret ingredient creates that distinctively springy texture and helps the dough develop that beautiful golden color
- 500 g lotus seed paste: The soul of the mooncake, though red bean paste works beautifully if you prefer something earthier
- 12 salted egg yolks: Optional, but that creamy savory center creates the most incredible contrast
- 1 egg yolk and 1 tbsp water: For that glossy finish that makes them look like they came from a bakery
Instructions
- Prepare your workspace and oven:
- Preheat to 180°C (350°F) and line your baking tray with parchment paper before you start
- Mix the wet ingredients:
- Combine golden syrup, vegetable oil, and alkaline water until the mixture turns smooth and glossy
- Form the dough:
- Add flour and mix until a soft dough forms, then cover and let it rest for 30 minutes
- Prepare the filling:
- Divide lotus paste into 12 portions and nestle a salted egg yolk inside each if using, shaping into smooth balls
- Portion the dough:
- Divide the rested dough into 12 equal pieces, keeping them covered while you work
- Wrap the filling:
- Flatten each dough piece into a disc, place filling in the center, and gently wrap until completely sealed
- Shape the mooncakes:
- Dust with flour, press into your mold, then invert onto the tray with a confident, quick motion
- Initial bake:
- Bake for 5 minutes, then remove and cool for 10 minutes before glazing
- Add the glaze:
- Whisk egg yolk with water and brush a thin, even layer over each cooled mooncake
- Finish baking:
- Return to oven for 15 to 20 minutes until golden brown, then cool completely
- Patiently wait:
- Store airtight for 1 to 2 days so the skin softens and the flavors meld together
 Pin it
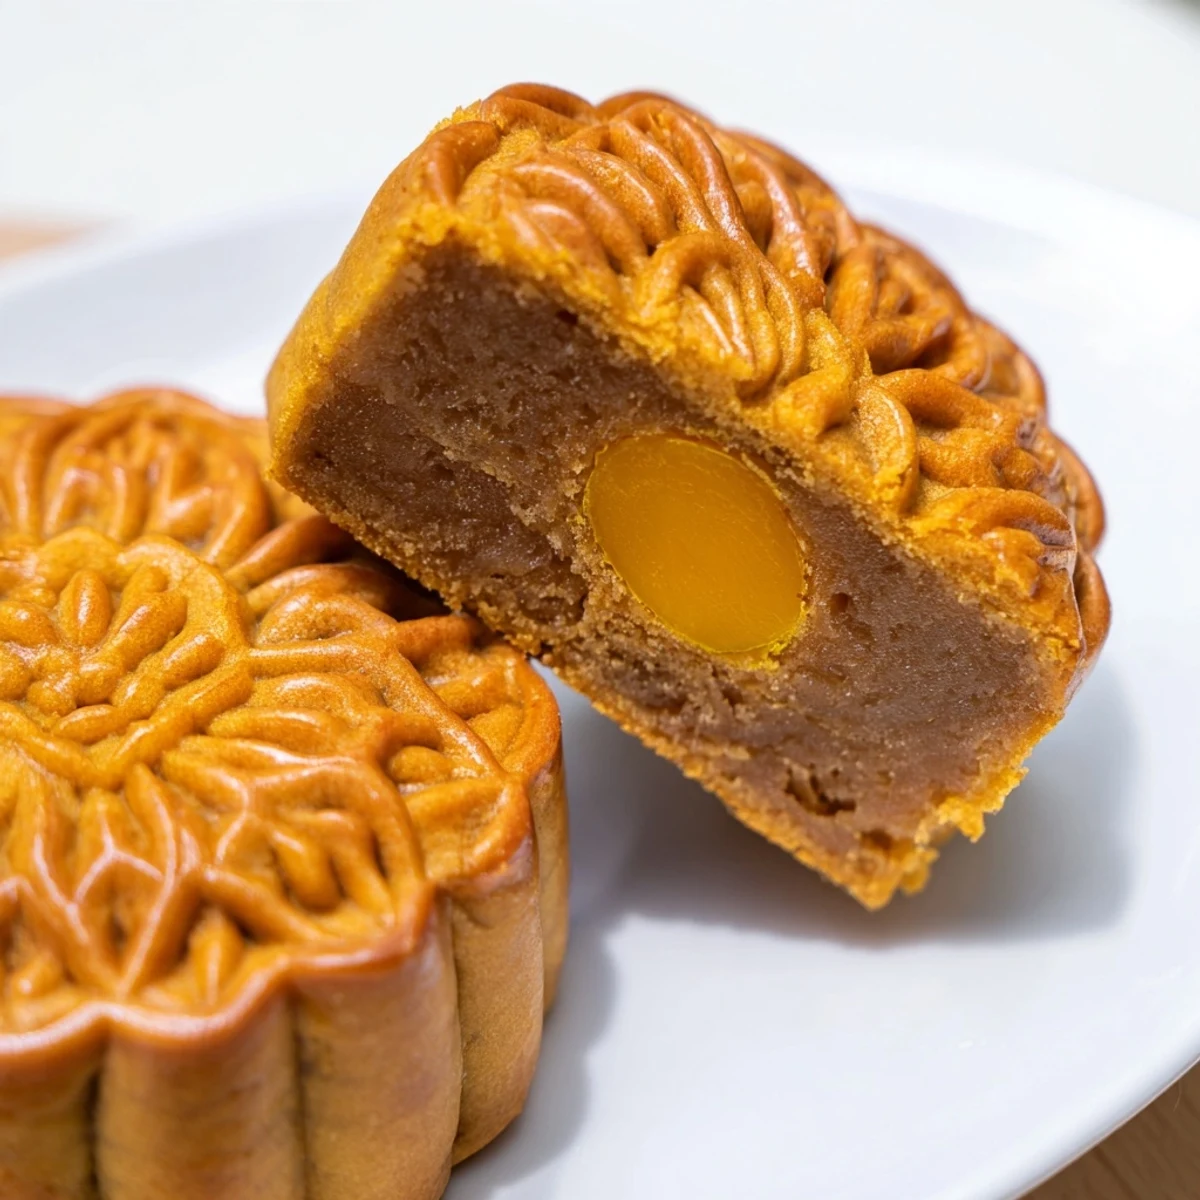
 My dad called me after his first mooncake, asking why store-bought ones suddenly tasted so flat. Id never seen him care about pastry before, but there he was, describing the texture like a wine connoisseur. Food has this way of connecting us to traditions we didnt know we were missing.
Getting That Perfect Design
Dust your mold generously with flour between each mooncake, or the dough will stubbornly stick and tear when you try to release it. A light tap against the counter helps the design release cleanly.
Filling Variations I Have Tried
Red bean paste creates a more rustic, earthy sweetness that my children actually prefer. Black sesame adds this gorgeous nutty complexity, while five-spice mixed into lotus paste gives you something unexpectedly sophisticated.
Serving and Storage Wisdom
Mooncakes taste dramatically better after that resting period, so resist the temptation to serve them immediately. The skin transforms from slightly crisp to impossibly tender.
- Slice thinly with a sharp knife, wiping the blade between cuts
- Pair with oolong or pu-erh tea to cut through the richness
- Share with someone who has never tried them before
 Pin it
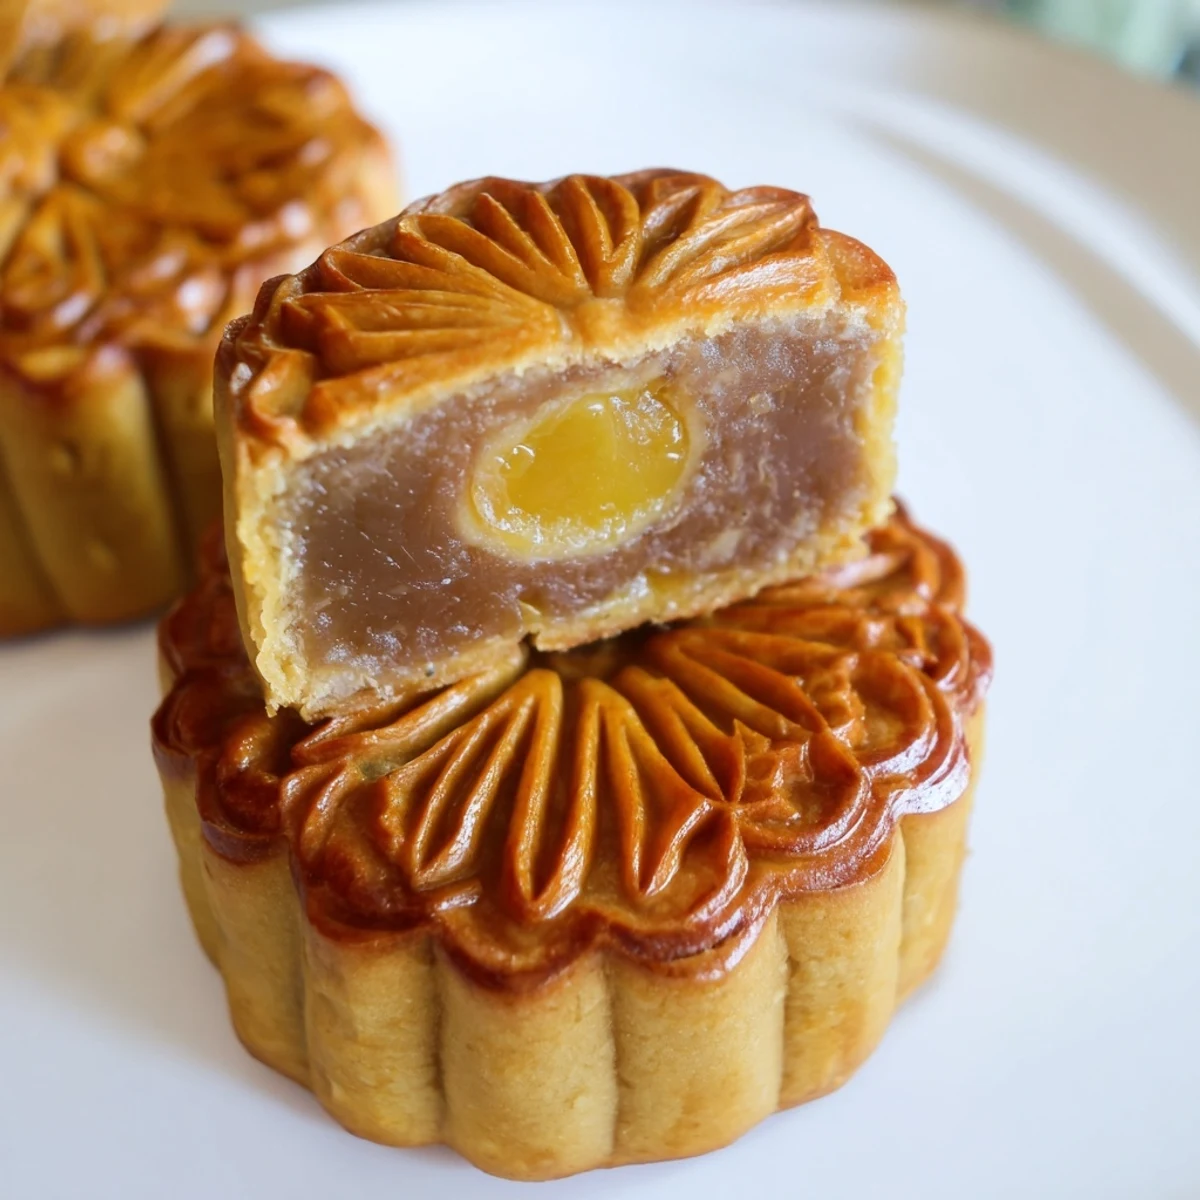
 However imperfect your first batch turns out, someone will remember it years from now. Thats the magic of sharing food.
Recipe FAQ
- → What is alkaline water and why is it needed?
-
Alkaline water, also called lye water, gives mooncakes their characteristic golden color and tender texture. It neutralizes the acidity in golden syrup while helping the dough develop that signature springy yet soft bite traditional to these pastries.
- → Can I make mooncakes without a mold?
-
While traditional molds create the intricate designs, you can shape by hand. Roll filled balls between your palms, then gently press with the bottom of a glass to flatten slightly. The taste remains the same, though you'll miss the beautiful patterned appearance.
- → Why do mooncakes need to rest before serving?
-
The resting period allows oil migration from the filling to soften the pastry skin. Fresh-baked mooncakes have a crisp texture, but after 1-2 days in an airtight container, the crust becomes tender and the flavors meld together properly. This is essential for the authentic eating experience.
- → What can I use instead of lotus seed paste?
-
Red bean paste makes an excellent substitute with its earthy sweetness. Black sesame paste offers a nutty flavor profile, while date paste provides natural fruitiness. Each alternative works with the same technique and proportions, letting you customize to your taste preferences.
- → How do I store mooncakes and how long do they last?
-
Keep in an airtight container at room temperature for up to two weeks. The flavor continues developing during storage. For longer keeping, refrigerate for up to a month, though this may affect texture. Bring to room temperature before serving for the best experience.
- → Why bake twice with cooling in between?
-
The initial short bake sets the pastry structure without browning. Cooling prevents the dough from puffing up when you apply the egg wash. The second baking creates that beautiful golden finish while cooking the pastry through completely. This technique ensures attractive, evenly-cooked results.