 Pin it
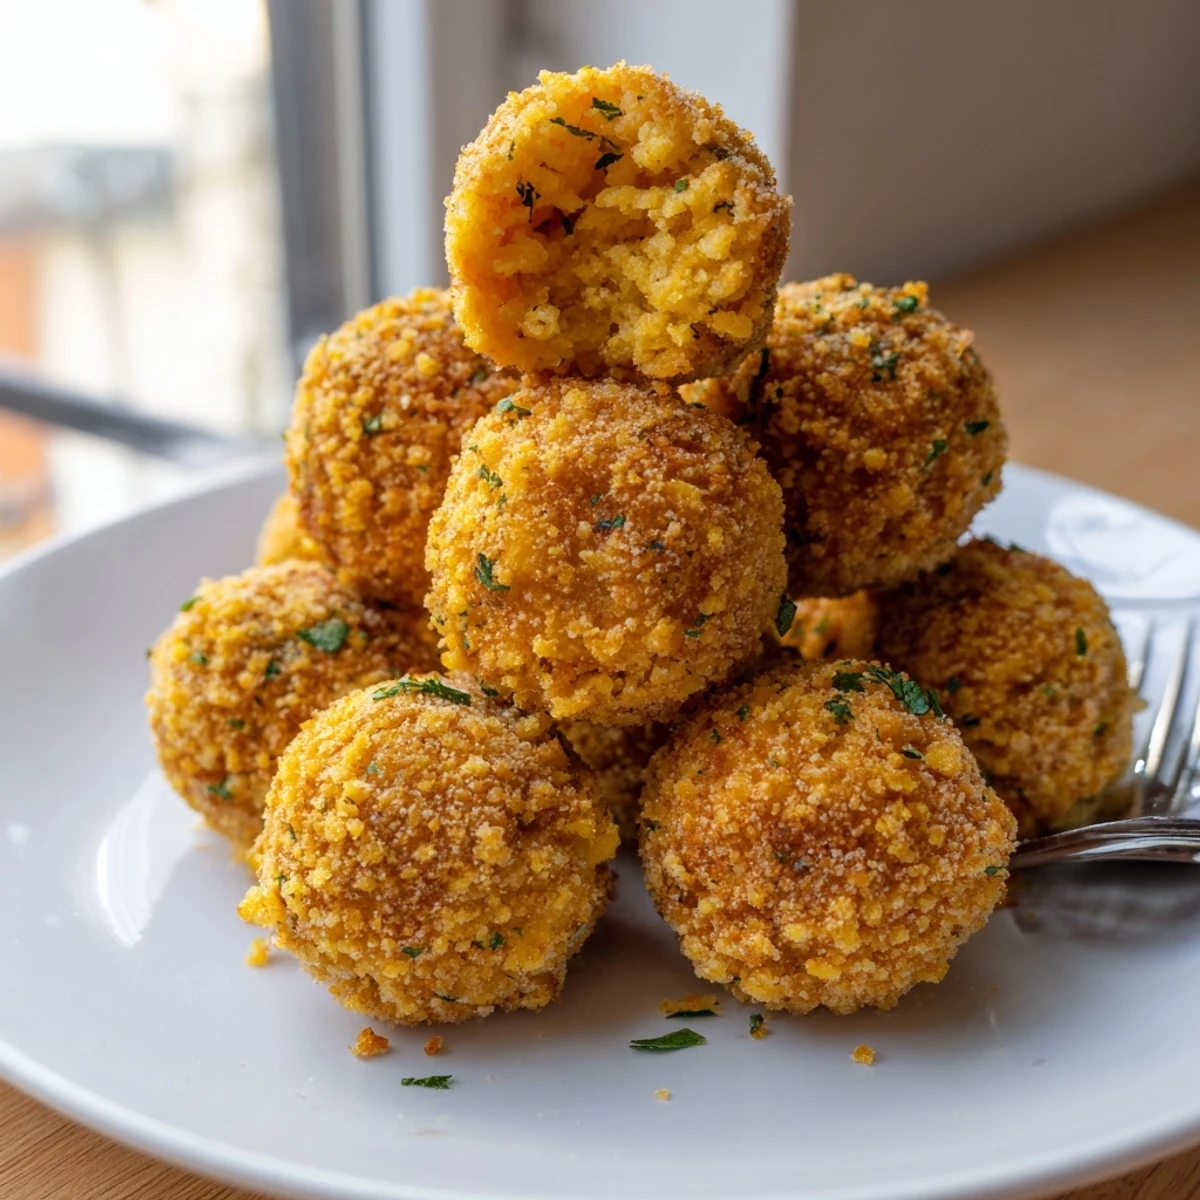
 These crispy cornbread balls feature a perfectly golden exterior with a tender, flavorful interior. Made from scratch with homemade cornbread, aromatic vegetables, sage, and thyme, each ball is coated in panko and fried until deeply crispy. The result combines the comfort of traditional Southern dressing with the irresistible crunch of a fried appetizer.
Preparation involves baking fresh cornbread, sautéing onions and celery with herbs, mixing everything into a cohesive blend, then forming and chilling the balls before breading and frying. The hands-on time allows the flavors to meld while the chilling step ensures they hold their shape during cooking.
These versatile bites shine as holiday appetizers, game day snacks, or alongside roasted meats. Serve with cranberry sauce or gravy for dipping. The vegetarian base can be enhanced with crumbled sausage if desired, and gluten-free adaptations are simple to achieve.
The smell of sage and butter hitting a hot skillet still takes me back to my grandmother's tiny kitchen, where she'd crowd around the stove with three of us grandkids, all trying to get the best spot to watch the onions turn translucent. She made dressing the traditional way every Thanksgiving, baked in a massive casserole dish with those coveted crispy corners everyone fought over. These little fried balls capture that same magic in bite-sized form.
Last year I brought these to a Friendsgiving potluck, and honestly, I wasn't sure if people would find the concept strange. Within ten minutes, the platter was empty, and my friend's husband was standing by the kitchen island trying to casually figure out if there were more hiding in the kitchen. Now they request them by name.
Ingredients
- Yellow cornmeal: The foundation of good cornbread, giving it that distinct gritty texture and sunny color
- Buttermilk: Creates tanginess and tenderness in the cornbread that regular milk can't quite achieve
- Sage and thyme: The classic Southern herb combination that immediately signals comfort and tradition
- Panko breadcrumbs: Extra airy and crunchy compared to regular breadcrumbs, creating that restaurant-quality exterior
- Vegetable broth: Keeps the mixture moist without adding overwhelming meat flavor, making it vegetarian-friendly
Instructions
- Bake the cornbread foundation:
- Cornbread needs to cool completely before crumbling, or it'll turn into a gummy mess rather than distinct crumbs. I usually bake it a day ahead and leave it uncovered on the counter overnight.
- Sauté the aromatic base:
- Let the onions and celery soften until they're almost melting, taking on that translucent look that means they've released all their sweetness into the butter.
- Combine everything:
- The mixture should hold together when you squeeze a handful, like damp sand that's ready for a sandcastle, but never so wet that it feels heavy.
- Form and chill the balls:
- Damp hands are absolutely essential here, and don't skip the chilling step—fifteen minutes in the fridge makes the difference between balls that hold their shape and ones that fall apart in the hot oil.
- Give them their crispy coat:
- Press the panko gently but firmly onto each ball, making sure every surface is covered for that satisfying crunch when you bite through.
- Fry until golden:
- Don't crowd the pan, and let them develop that deep amber color before turning—pale balls just don't have the same appeal or texture.
 Pin it
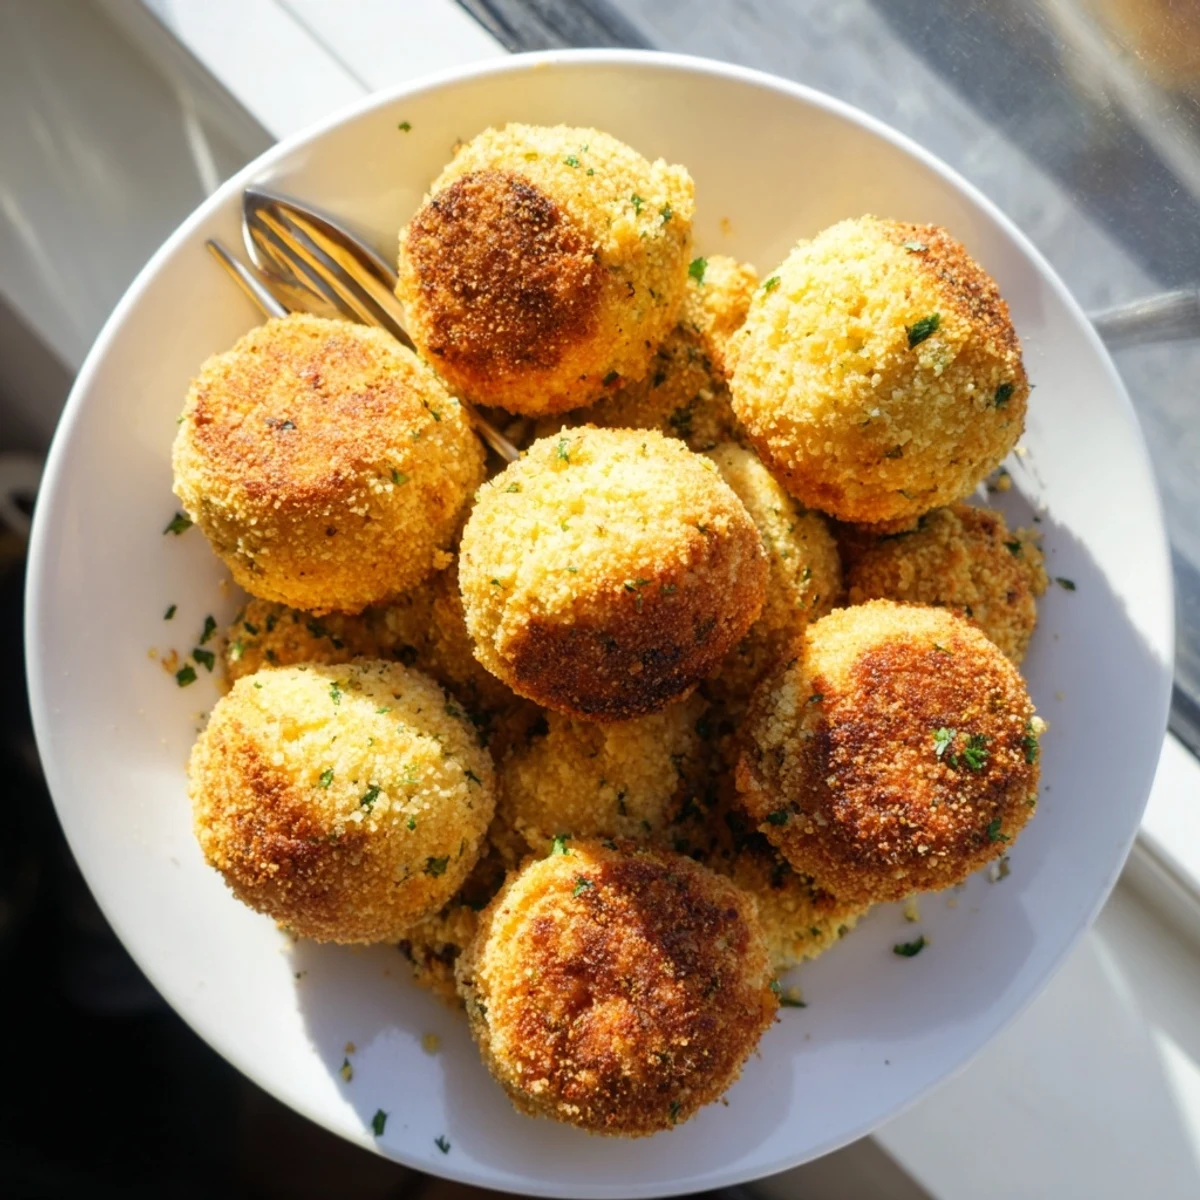
 My sister-in-law admitted she ate six of these standing at the counter while finishing up the gravy one year, and I honestly couldn't blame her. They're the kind of thing you reach for automatically while cooking, barely realizing you're eating until they're gone.
Make-Ahead Magic
You can form the balls and freeze them uncooked on a baking sheet, then transfer to a freezer bag. When you're ready, fry them straight from frozen, just adding an extra minute to the cooking time.
Serving Suggestions
These are excellent alongside a simple cranberry dipping sauce or warm gravy. I've also served them as hors d'oeuvres with a spicy honey mustard that cuts through the richness beautifully.
Recipe Success Secrets
The key is getting the moisture balance right in the cornbread mixture before forming. If it feels too dry, add another tablespoon of broth; too wet, and you'll need more breadcrumbs to bind it.
- Use a small ice cream scoop for perfectly uniform sizes
- Keep a thermometer clipped to your frying vessel for consistent results
- Season the frying oil with a pinch of sage for extra flavor
 Pin it
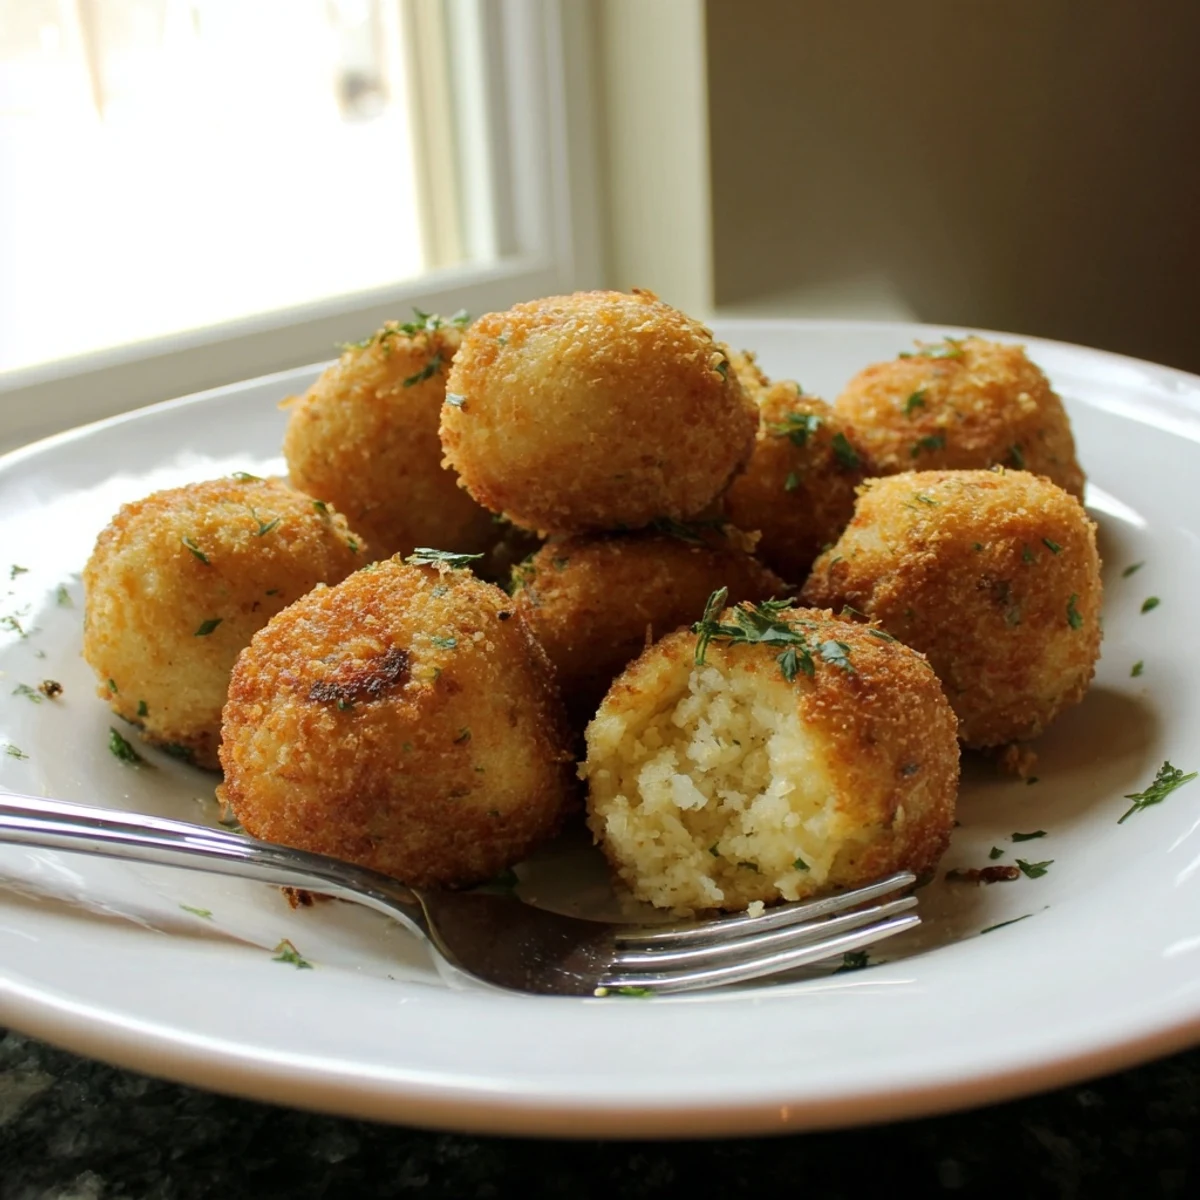
 Every time I make these, I'm reminded that some of the best cooking ideas come from taking something we already love and finding a new way to enjoy it.
Recipe FAQ
- → Can I make these ahead of time?
-
Yes, you can form and bread the balls up to 24 hours ahead. Store them covered in the refrigerator and fry when ready to serve. Leftovers reheat well in a 350°F oven for 10 minutes.
- → What's the best oil for frying?
-
Vegetable or canola oil works best due to their neutral flavor and high smoke point. Maintain the temperature between 350-375°F for optimal crisping without absorbing excess grease.
- → Can I bake instead of fry?
-
Baking yields a softer texture. Arrange breaded balls on a greased baking sheet and bake at 400°F for 15-20 minutes, turning halfway. Spray with oil for better color and crispiness.
- → How do I prevent balls from falling apart?
-
Chilling the formed balls for at least 15 minutes is crucial. The cold helps them set before breading. Also ensure your cornbread mixture is moist but not wet—it should hold together when squeezed.
- → Can I use store-bought cornbread?
-
Yes, but homemade provides better texture and flavor control. If using store-bought, avoid overly sweet varieties and crumble it thoroughly before mixing with the dressing ingredients.