 Pin it
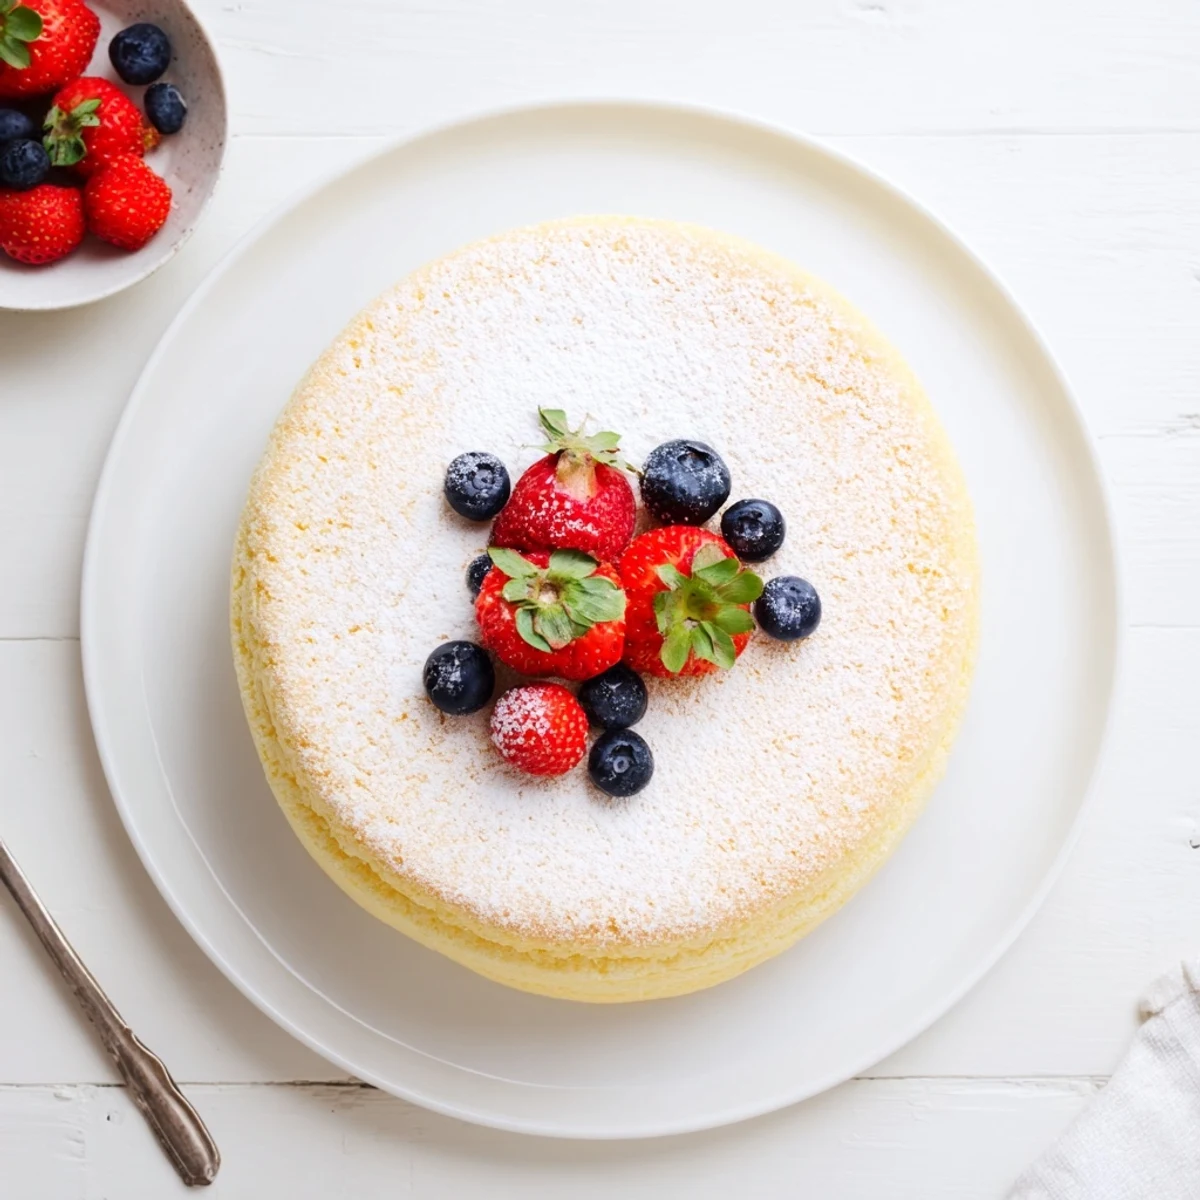
 This delicate Japanese-style cheesecake delivers a cloudlike, soufflé-inspired texture that simply melts away. The secret lies in properly beaten egg whites folded gently into a creamy base, creating that signature fluffiness. Using cake flour instead of all-purpose ensures the light, tender crumb, while the water bath method prevents cracking and maintains moisture throughout baking.
The result is a less-sweet treat perfect for those who prefer subtle desserts. Serve chilled with fresh berries and a dusting of powdered sugar for an elegant presentation.
The first time I saw a Japanese cheesecake, I thought it was a mistake. It rose so high in the oven, this magnificent golden cloud, only to collapse into the most tender wobble Id ever witnessed. My kitchen smelled like warm lemon and dreams while it baked, and I stood watching through the oven door like it was a television show.
I made this for my mothers birthday last spring, and she kept asking what kind of magic Id used. The way it jiggles when you move the plate makes everyone laugh before they even take a bite. We served it with strawberries, and honestly, it was the kind of dessert moment where the table goes quiet because everyone is just concentrating on how good it is.
Ingredients
- Cream cheese: Must be room temperature or youll get lumps in your batter
- Unsalted butter: Soft butter blends smoothly into the warm dairy mixture
- Whole milk: Creates that rich creamy base we need
- Cake flour: Essential for the light texture, all purpose flour makes it heavy
- Cornstarch: Helps stabilize the structure without weighing it down
- Granulated sugar: Divided use helps both the yolks and whites incorporate properly
- Salt: Just a pinch to balance all the sweetness
- Eggs: Room temperature eggs separate more easily and whip up better
- Lemon juice: Brightens the whole flavor profile beautifully
- Vanilla extract: Pure vanilla makes a difference you can taste
- Lemon zest: Optional but adds such lovely aromatic notes
Instructions
- Prep your pan perfectly:
- Line an 8 inch round cake pan with parchment on bottom and sides. Wrap the outside in foil like you are wrapping a precious gift because water will ruin everything if it seeps in.
- Melt the dairy base:
- Set a heatproof bowl over simmering water and melt cream cheese, butter, and milk together. Stir until it looks like a creamy white puddle, then let it cool slightly.
- Whisk in the dry ingredients:
- Sift flour, cornstarch, and salt together, then add them to the warm dairy mixture. Keep whisking until you cannot see any dry bits anymore.
- Add the yolks and flavor:
- Whisk in egg yolks, lemon juice, vanilla, and zest if you are using it. This mixture should be smooth, thick, and gorgeous.
- Make the meringue:
- Beat egg whites until foamy, then gradually add 70g sugar in three batches. Keep going until you have stiff glossy peaks that stand up tall when you lift the beaters.
- Fold them together gently:
- Start with one third of the meringue to lighten the batter, then carefully fold in the rest. Take your time here because deflated meringue means flat cake.
- Prep for the oven:
- Pour batter into your prepared pan and tap it on the counter to release trapped air bubbles.
- Set up the water bath:
- Place the cake pan in a larger roasting pan. Pour hot water into the roasting pan until it reaches halfway up the sides of your cake pan.
- Bake until golden:
- Bake for 60 to 70 minutes until the top is golden and a skewer comes out clean. Watch it rise like magic in that hot steamy bath.
- Cool slowly:
- Turn off the oven, crack the door open, and let the cheesecake rest inside for 15 minutes. This gradual cooling helps prevent cracks from forming.
- Chill completely:
- Let it cool completely in the pan before removing. Refrigerate for at least 2 hours because this cake needs to be fully cold to show off its perfect texture.
 Pin it
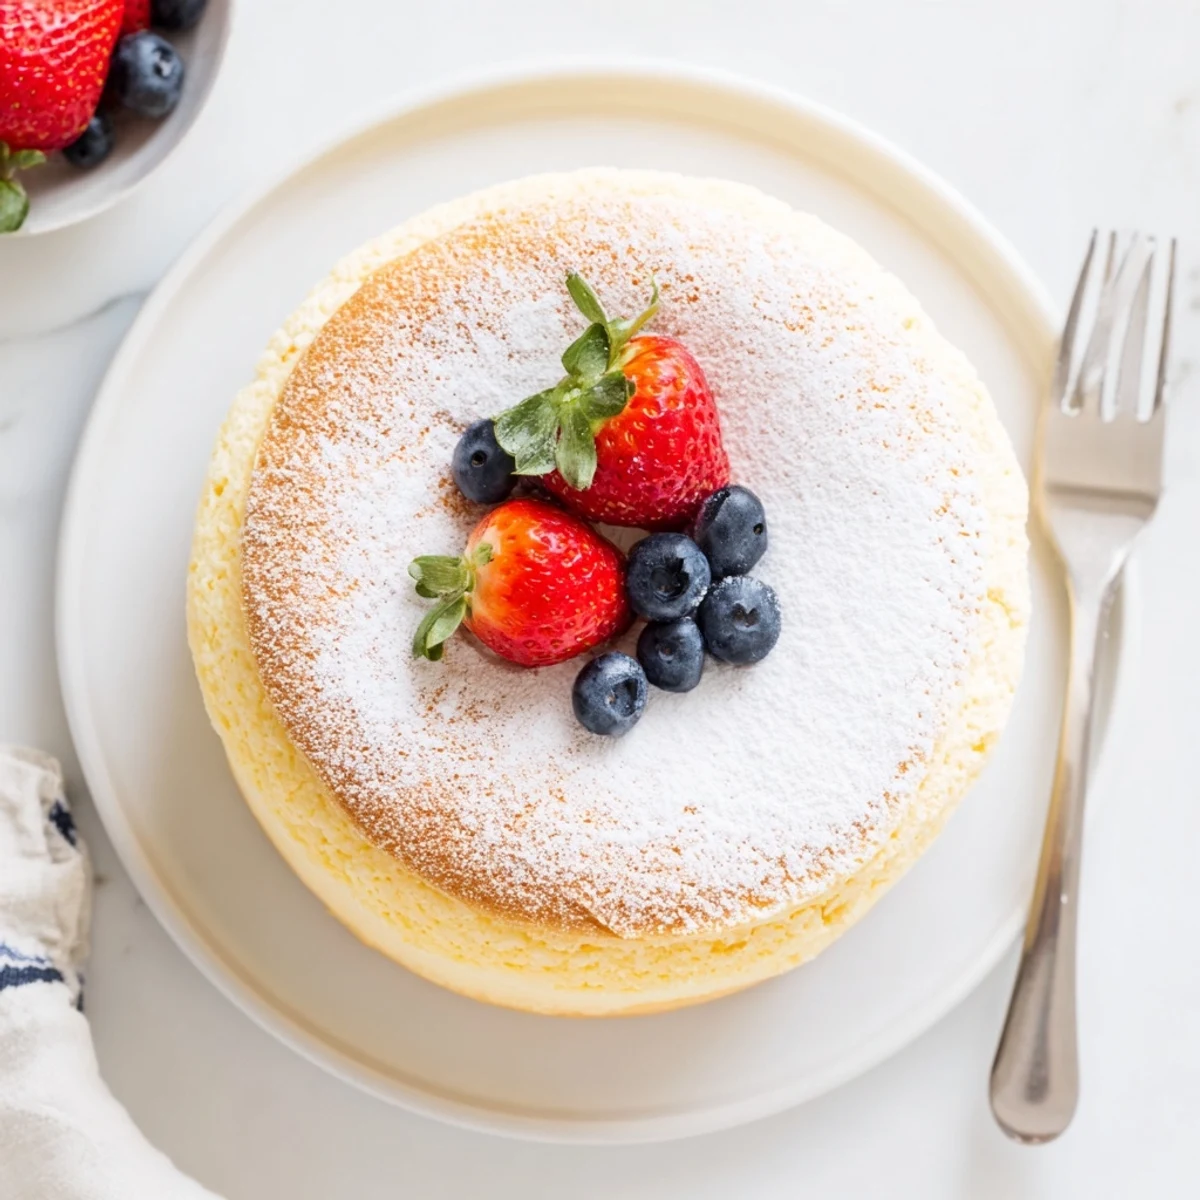
 This cake has taught me patience more than any other dessert. The first few times I tried making it, I rushed the folding process or opened the oven too early. The result was still edible but never quite achieved that legendary jiggly texture that makes this cake famous. Now I treat it like a meditation.
Getting The Perfect Rise
The meringue is everything here. When beaten correctly, those egg whites hold tiny air bubbles that expand during baking and create the signature soufflé like texture. Under beat them and your cake will be dense. Over beat them and they will fold in like dry chalky pieces. You want glossy peaks that curl slightly at the tip when you lift the whisk.
Water Bath Wisdom
I learned the hard way that wrapping the pan in foil is not optional. My first attempt ended up with a soggy bottom because water seeped through during baking. Now I use two layers of heavy duty foil and press it tightly around the pan edges. The gentle steam from the water bath creates that creamy moist interior while the outside bakes through perfectly.
Serving And Storage
This cheesecake actually improves after a night in the refrigerator. The flavors meld together and the texture becomes even more pudding like and delightful. It keeps well for 3 days covered in the fridge, though it rarely lasts that long in my house.
- Serve it slightly chilled for the best texture experience
- A dusting of powdered sugar right before serving makes it look elegant
- Fresh berries are the perfect accompaniment but never necessary
 Pin it
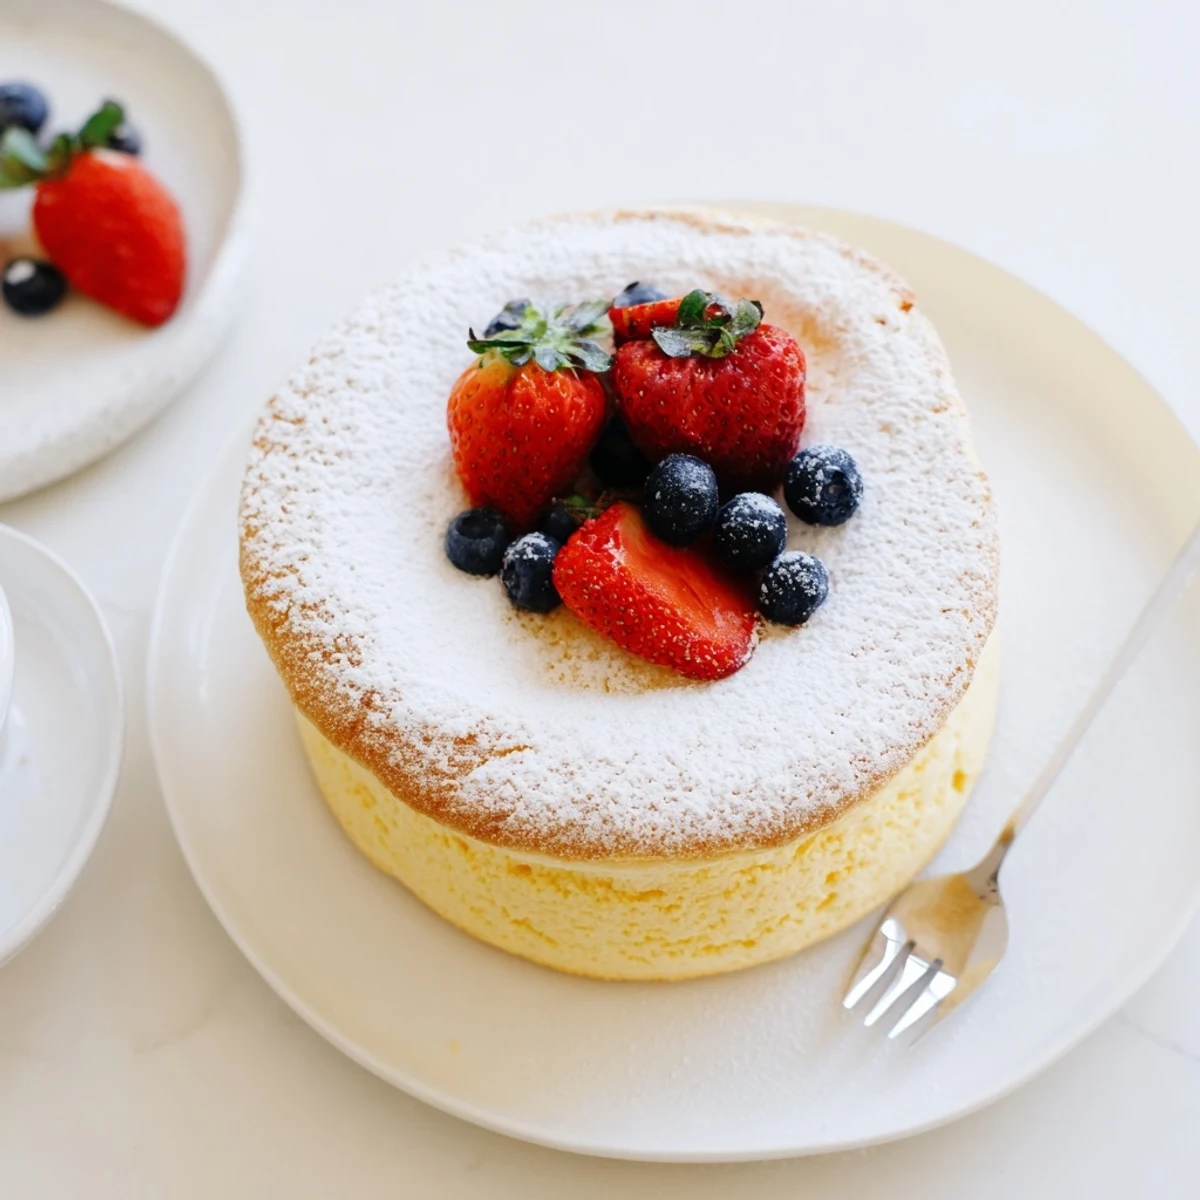
 There is something so satisfying about cutting into this jiggly golden cake and watching it wobble on the plate. It is not just dessert, it is a little bit of edible magic that never fails to make people smile.
Recipe FAQ
- → What makes Japanese cheesecake fluffy?
-
The fluffiness comes from incorporating stiff, glossy egg white peaks into the batter. This meringue adds air structure, creating the signature soufflé-like texture. Gentle folding is essential to maintain volume.
- → Can I use all-purpose flour instead of cake flour?
-
Cake flour is essential for achieving the light, airy texture. All-purpose flour has higher protein content which will result in a denser, heavier crumb that doesn't deliver the same delicate mouthfeel.
- → Why is a water bath necessary?
-
The water bath provides gentle, even heat distribution while maintaining moisture during baking. This prevents cracks from forming on the surface and ensures the cheesecake cooks evenly without drying out or becoming rubbery.
- → How do I know when the cheesecake is done?
-
The cheesecake is ready when it's golden, set around the edges, and slightly jiggly in the center. A skewer inserted into the middle should come out clean. The residual heat will finish cooking the center during the cooling period.
- → Why does my cheesecake crack?
-
Cracking usually occurs from rapid temperature changes or overbaking. Leaving the cheesecake in the oven with the door ajar after baking allows gradual cooling, preventing thermal shock. Using a water bath also helps maintain moisture and prevents surface cracks.
- → How long should I chill before serving?
-
Refrigerate for at least 2 hours, though overnight chilling yields the best texture and flavor. The cheesecake firms up nicely when cold and becomes easier to slice cleanly.