 Pin it
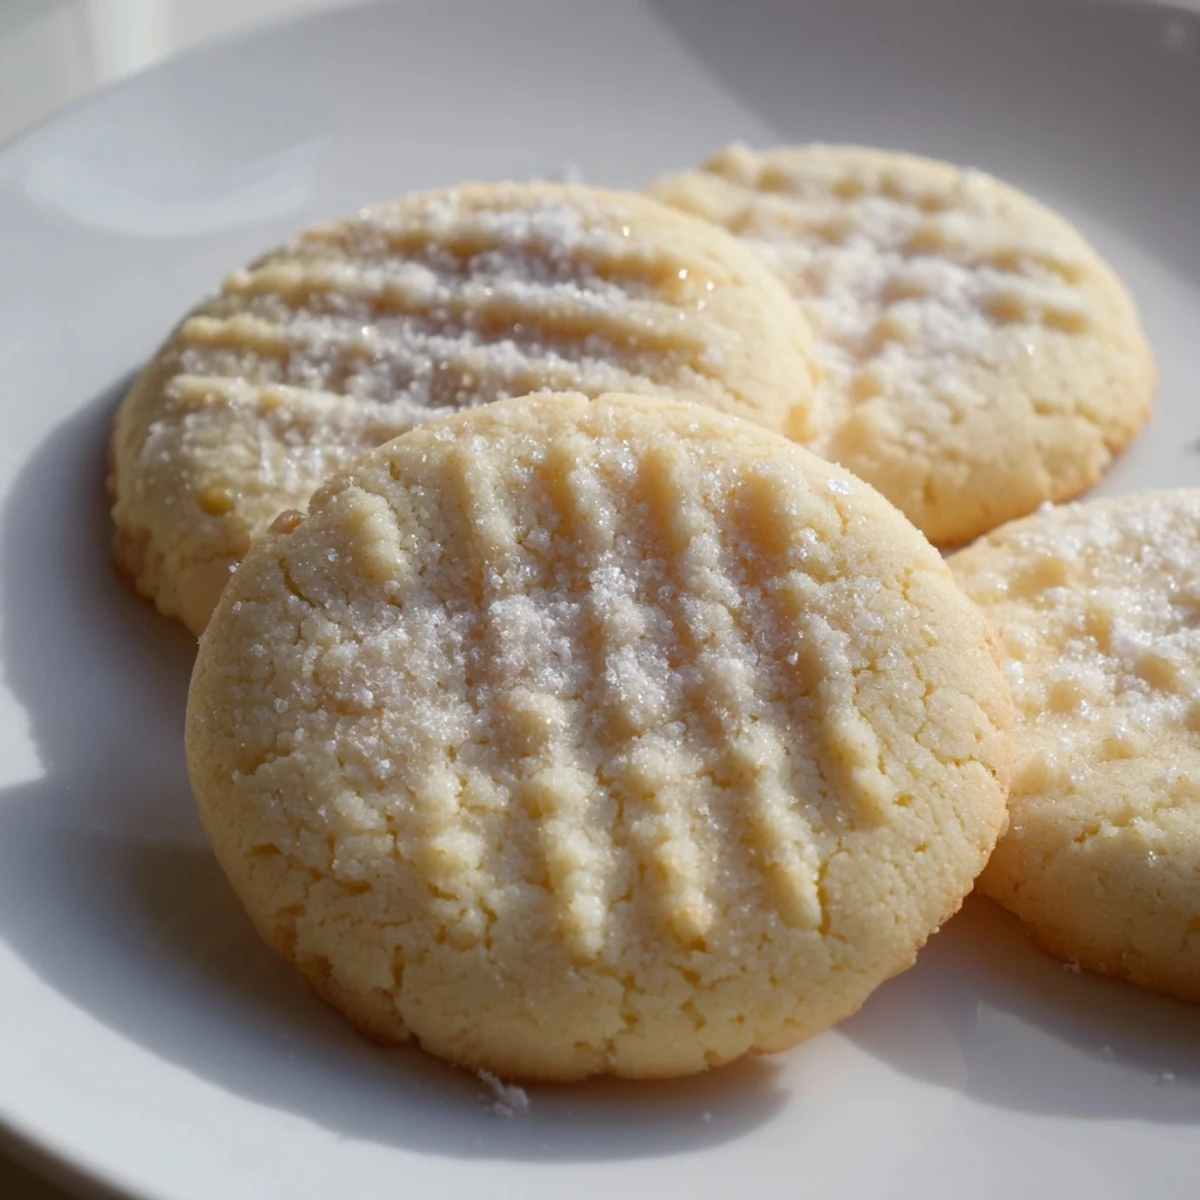
 Create tender, melt-in-your-mouth cookies with just five simple ingredients. These classic treats feature rich butter flavor and delicate sweetness that evokes nostalgic baking traditions. The dough comes together quickly, bakes in mere minutes, and yields approximately three dozen delightful cookies perfect for sharing or savoring slowly with afternoon tea.
The scent of vanilla and butter filled my tiny apartment kitchen last December, snow falling outside the window while I stood at the counter with dough-smeared hands. My grandmother had handed me this recipe on a faded index card during my last visit, her handwriting slightly shaky but precise. Those first few batches turned out like hockey pucks, but somewhere around batch four, everything clicked into place.
My brother walked through the door during that first successful batch, his nose twitching before he even took off his coat. We sat at the kitchen table until midnight, eating them warm from the rack while catching up on months of silence between us.
Ingredients
- 2 1/4 cups all-purpose flour: This creates the perfect tender crumb without turning tough, and weighing it at 280g ensures consistent results every time
- 1/2 teaspoon sea salt: A tiny pinch that balances the sweetness and actually makes the butter flavor pop forward beautifully
- 1 cup unsalted butter at room temperature: Use genuine butter here, nothing else compares to the flavor it gives these cookies, and letting it soften properly prevents frustrating mixing
- 3/4 cup granulated sugar: This amount hits that sweet spot where the cookies taste indulgent but still let the butter shine through
- 1 large egg yolk: Just the yolk adds richness without making the cookie too eggy or cakey in texture
- 2 teaspoons pure vanilla extract: Real vanilla makes such a difference here, warming the butter flavor with that comforting floral sweetness
- 1/4 cup powdered sugar for dusting: That pretty snowy finish makes them look bakery special, though the cookies are perfect without it too
Instructions
- Get your oven ready:
- Preheat to 350°F and line two baking sheets with parchment paper so you are ready to bake as soon as the dough is done
- Whisk the dry ingredients:
- In a medium bowl, combine the flour and salt until well blended, which saves you from overmixing later
- Cream the butter and sugar:
- Beat them together for about 3 minutes until the mixture turns pale and fluffy, creating those tiny air pockets that make cookies tender
- Add the yolk and vanilla:
- Mix them in until the dough looks smooth and glossy, scraping down the bowl to catch any flour pockets
- Bring the dough together:
- Gradually add the flour mixture, mixing just until you no longer see dry bits, because overworking makes tough cookies
- Shape the cookies:
- Roll tablespoonfuls into balls and place them 2 inches apart on your prepared sheets, giving them room to spread slightly
- Add that classic look:
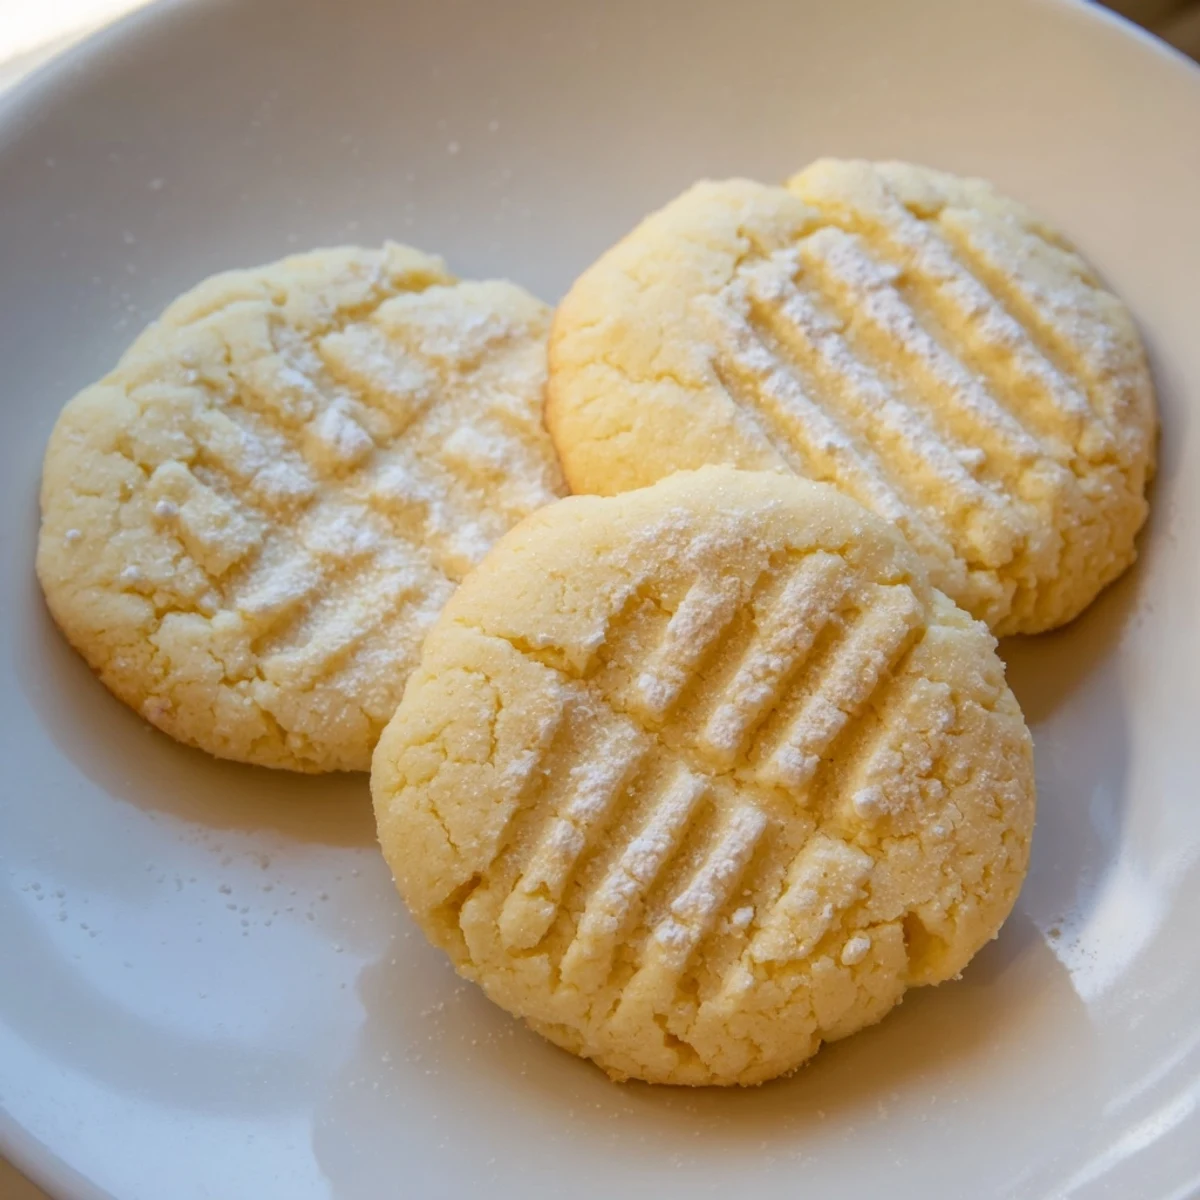
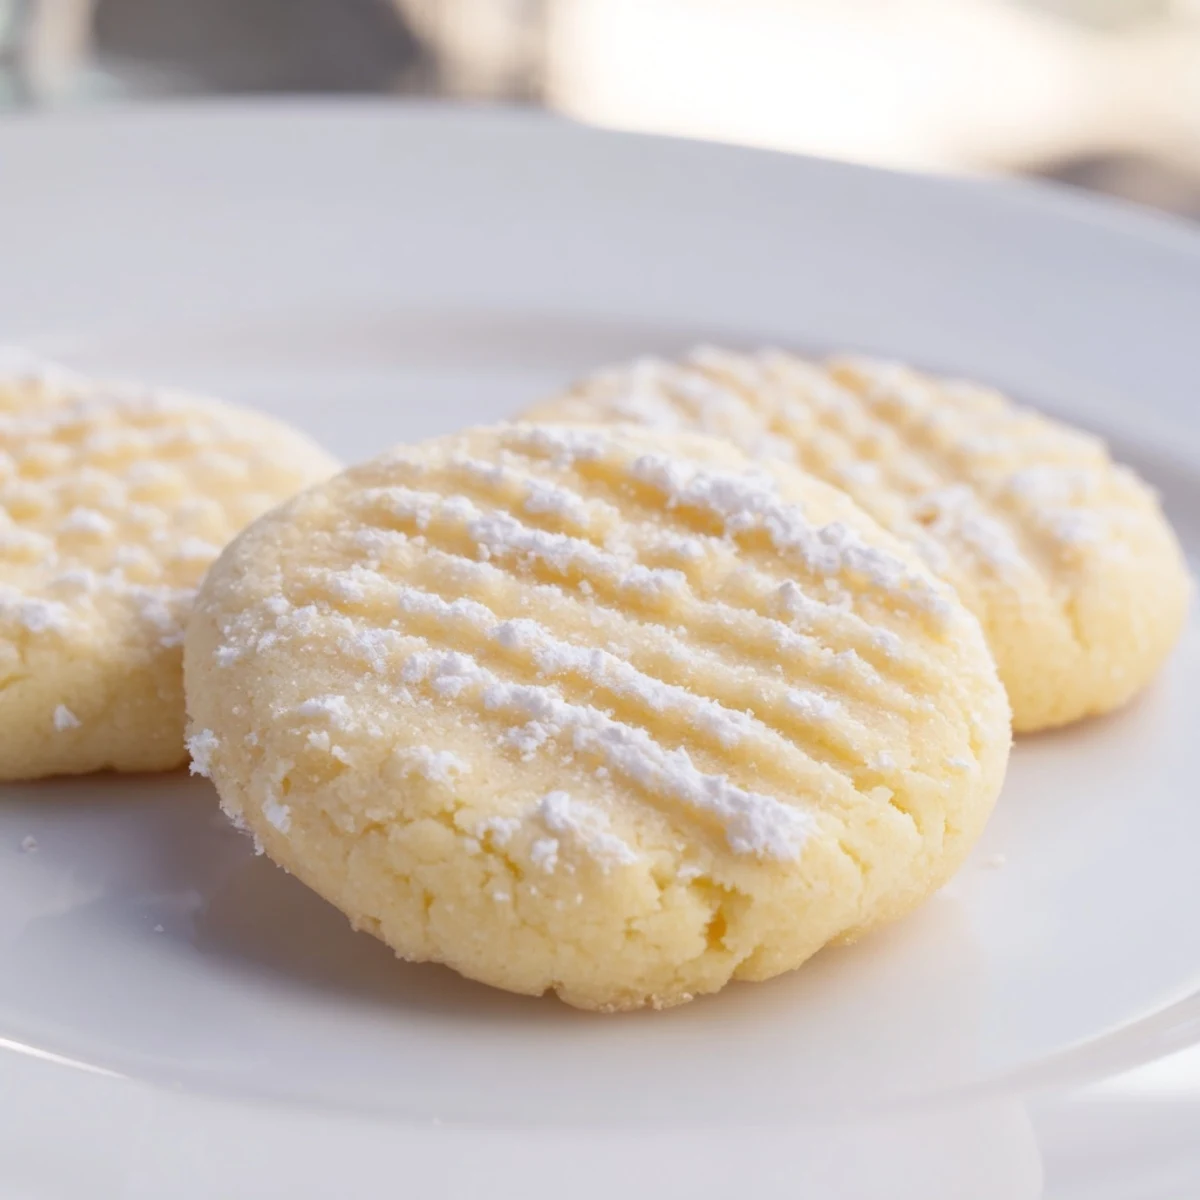
- Gently press each ball with fork tines or a glass bottom to flatten them slightly, creating those pretty ridges
- Bake to golden perfection:
- Bake for 10-12 minutes until the edges just start turning golden, keeping a close eye because they go from perfect to overbaked quickly
- Let them rest briefly:
- Cool on the baking sheet for 5 minutes so they set up without breaking, then move to a wire rack
- Finish with a snowfall:
- Dust the cooled cookies lightly with powdered sugar if you want that extra special touch
 Pin it
 Last summer, my daughter insisted on helping me make these for her kindergarten bake sale. She stood on a stool, carefully pressing each ball with a fork, so proud of every slightly lopsided cookie.
Making Them Your Own
Sometimes I dip half of each cooled cookie in melted dark chocolate and sprinkle them with crushed pistachios for holiday gifts. The chocolate and butter combination is absolutely stunning together, and the nuts add this lovely crunch.
Storage Secrets
I have learned that these cookies actually taste better on day two, as the flavors have time to meld together. Store them in an airtight container and they will stay fresh for a whole week, though they never last that long in my house.
Baking Wisdom
After dozens of batches, I have picked up a few tricks that make these cookies foolproof every single time.
- Chill the dough for 15 minutes if it feels too soft or sticky to work with
- Rotate the baking sheets halfway through for even browning
- Let the butter soften naturally instead of microwaving it
 Pin it
 There is something profoundly satisfying about a recipe so simple yet so beloved, the kind that gets requested at every family gathering. I hope these cookies bring as much warmth to your kitchen as they have to mine.
Recipe FAQ
- → What makes these cookies so tender?
-
The high butter content combined with proper mixing technique creates a tender texture. Beating butter and sugar until fluffy incorporates air, while mixing flour just until dough forms prevents overdeveloping gluten, keeping cookies delicate.
- → Can I make the dough ahead of time?
-
Yes, the dough refrigerates well for up to 2 days. Wrap tightly in plastic wrap and let soften slightly at room temperature before rolling into balls. chilled dough may need 1-2 extra minutes baking time.
- → Why do my cookies spread too much?
-
Warm butter causes excessive spreading. Ensure butter is at room temperature (not melted or overly soft). If your kitchen is warm, chill the rolled dough balls for 15 minutes before baking to help them hold shape.
- → How should I store these butter cookies?
-
Keep in an airtight container at room temperature for up to one week. Place parchment paper between layers to prevent sticking. For longer storage, freeze unfrosted cookies for up to 3 months.
- → Can I use salted butter instead?
-
You can, but reduce the added sea salt to 1/4 teaspoon. Salted butter varies between brands, so taste your dough before baking and adjust accordingly. Unsalted butter provides more consistent results.