 Pin it
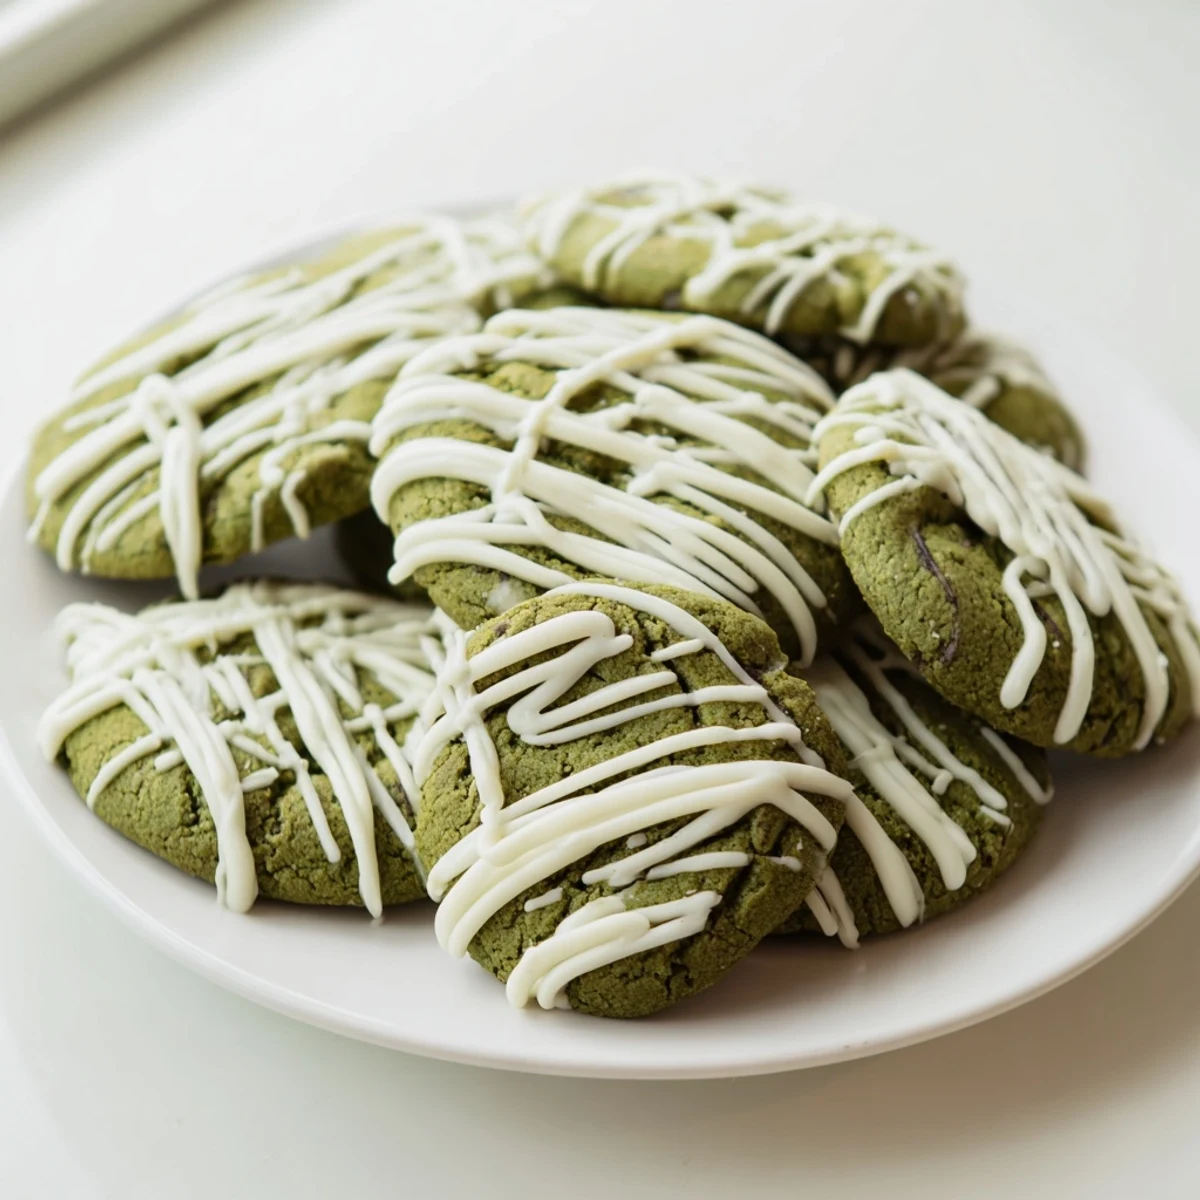
 These soft green velvet cookies feature a tender, cake-like texture with a subtle chocolate undertone from cocoa powder. The vibrant green color makes them perfect for Christmas, St. Patrick's Day, or any festive celebration. The white chocolate drizzle adds the perfect touch of sweetness and visual appeal.
Ready in just over 30 minutes, these cookies are incredibly easy to make. The dough comes together quickly with basic pantry ingredients plus food coloring for that signature look. Bake until edges are set but centers remain soft for the perfect texture.
The white chocolate drizzle is optional but highly recommended—it adds both flavor and a beautiful finishing touch. Store in an airtight container for up to five days, though they rarely last that long!
The first time I made these green velvet cookies, my kitchen looked like a St. Patricks Day explosion had gone wonderfully wrong. I was attempting to impress some friends coming over for a game night, and honestly, the vibrant green dough made me pause mid-whisk. But when that first batch came out of the oven, soft and pillowy with that tender red velvet style crumb in the most gorgeous emerald shade, I knew I was onto something special.
Last Christmas, I made a double batch for our annual cookie exchange and watched them disappear faster than anything else on the table. My sister actually hid three of them in her purse before leaving, claiming she needed emergency cheer for her drive home. Now every time December rolls around, my niece messages me asking if those green cookies are making an appearance.
Ingredients
- All-purpose flour: The foundation that gives these cookies their structure while keeping them tender
- Unsweetened cocoa powder: Just enough to deepen the flavor without overpowering the delicate vanilla notes
- Baking powder and baking soda: This duo creates the perfect lift for that soft, cake-like texture we love
- Unsalted butter: Room temperature butter creams beautifully with the sugars for that ideal texture
- Granulated and brown sugar: The combination creates crisp edges while keeping centers chewy
- Eggs: Room temperature eggs incorporate better and help create structure
- Whole milk: Adds moisture and contributes to that velvety crumb
- White vinegar: The secret ingredient that activates the baking soda and enhances the cocoa flavor
- Green food coloring: Gel coloring gives you that vibrant emerald shade without adding excess liquid
- White chocolate: Creates the most beautiful finishing touch and balances the subtle cocoa
Instructions
- Get your oven ready:
- Preheat to 350°F and line two baking sheets with parchment paper so nothing sticks
- Whisk the dry team:
- Combine flour, cocoa powder, baking powder, baking soda, and salt in a medium bowl
- Cream the butter and sugars:
- Beat them together for 2-3 minutes until the mixture looks pale and fluffy
- Add the eggs one at a time:
- Let each egg fully incorporate before adding the next
- Pour in the wet ingredients:
- Mix in milk, vanilla, vinegar, and food coloring until everything is beautifully green
- Combine the mixtures:
- Gently fold in the dry ingredients just until no flour streaks remain
- Scoop and space:
- Drop dough onto baking sheets about 2 inches apart to give them room to spread
- Bake to perfection:
- Cook for 10-12 minutes until edges are set but centers still look slightly soft
- Cool them down:
- Let cookies rest on the baking sheets for 5 minutes before moving to a wire rack
- Make the drizzle:
- Melt white chocolate in 20-second bursts, stirring until completely smooth
- Finish with flair:
- Drizzle the white chocolate over cooled cookies and let it set before serving
 Pin it
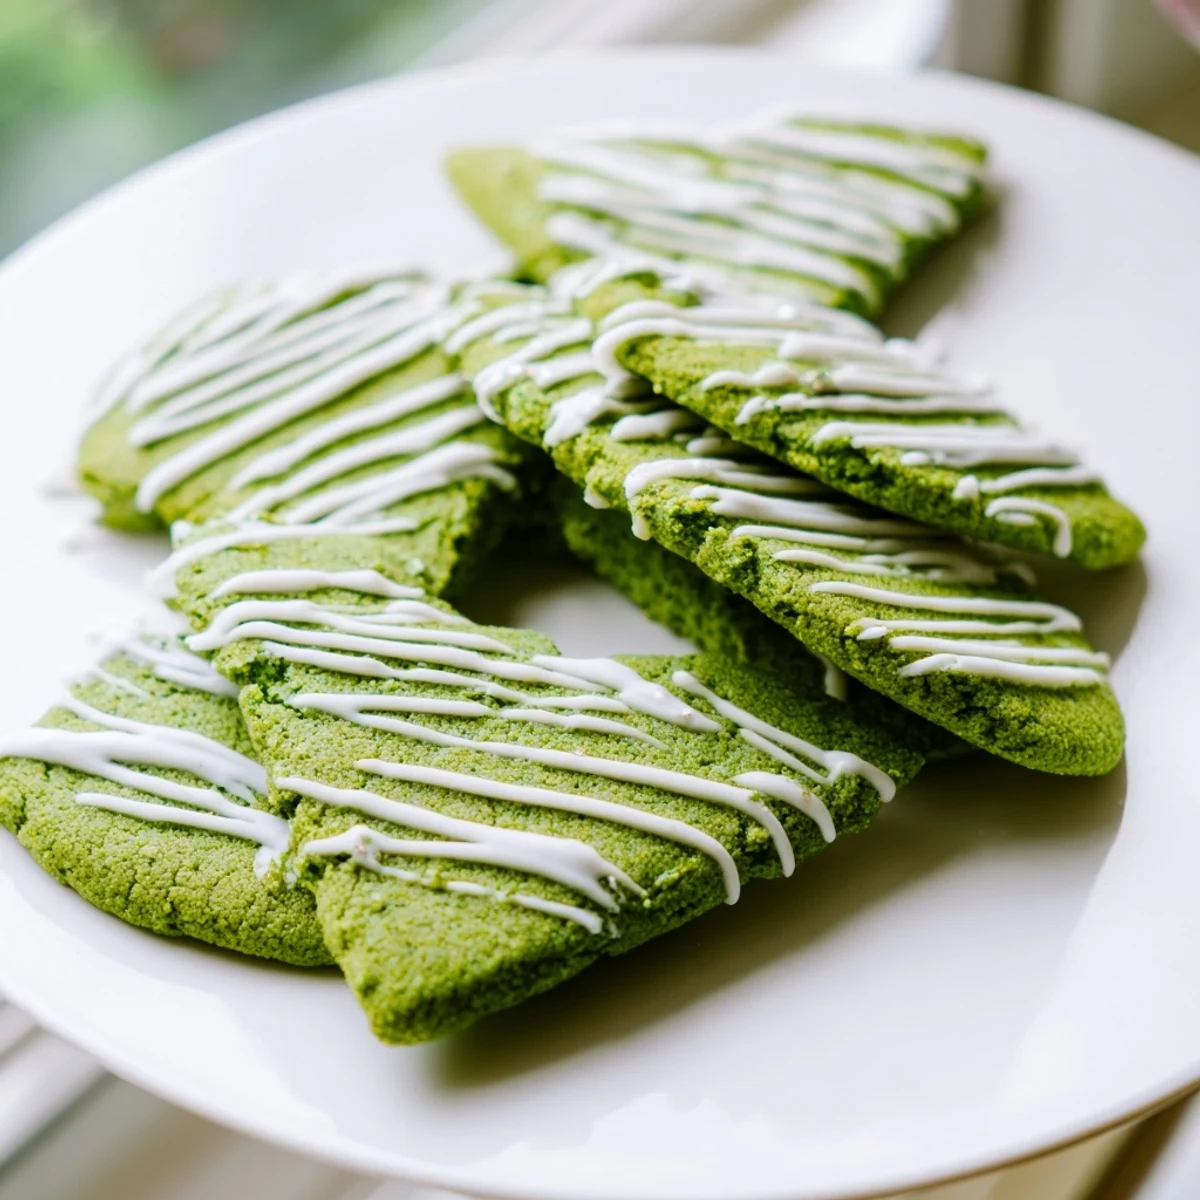
 My daughter now requests these for her birthday instead of cake, which honestly feels like the ultimate compliment. Something about the festive green color and that dreamy white chocolate makes every occasion feel like a celebration worth remembering.
Making Them Ahead
Ive learned that the dough actually freezes beautifully if you want to bake fresh cookies later. Just scoop the dough onto a baking sheet, freeze until solid, then transfer to a bag. Bake from frozen adding an extra minute or two to the time.
Getting The Perfect Green
Start with less food coloring than you think you need, you can always add more. Gel coloring is much more concentrated than liquid, so a tiny amount goes a long way. The color will bake slightly lighter than the raw dough appears.
Serving Suggestions
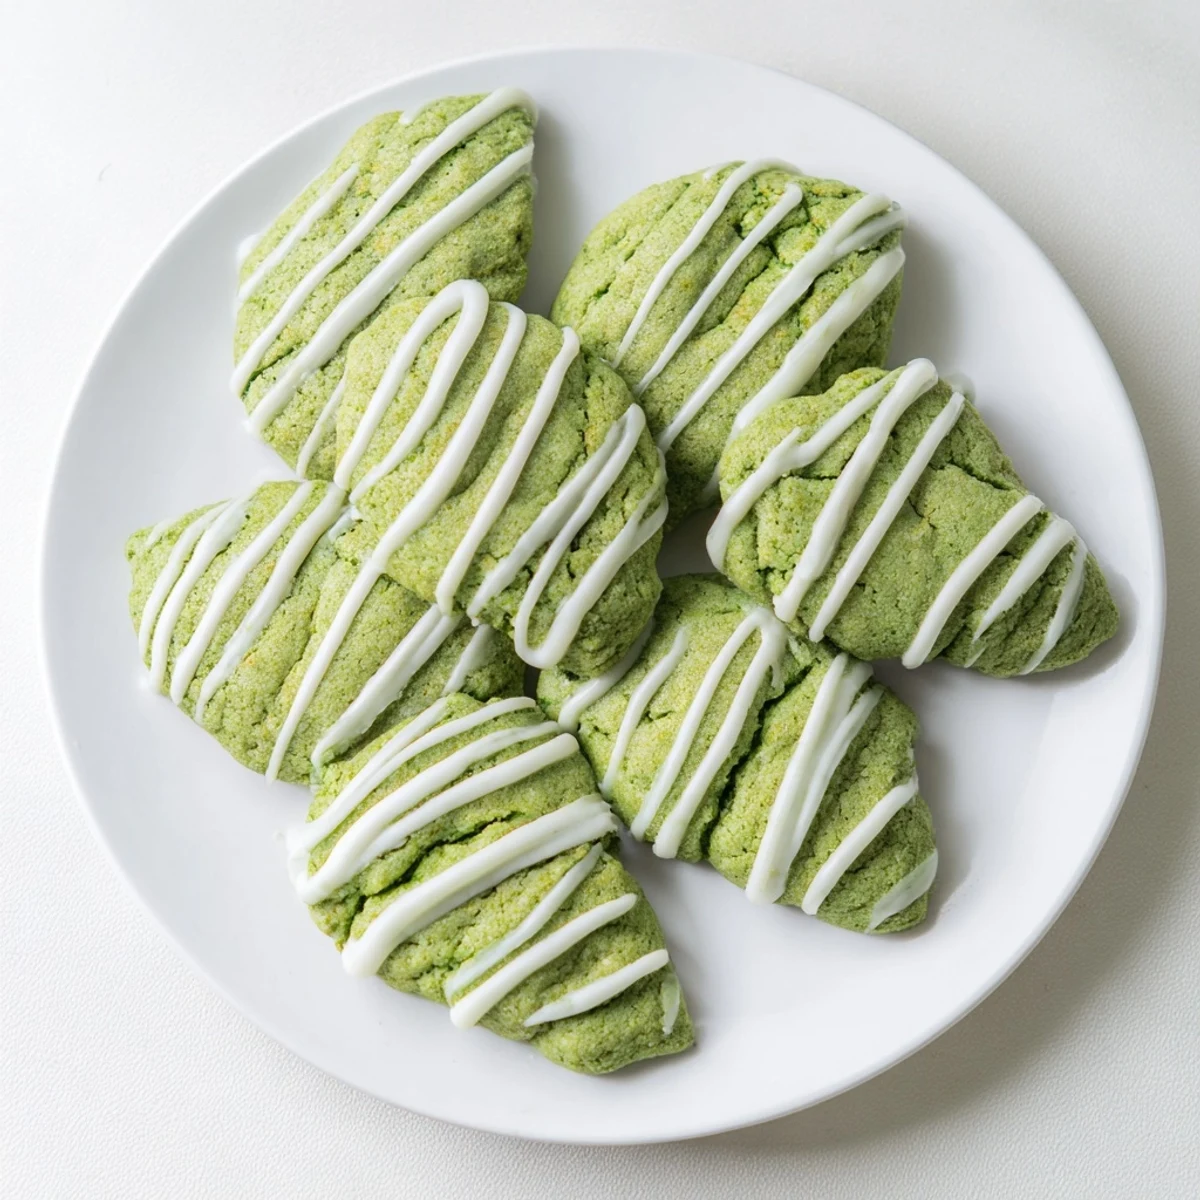
These cookies make the most gorgeous addition to any holiday spread or dessert table. I love arranging them on a white platter where that green really pops against the white chocolate drizzle.
- Crush extra white chocolate on top while the drizzle is still warm for extra texture
- Add a pinch of sea salt to the white chocolate before melting for a sweet and salty version
- Package them in clear bags tied with green ribbon for adorable party favors
 Pin it
 Hope these bring a little vibrant joy to your kitchen and smiles to everyone who tries them.
Recipe FAQ
- → What makes these cookies green?
-
The vibrant green color comes from food coloring gel, which provides richer color than liquid coloring. Start with one tablespoon and add more if needed for deeper hue.
- → Can I use liquid food coloring instead of gel?
-
Yes, but you'll need more liquid coloring to achieve the same intensity. Gel coloring is preferred as it doesn't add excess moisture to the dough.
- → Why is there cocoa powder in green cookies?
-
A small amount of cocoa powder creates the classic velvet flavor profile while the green coloring overpowers the brown color, resulting in that signature red velvet-style taste in green form.
- → How do I know when the cookies are done?
-
Bake for 10-12 minutes until edges are set but centers still appear slightly soft. They'll continue cooking on the hot baking sheet, so don't overbake.
- → Can I make the dough ahead of time?
-
Yes, refrigerate the dough for up to 24 hours before baking. Let it come to room temperature for about 15 minutes before scooping and baking.
- → What's the purpose of white vinegar?
-
White vinegar reacts with baking soda to help the cookies rise and creates a tender crumb. It also enhances the velvet-like texture.