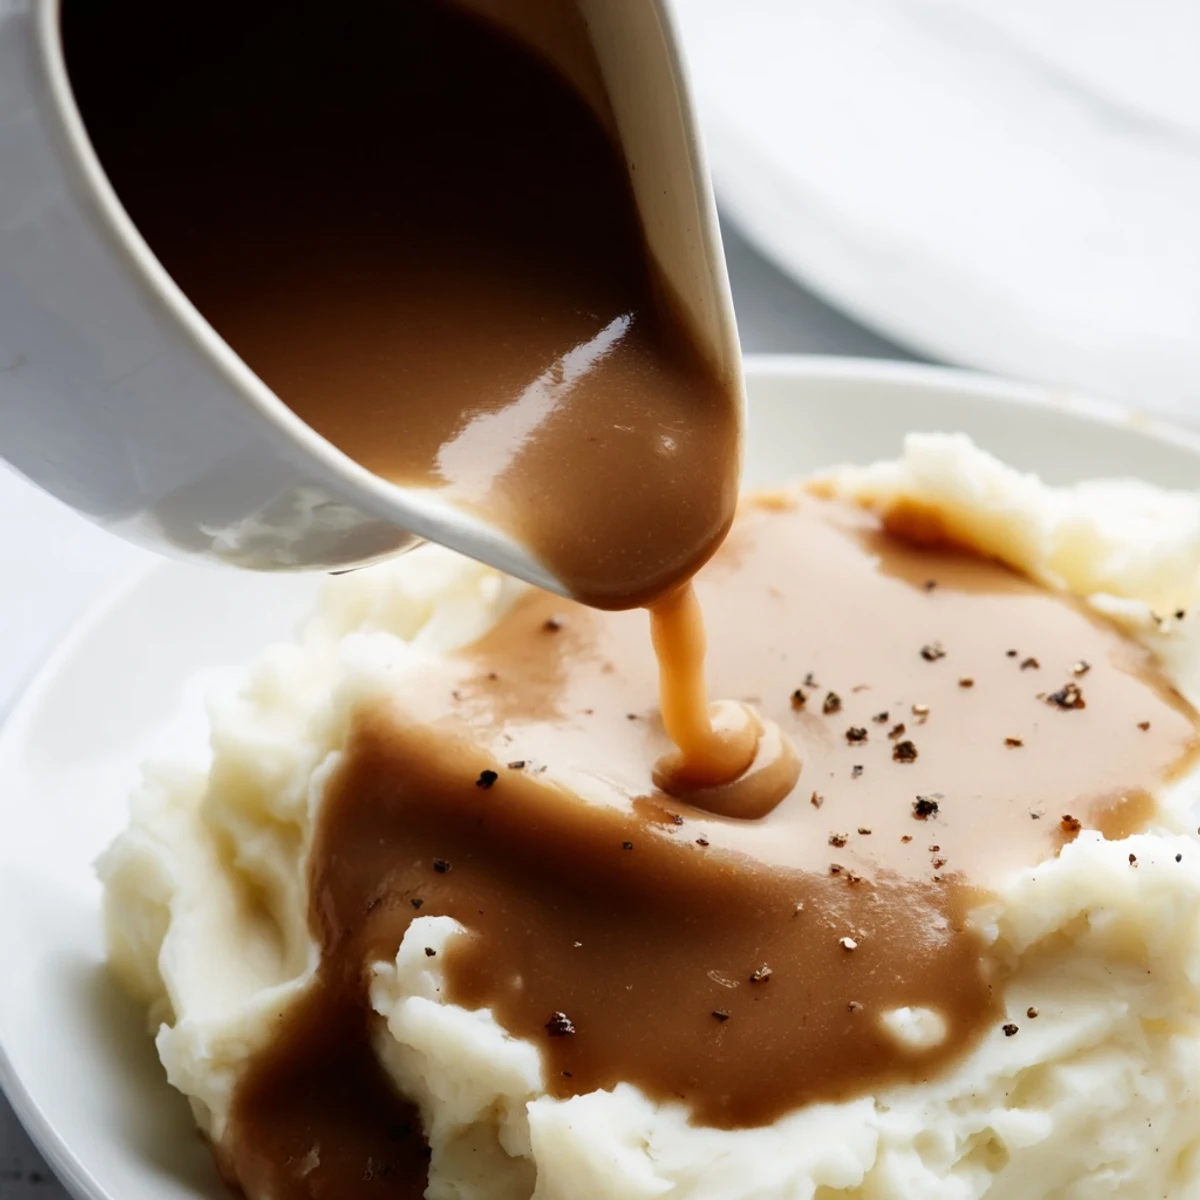
 Pin it
 Craft a rich, velvety sauce that transforms any roast into an unforgettable meal. This traditional method uses a butter-flour roux combined with stock for silky consistency and deep savory notes. Ready in just 20 minutes, this versatile creation adapts beautifully to whatever you're serving, from holiday roasts to weeknight potatoes.
The smell of butter hitting a hot pan still stops me in my tracks every single time. I learned to make gravy the hard way, standing over a lumpy mess while my grandmother patiently showed me how whisking constantly makes all the difference. Now its the one thing I insist on making from scratch, because nothing compares to that deep, silky richness you just cannot get from a packet.
Last Thanksgiving my sister actually called me from the kitchen, slightly panicked, because she had always relied on jarred gravy. I walked her through it over the phone, and when she texted later that night, she said she felt like she had unlocked some secret cooking club. Thats the thing about gravy, once you understand the simple roux technique, you feel like you can make anything taste better.
Ingredients
- 4 tbsp unsalted butter: Butter gives the best flavor, but pan drippings from a roast work beautifully too
- 1/4 cup all-purpose flour: This creates the roux base that thickens your gravy into silky perfection
- 2 cups low-sodium chicken stock: Low-sodium stock lets you control the seasoning exactly
- 1/2 tsp kosher salt: Adjust this at the end since stocks vary in saltiness
- 1/4 tsp freshly ground black pepper: Freshly cracked pepper makes a noticeable difference
- 1/2 tsp dried thyme or sage (optional): These herbs add warmth without overpowering the dish
Instructions
- Melt the butter:
- Place your saucepan over medium heat and let the butter melt completely, watching for it to stop foaming
- Make the roux:
- Whisk in the flour until smooth, then cook for 2-3 minutes while stirring constantly until you smell a subtle nutty aroma
- Add the stock gradually:
- Pour in the stock slowly while whisking, which prevents lumps from forming
- Simmer to thicken:
- Let the gravy gently bubble for about 10 minutes, whisking occasionally until it coats the back of a spoon
- Season to taste:
- Add salt, pepper, and herbs if using, then taste and adjust until it hits that perfect balance
- Strain and serve:
- For the smoothest texture, pour through a fine-mesh sieve, though this step is completely optional
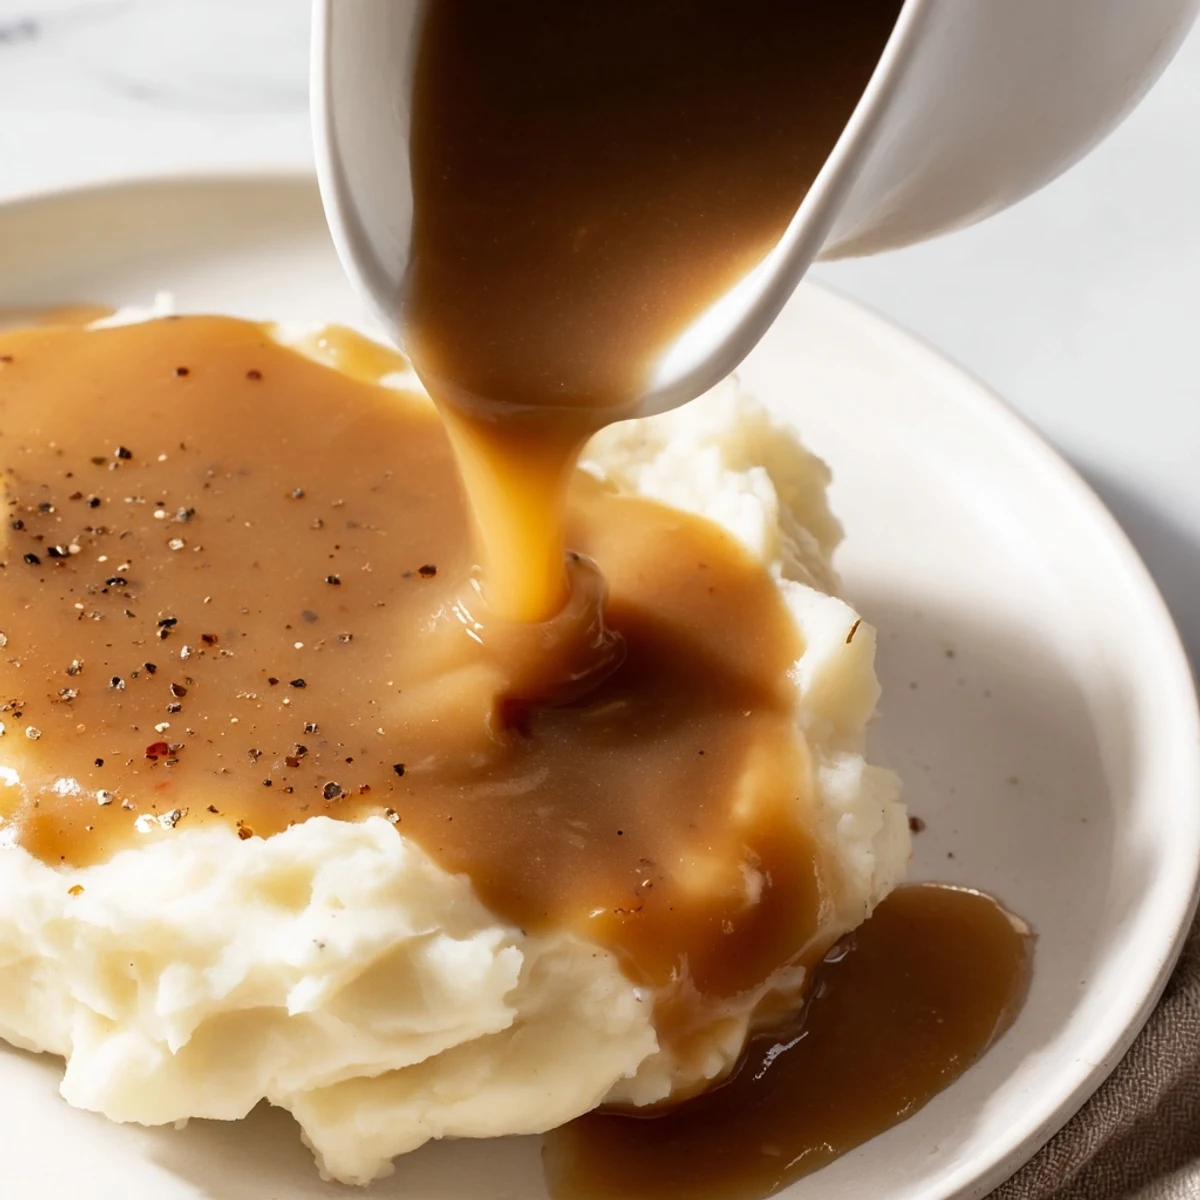 Pin it
 My dad used to joke that gravy was its own food group at our Sunday dinners. He would pour it over everything on his plate, even the vegetables, and honestly, I have started doing the same thing. There is something so comforting about taking a humble sauce and suddenly making everything on the plate taste better.
Making It Your Own
I have discovered that adding a splash of cream at the end transforms the texture into something almost luxurious. A dash of soy sauce sounds strange but adds incredible depth without tasting Asian at all. Sometimes I sauté a minced shallot in the butter before adding the flour, which adds subtle sweetness that everyone notices but cannot quite identify.
Timing Everything Perfectly
The trick I learned is to start your gravy about 15 minutes before you want to serve. It keeps warm beautifully and actually benefits from sitting for a few minutes, which lets the flavors meld together. If making gravy alongside a roast, use those precious pan drippings instead of butter, because that is where the real magic lives.
Troubleshooting Like A Pro
If your gravy ends up too thick, whisk in a little more stock or water until it reaches the right consistency. Too thin? Simmer it for another few minutes and it will reduce nicely. For lumpy gravy, a quick whirl with an immersion blender saves the day every single time.
- Straining through cheesecloth removes even the smallest lumps if you want it perfectly smooth
- Making gravy ahead? Reheat gently with a splash of water to loosen it up
- Freeze leftover gravy in ice cube trays for future quick meals
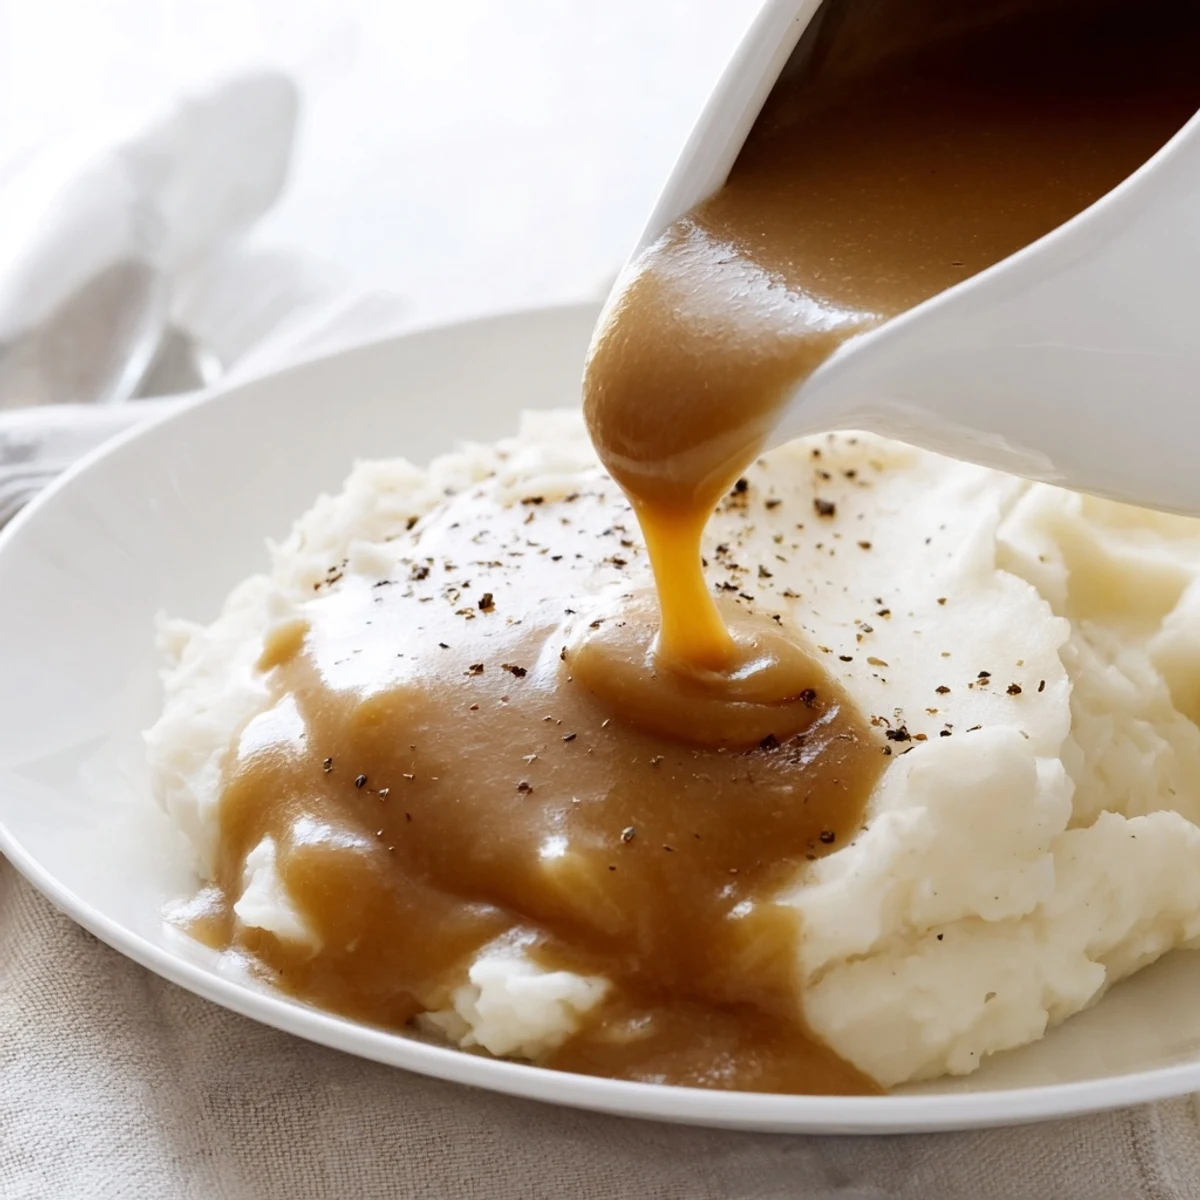 Pin it
 Homemade gravy is one of those simple skills that instantly makes you feel like a better cook. Once you master it, you will find yourself making excuses to roast something just so you can make gravy.
Recipe FAQ
- → How do I prevent lumps in my gravy?
-
Whisk continuously while gradually adding stock to the roux. This ensures smooth incorporation. If lumps appear, strain through a fine-mesh sieve for ultra-smooth results.
- → Can I make this vegetarian?
-
Absolutely. Substitute vegetable stock for chicken broth and use butter instead of pan drippings. The technique remains identical for equally delicious results.
- → How long will this keep in the refrigerator?
-
Store in an airtight container for up to 4 days. Reheat gently over low heat, whisking to restore consistency. Thin with additional stock if needed.
- → Can I freeze this sauce?
-
Freeze for up to 3 months in freezer-safe containers. Thaw overnight in the refrigerator, then reheat slowly while whisking. Texture may change slightly but flavor remains excellent.
- → How can I make this gluten-free?
-
Replace all-purpose flour with a certified gluten-free flour blend or cornstarch. Adjust quantities slightly as gluten-free alternatives may thicken differently.
- → What if my gravy is too thick?
-
Simply whisk in additional warm stock, a tablespoon at a time, until reaching desired consistency. This also works well for reheating.