 Pin it
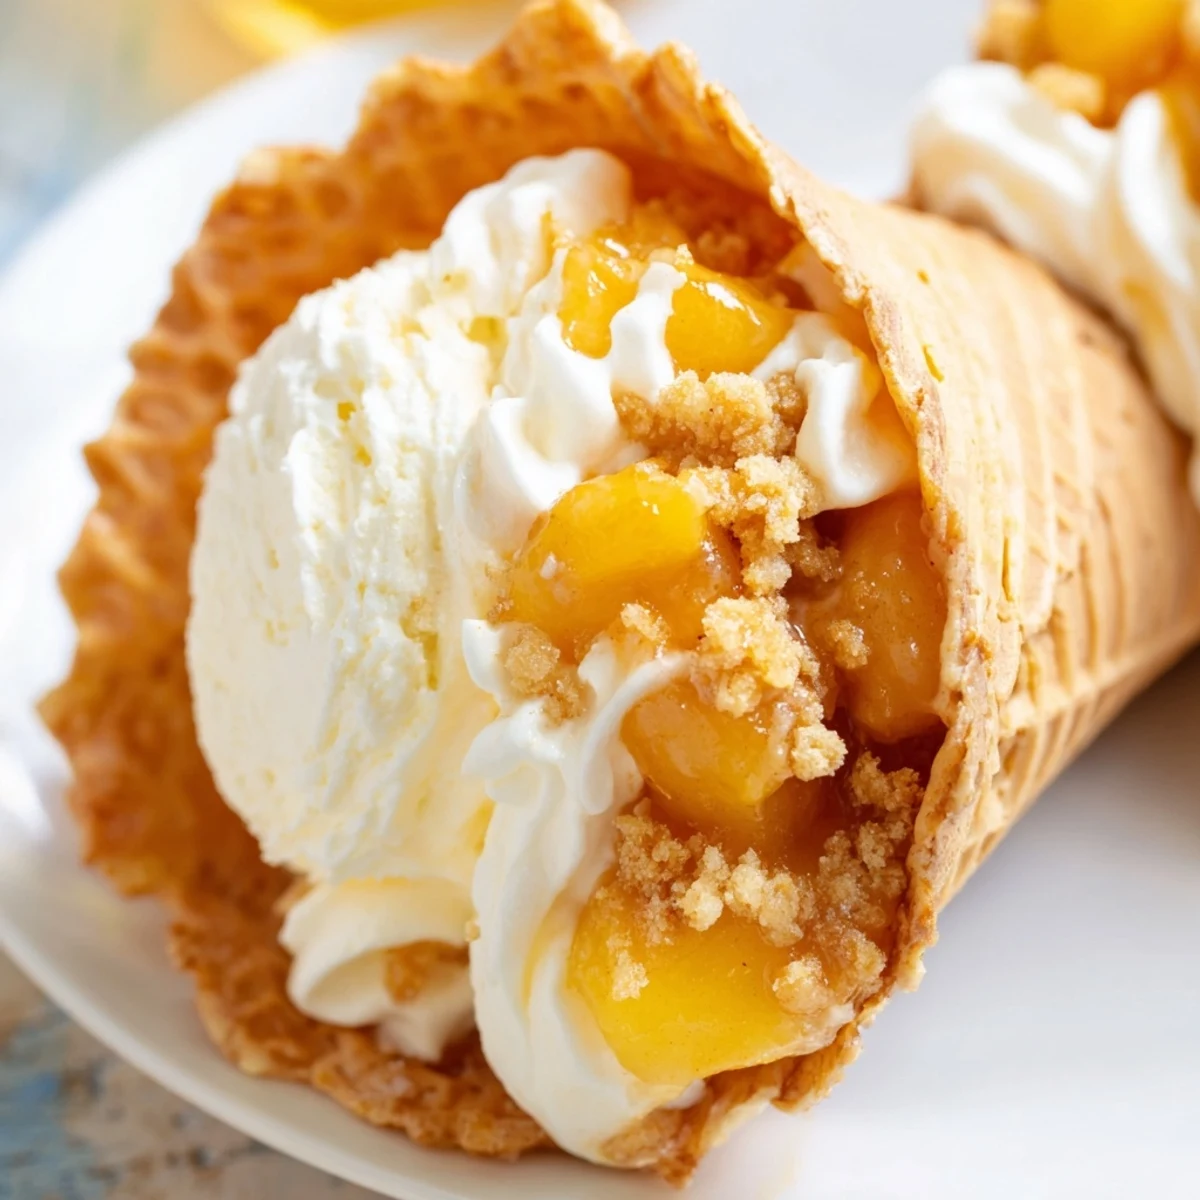
 These handheld desserts combine the best of two worlds: crunchy waffle cones and creamy peach cobbler cheesecake. Fresh peaches are simmered with cinnamon and sugar until tender, then folded into a fluffy cheesecake mousse made from whipped cream and softened cream cheese.
The assembly is simple yet impressive—layer the velvety filling into cones, top with buttery graham cracker crumbs, and finish with a dollop of whipped cream. Perfect for outdoor gatherings, birthday parties, or whenever you want a portable dessert that doesn't require plates or forks.
The key is working quickly once assembled to maintain the satisfying crunch of the cones against the smooth, cool filling. Best enjoyed within an hour of assembly for the ideal texture contrast.
Last summer, my youngest daughter came running inside with sticky fingers and the biggest grin, announcing she'd invented the world's best dessert. She'd scooped peach cobbler into an ice cream cone from the birthday party leftovers, and honestly, she was onto something brilliant.
I brought these to our neighborhood block party, and within ten minutes, three different neighbors had texted me for the recipe. Something about handing someone a cone filled with cheesecake just makes people smile before they even take a bite.
Ingredients
- 2 cups ripe peaches, peeled and diced: Fresh peaches in July are unbeatable, but I've learned to sniff the stem end for that floral peachy perfume that tells you they're ready
- 1/4 cup granulated sugar: Adjust based on peach sweetness, those really ripe ones need less help shining
- 1 tbsp lemon juice: Brightens everything and keeps those peach colors from looking sad and brown
- 1/2 tsp ground cinnamon: Makes it taste like grandma's kitchen, even if you're using a microwave
- 1 tbsp cornstarch: This is what transforms watery peach juices into that gorgeous thick cobbler filling
- 8 oz cream cheese, softened: Room temperature is non-negotiable here, or you'll end up with lumpy cheesecake that nobody wants
- 1 cup heavy whipping cream, cold: The colder the better for fluffy peaks, I even chill my mixing bowl sometimes
- 8 large waffle cones: Get the good ones with the sugar coating on top, they hold up better and taste like carnival nostalgia
Instructions
- Transform those peaches:
- Combine peaches, sugar, lemon juice, and cinnamon in your saucepan over medium heat, stirring as they start to soften and release their gorgeous juices.
- Create the magic thickener:
- Whisk cornstarch into water until smooth, then stir into bubbling peaches and watch as everything thickens beautifully in about two minutes.
- Build the creamy base:
- Beat cream cheese, powdered sugar, and vanilla until silky smooth, then whip that cold cream to stiff peaks in a separate bowl.
- Gently marry the textures:
- Fold whipped cream into cheesecake base with a light hand, keeping all that air you just whipped in for maximum fluffiness.
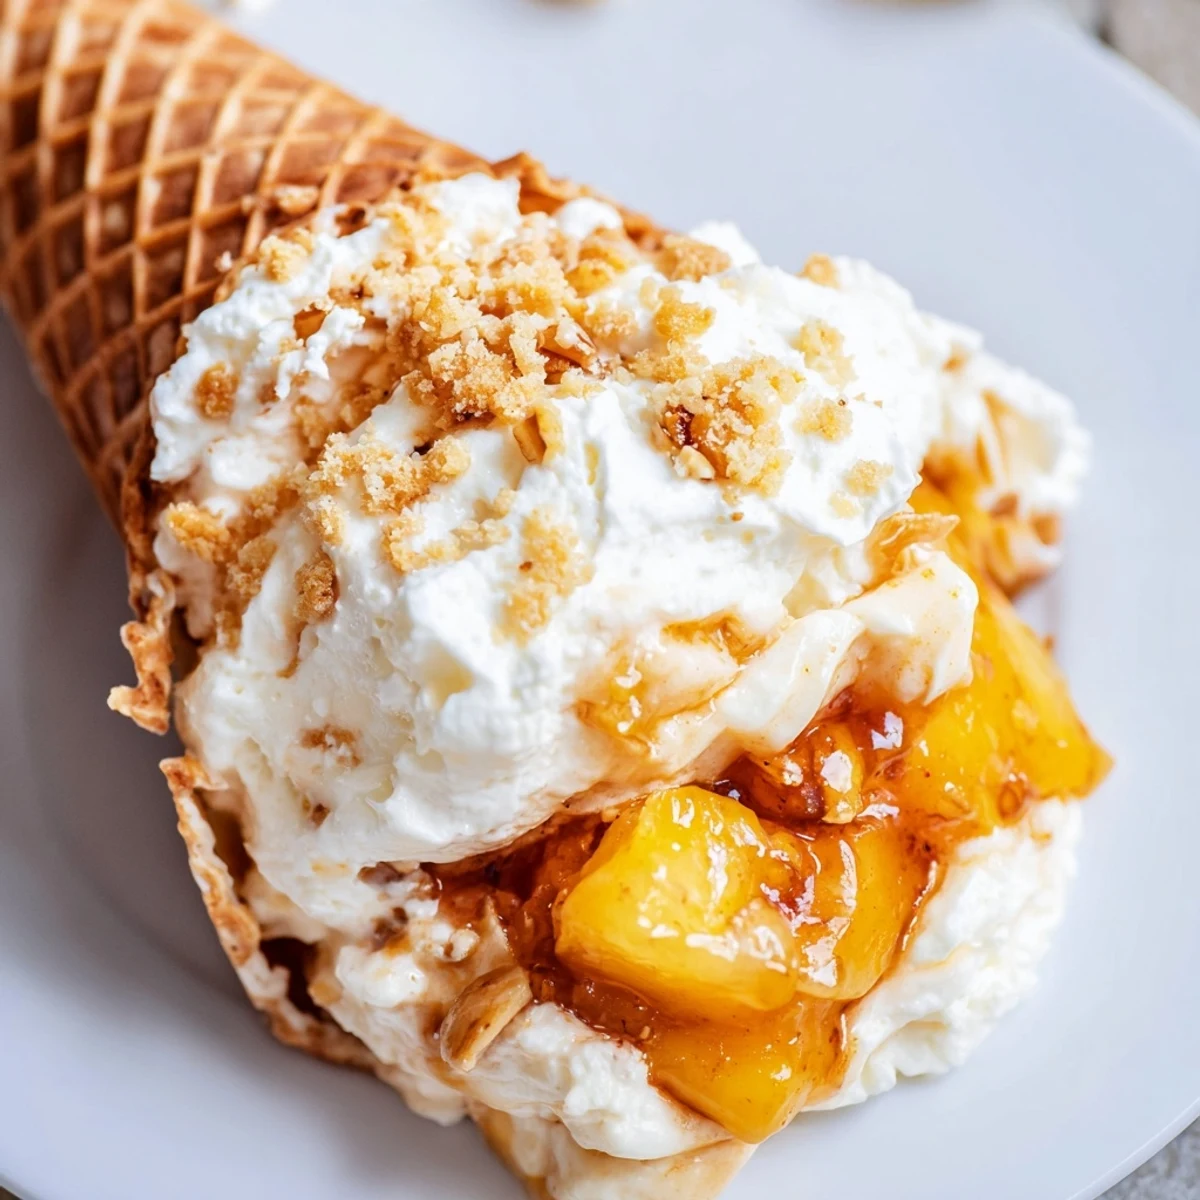
- Assemble your edible masterpieces:
- Layer cheesecake filling and cooled peach filling into cones, topping with graham cracker crumbs and whipped cream if you're feeling fancy.
 Pin it
 My sister-in-law still talks about the summer evening we sat on the back porch steps eating these while fireflies started blinking in the garden. Sometimes the simplest desserts create the sweetest memories.
Make-Ahead Magic
You can prep both fillings a day ahead and keep them in separate containers. The peach filling actually tastes better after it sits, and the cheesecake mousse stays fluffy in the fridge. Just wait to fill those cones until the last possible moment.
Serving Suggestions
Set up a DIY cone bar at your next gathering and let guests build their own combinations. I've seen people add crushed pecans, drizzled caramel, or even fresh basil if they're feeling adventurous. It turns dessert into an activity.
Storage Solutions
Leftover peach filling keeps for a week and is amazing stirred into oatmeal or spooned over vanilla ice cream. The cheesecake mousse lasts about three days, though it rarely survives that long in my house.
- Stand assembled cones upright in tall glasses if you need to refrigerate briefly
- Wrap cones loosely with parchment paper to prevent condensation from making them soggy
- Fresh peach filling can be frozen for up to three months, just thaw overnight in the fridge
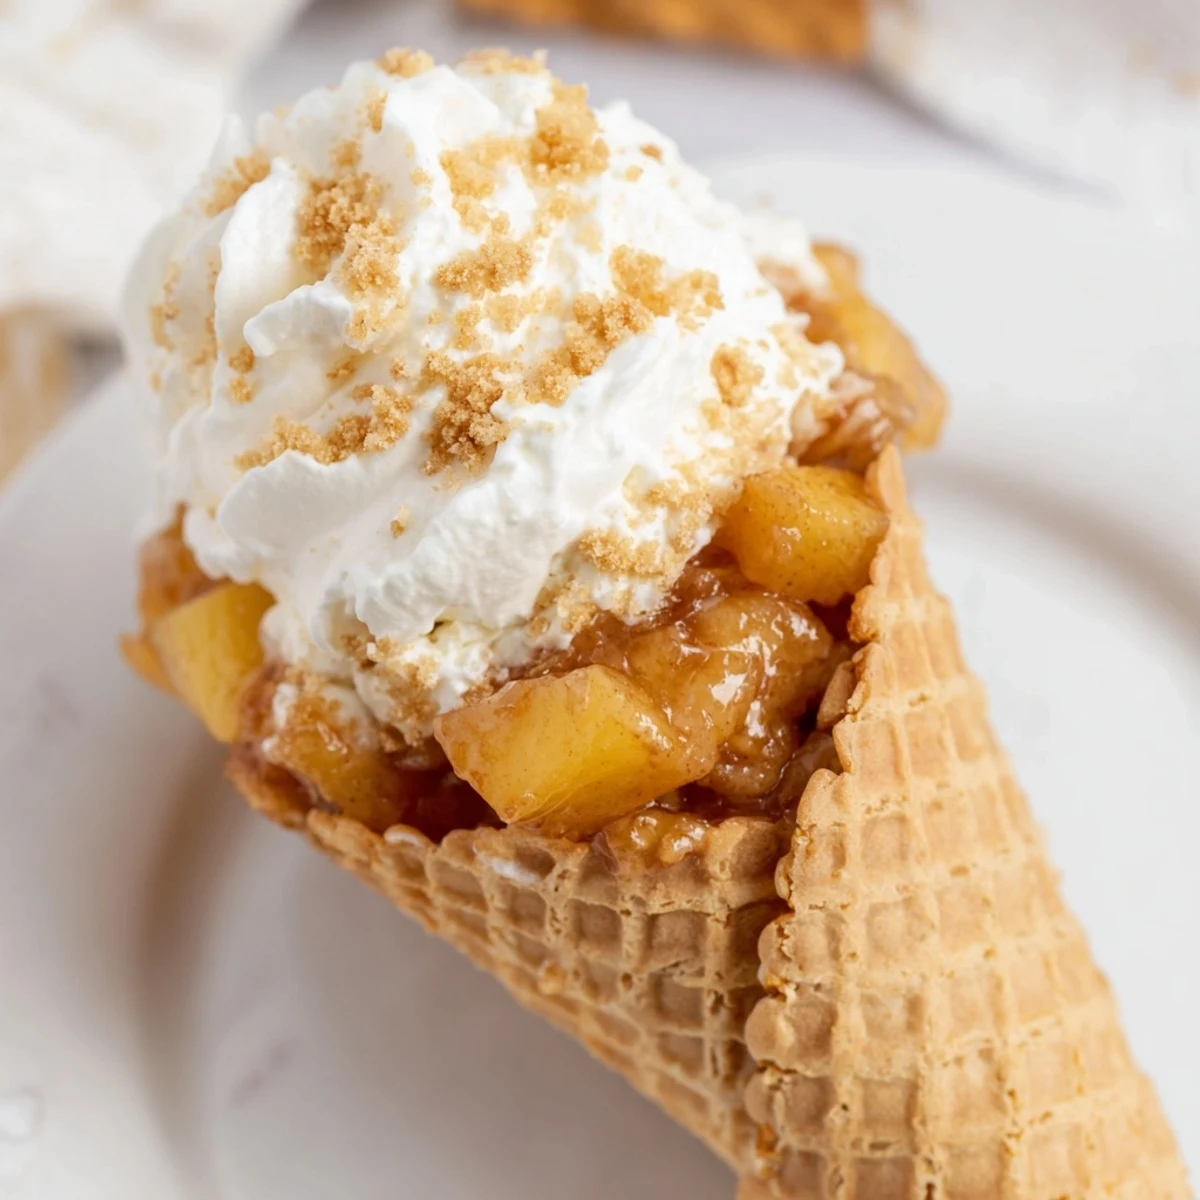 Pin it
 There's something about eating dessert out of a cone that makes everything feel more festive, even on a random Tuesday. Hope these bring a little joy to your kitchen table.
Recipe FAQ
- → Can I make these ahead of time?
-
For best texture, assemble within 1 hour of serving. The peach filling and cheesecake mousse can be prepared separately up to 24 hours in advance and stored refrigerated in airtight containers.
- → What if fresh peaches aren't in season?
-
Frozen or canned peaches work perfectly. If using canned, drain the syrup first and reduce the added sugar in the filling. Frozen peaches should be thawed and drained before cooking.
- → How do I prevent the cones from getting soggy?
-
Fill cones just before serving and avoid overly juicy peach filling. Let the cooked peaches cool completely to thicken the sauce. You can also brush melted chocolate inside the cones as a moisture barrier.
- → Can I pipe the filling instead of spooning?
-
Absolutely. Transfer the cheesecake mousse to a piping bag fitted with a large star tip for a professional-looking presentation with beautiful swirls. This also helps control portion size evenly.
- → What other fruit fillings work well?
-
Try cooked berries like strawberries, blueberries, or blackberries. Apple pie filling with caramel, cherry compote, or even tropical mango with lime would all complement the creamy cheesecake base beautifully.
- → Are there gluten-free cone options?
-
Look for certified gluten-free waffle cones at specialty stores. Alternatively, serve the filling in small glass jars or mason jars topped with gluten-free graham cracker crumbs for the same great flavor.