 Pin it
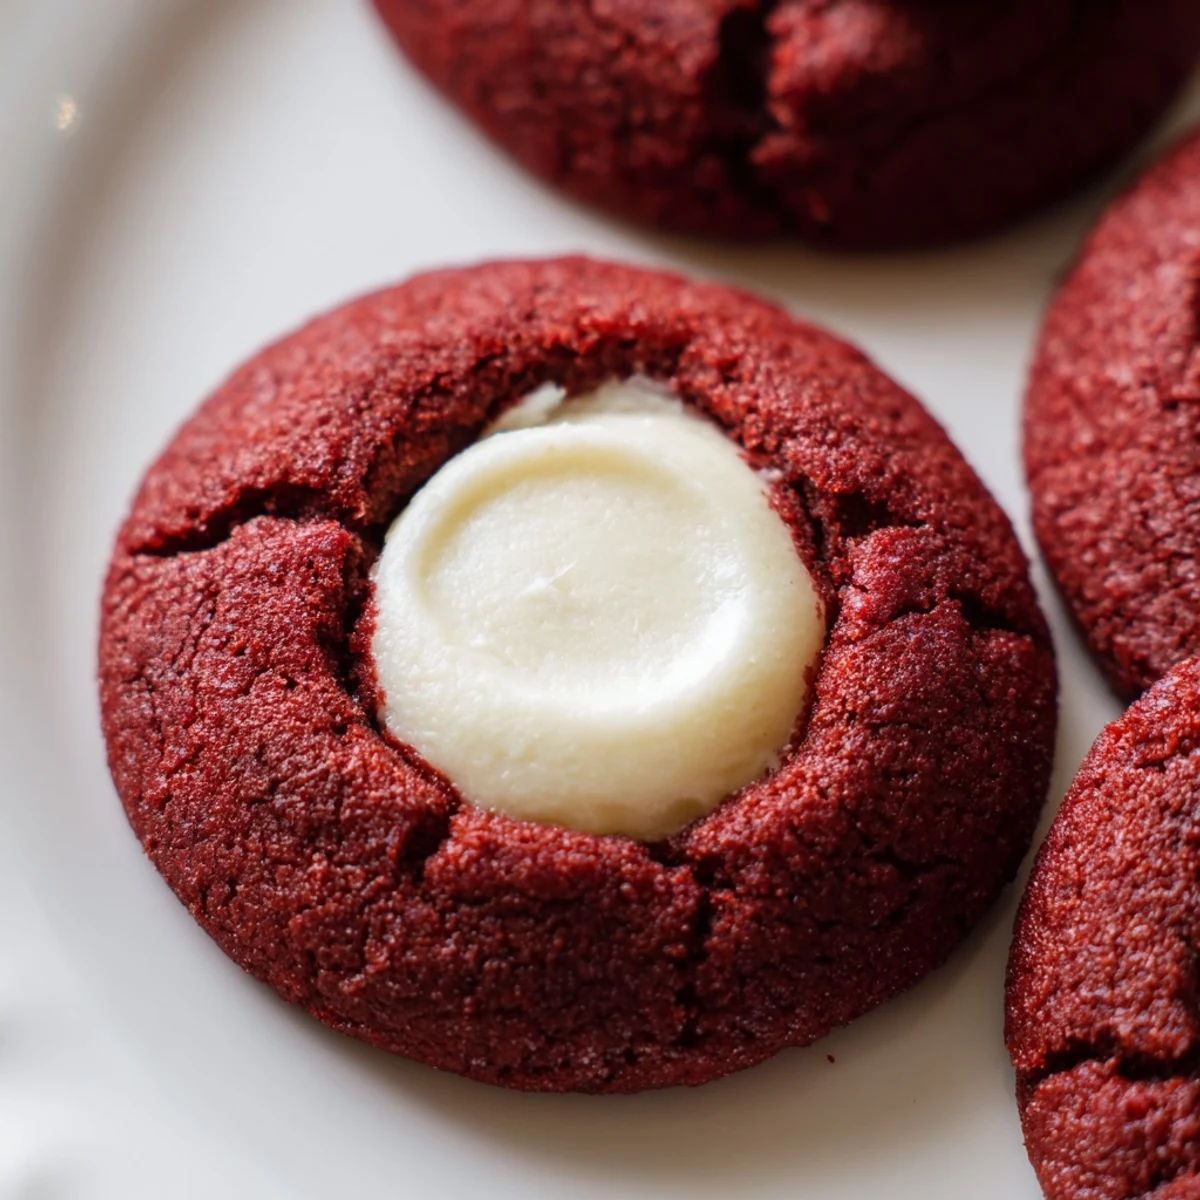
 These rich red velvet thumbprint cookies combine classic cocoa flavors with a tender, melt-in-your-mouth texture. The vibrant crimson dough bakes into perfectly portioned treats, each featuring a deep well filled with smooth cream cheese filling that balances sweetness with tangy notes.
Perfect for holidays, parties, or anytime you want something special, these cookies come together in just 32 minutes. The thumbprint technique creates beautiful indentations that hold the creamy centers, while the red velvet base delivers that distinctive chocolate undertone we all love.
The first time I made red velvet anything, I accidentally used too much food coloring and ended up with bright pink batter that stained everything in my kitchen, including my favorite apron. My kids thought it was hilarious and started calling them 'pink surprise cookies,' a name that somehow stuck around in our house for years. Now I know exactly one teaspoon creates that perfect deep crimson without the colorful disaster. These thumbprint cookies became our go-to holiday treat after that fateful day.
Last Christmas, my neighbor asked what made these cookies so special, and I told her it is the thumbprint technique that creates that perfect little well for the filling. She confessed she had always used a spoon to make the indentations, which sometimes caused the dough to crack. I showed her how to gently press with your thumb while rotating the cookie, and now she says it is completely changed her cookie game forever.
Ingredients
- All-purpose flour: The foundation of these tender cookies, providing structure without becoming tough when mixed properly.
- Unsweetened cocoa powder: This deepens the chocolate flavor while keeping the signature red velvet color vibrant.
- Baking soda: Just enough to give these cookies a slight lift without spreading too much in the oven.
- Salt: Essential for balancing the sweetness and enhancing the cocoa flavor.
- Unsalted butter: Softened to room temperature, this creates the perfect tender crumb and rich flavor.
- Granulated sugar: Sweetens the dough while creating that slightly crisp edge.
- Egg yolk: Adds richness and helps bind the dough without making it too dense.
- Whole milk: Provides just enough moisture to bring the dough together smoothly.
- Vanilla extract: Pure vanilla enhances both the chocolate and cream cheese filling flavors.
- Red food coloring: One teaspoon gives that classic red velvet hue without affecting the taste.
- Cream cheese: Softened to room temperature, this creates the smooth tangy filling that pairs perfectly with chocolate.
- Powdered sugar: Sweetens the cream cheese filling while keeping it smooth and pipeable.
Instructions
- Preheat your oven:
- Get your oven to 350°F and line two baking sheets with parchment paper so the cookies do not stick.
- Whisk the dry ingredients:
- In a medium bowl, combine flour, cocoa powder, baking soda, and salt until everything is evenly distributed.
- Cream the butter and sugar:
- Beat softened butter and sugar together for about 2 minutes until the mixture looks fluffy and pale.
- Add the wet ingredients:
- Mix in the egg yolk, milk, vanilla, and red food coloring until the batter turns a beautiful uniform red.
- Combine everything:
- Gradually mix in the dry ingredients just until you no longer see streaks of flour.
- Make the filling:
- Whisk together cream cheese, powdered sugar, and vanilla in a small bowl until completely smooth.
- Shape the cookies:
- Roll dough into 1-inch balls and place them 2 inches apart on your prepared baking sheets.
- Create the thumbprint:
- Gently press your thumb into the center of each ball, rotating slightly to create a clean well.
- Fill the centers:
- Spoon about half a teaspoon of cream cheese filling into each indentation.
- Bake to perfection:
- Bake for 11 to 13 minutes until the edges look set but the centers still feel slightly soft.
- Cool completely:
- Let them rest on the baking sheet for 5 minutes before moving them to a wire rack.
 Pin it
 My daughter now insists on making these for every school bake sale because they are the first items to disappear. She has perfected the thumbprint technique and can make a whole batch faster than I can preheat the oven. It has become our special mother-daughter baking tradition, complete with flour-covered aprons and red food coloring everywhere.
Making Ahead
You can prepare the dough balls and freeze them unbaked for up to 3 months. When you are ready to bake, simply let them sit at room temperature for 10 minutes before pressing the thumbprints and adding the filling. This has saved me more than once when unexpected guests show up during the holidays.
Filling Variations
While cream cheese is classic, white chocolate ganache makes an incredibly decadent alternative that my chocolate-loving friends actually prefer. Just melt white chocolate with a touch of heavy cream and let it cool before filling. You can also try different flavored extracts in the cream cheese filling like almond or peppermint for seasonal twists.
Storage and Serving
These cookies need to be kept in the refrigerator because of the cream cheese filling, but they taste best when served at room temperature. I take them out about 30 minutes before serving so the filling softens slightly and the cookie texture returns to that perfect tender crumb.
- Place parchment paper between layers if you stack them in a container.
- The red color may deepen slightly after a day in the fridge.
- They freeze beautifully if you need to get ahead for holiday gifting.
 Pin it
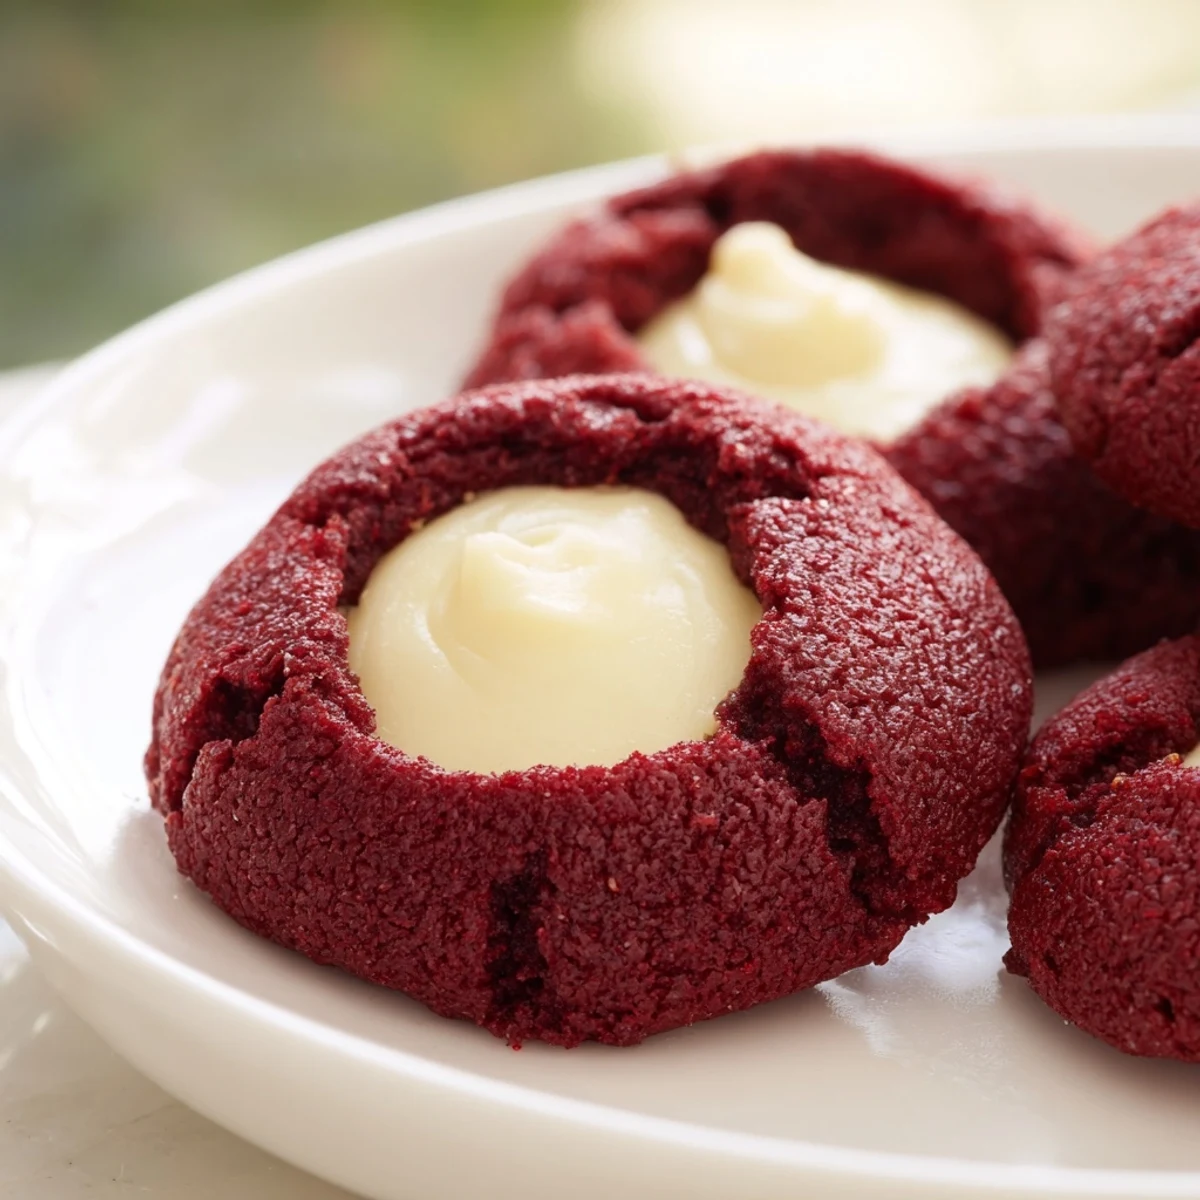
 There is something magical about biting into these cookies and getting that surprise of creamy filling in the center. Every batch reminds me why simple recipes done well are often the most memorable.
Recipe FAQ
- → What makes these different from regular thumbprint cookies?
-
The red velvet base adds cocoa flavor and vibrant color, while the cream cheese filling provides a tangy contrast to the sweet cookie dough. Unlike traditional fruit-filled thumbprints, these offer a rich, indulgent experience perfect for chocolate lovers.
- → Can I make the dough ahead of time?
-
Yes, the dough can be prepared and refrigerated for up to 24 hours before baking. Let it soften slightly at room temperature for 10-15 minutes before rolling into balls, as cold dough may crack when pressing the thumbprints.
- → What other fillings work well?
-
White chocolate ganache makes an excellent alternative, offering extra sweetness that complements the cocoa base. You could also use chocolate hazelnut spread, lemon curd for contrast, or even raspberry jam for a classic thumbprint variation.
- → Why did my thumbprints close during baking?
-
This happens when the dough is too warm or the indentations aren't deep enough. Press firmly to create deep wells, and consider chilling the filled cookies for 10 minutes before baking to help them hold their shape.
- → How should I store these cookies?
-
Keep them in an airtight container in the refrigerator for up to 4 days, as the cream cheese filling requires cool storage. Bring to room temperature for 15 minutes before serving for the best texture and flavor.