 Pin it
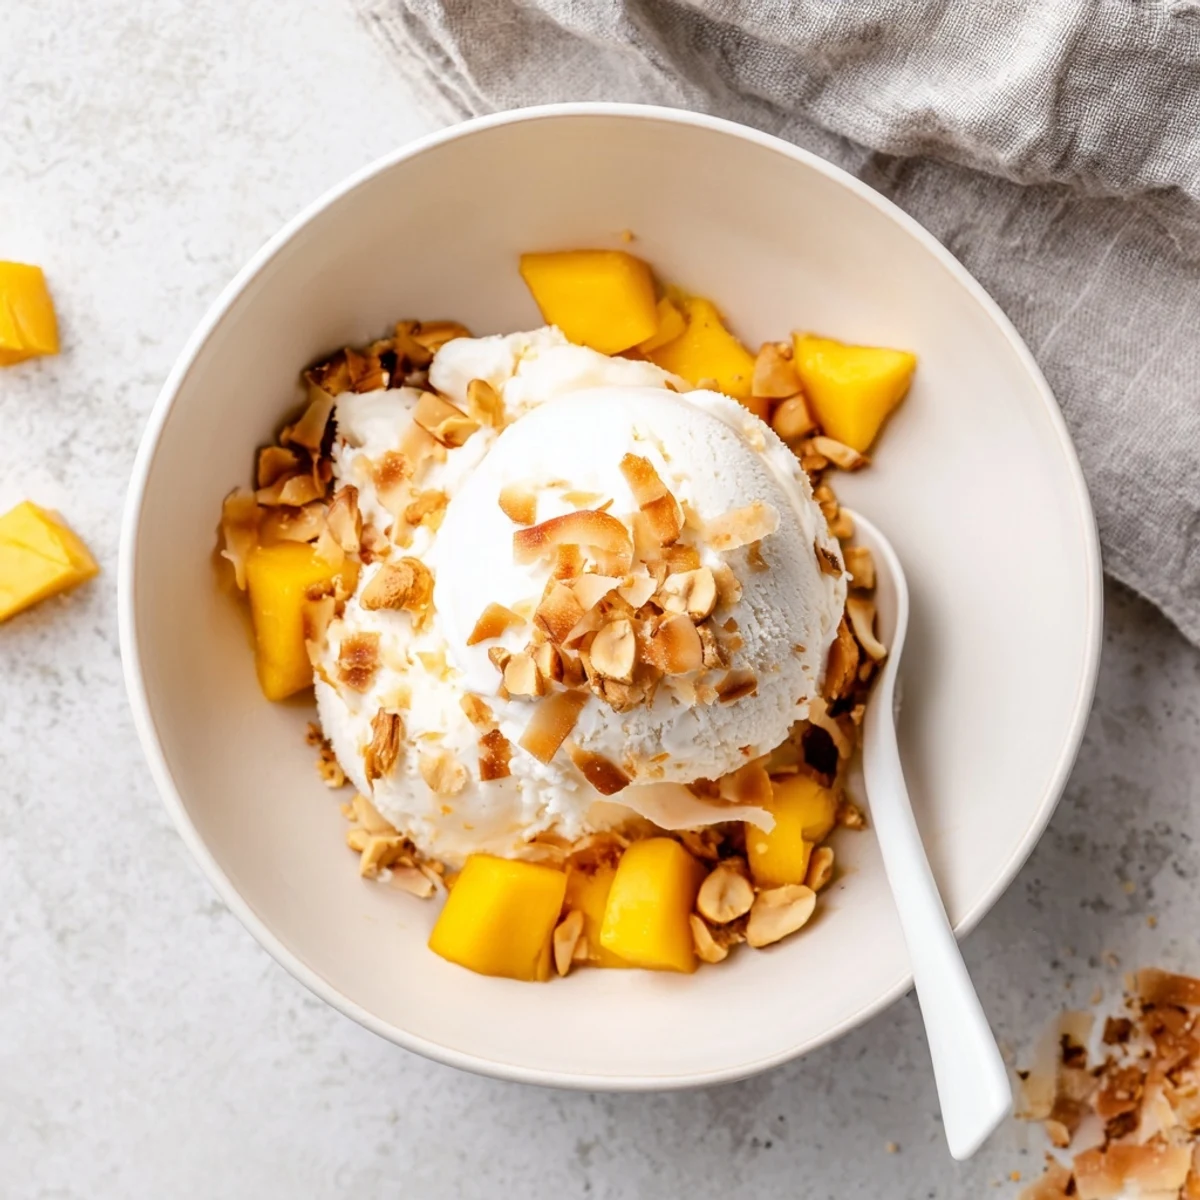
 Create this luscious Thai-inspired frozen dessert with just 10 minutes of stovetop preparation. The blend of full-fat coconut milk and coconut cream creates an incredibly smooth texture, while vanilla adds aromatic depth. After chilling, churn in your ice cream maker for 20-25 minutes, then freeze until firm. Customizable with toasted coconut flakes, roasted peanuts, or fresh diced mango for authentic Thai street dessert flair.
The humidity in Bangkok was something I had never experienced before, and I found myself ducking into a small street stall where an elderly woman was scooping what looked like clouds into paper cups. That first taste of coconut ice cream, served in a young coconut shell, changed everything I thought I knew about frozen desserts. I spent the rest of that trip trying to reverse engineer that impossible creaminess without a drop of dairy in sight. This recipe is the closest I have ever come to that memory.
Last summer, I made this for a dinner party where half the guests were vegan and the other half were self-proclaimed coconut haters. Watching everyone go silent after that first spoonful, then immediately ask for seconds, was the kind of kitchen moment that keeps you experimenting. The next day, my friend texted me asking if I had accidentally used heavy cream because she could not believe it was entirely plant-based.
Ingredients
- Full-fat coconut milk: The cans in the international aisle work better than the refrigerated cartons, which contain too much water and stabilizers that affect freezing
- Coconut cream: This creates that luxurious mouthfeel and prevents ice crystals from forming during the freezing process
- Granulated sugar: Do not reduce this amount because sugar acts as a stabilizer and keeps the ice cream scoopable straight from the freezer
- Fine sea salt: This tiny amount enhances the coconut flavor without making the dessert taste salty
- Pure vanilla extract: Use the real thing here because artificial vanilla can taste harsh against the delicate coconut
- Toasted coconut flakes: These add texture and a nutty depth that makes each bite more interesting
- Roasted unsalted peanuts: The crunch provides contrast and reminds me of the toppings served on Thai street corners
- Diced ripe mango: Use mango that yields slightly to gentle pressure for the sweetest pops of flavor
Instructions
- Combine the base ingredients:
- Pour the coconut milk, coconut cream, sugar, and salt into your saucepan and set it over medium heat. Stir constantly with your whisk until you cannot feel any sugar crystals on the bottom of the pan, which should take about three to five minutes. Watch the mixture closely because you want it hot enough to dissolve everything but never boiling.
- Add the vanilla and cool:
- Remove the pan from the heat and stir in the vanilla extract immediately. Let the mixture cool on the counter until it reaches room temperature, which usually takes about thirty minutes. Pour it into a container and refrigerate for at least two hours, though overnight is even better for the flavors to meld.
- Churn the ice cream base:
- Pour the chilled mixture into your ice cream maker and follow the manufacturers instructions, which typically takes twenty to twenty-five minutes. The ice cream is ready when it looks like soft serve and holds a soft peak when you lift the dasher.
- Fold in your favorite mix-ins:
- If you are adding toppings, transfer the soft ice cream to a bowl and gently fold them in with a spatula. Do this quickly because the ice cream melts fast, and try not to overmix or you will lose the air you just churned into it.
- Freeze until firm:
- Transfer everything to your freezer container and press a piece of parchment paper directly against the surface to prevent ice crystals. Freeze for at least two hours, but four hours gives you the best texture for scooping.
- Serve like a street vendor:
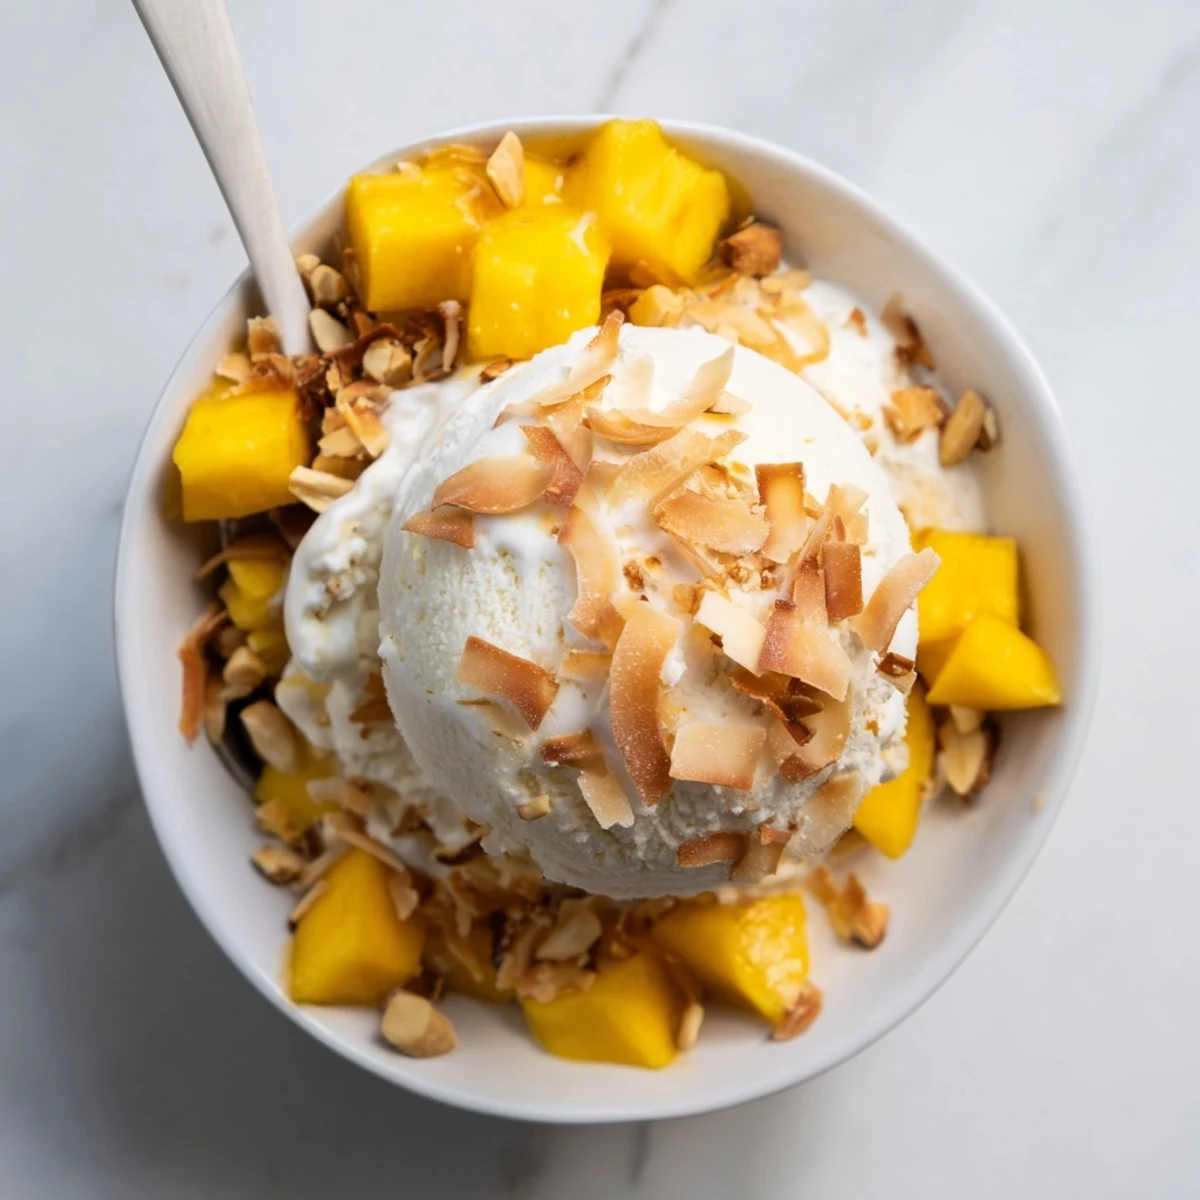
- Let the container sit on the counter for five to ten minutes before scooping. Top with extra toasted coconut, peanuts, or mango if you want to recreate the full street stall experience.
 Pin it
 This became my daughters favorite dessert last year, and she now requests it for every birthday instead of cake. Something about the tropical flavor feels like a vacation in a bowl, which we all need sometimes.
Getting the Right Texture
The secret to avoiding icy, crumbly results is using full-fat coconut products and not skimping on the sugar. Sugar lowers the freezing point, which keeps the ice cream softer and more scoopable. I learned this the hard way after attempting a reduced sugar version that ended up as a solid coconut block I had to attack with an ice pick.
Mix-in Combinations
While the classic Thai toppings are hard to beat, I have discovered that toasted sesame seeds and a drizzle of toasted sesame oil create an incredible nutty variation. During autumn, folding in cubes of roasted sweet potato and a pinch of cinnamon transforms this into something completely unexpected but delicious.
No Ice Cream Maker Method
When my ice cream maker broke midsummer, I panicked but discovered that the shallow pan method actually works surprisingly well. Pour the chilled base into a metal baking pan and freeze it for about thirty minutes until the edges start to firm up. Use a fork to stir the frozen edges into the liquid center, then repeat this process every thirty minutes for three hours. The texture will be slightly more icy than churned ice cream but still delicious.
- Metal pans freeze faster than glass, so use one if you have it available
- Set a timer on your phone because it is easy to forget those thirty-minute intervals
- The final stir should be right before you go to bed, letting it set overnight
 Pin it
 There is something deeply satisfying about making ice cream from scratch, especially when it tastes like a stolen memory from a street halfway across the world.
Recipe FAQ
- → Is this dairy-free ice cream suitable for vegans?
-
Yes, this coconut-based frozen dessert contains no animal products. The creamy texture comes entirely from full-fat coconut milk and coconut cream, making it perfect for vegan diets while maintaining rich, satisfying consistency.
- → Can I make this without an ice cream maker?
-
Absolutely. Pour the chilled mixture into a shallow freezer-safe dish and freeze for 3-4 hours, stirring every 30 minutes to break up ice crystals. This manual method creates similar texture, though slightly less smooth than machine-churned versions.
- → How long does the homemade coconut ice cream keep?
-
Stored properly in an airtight container, this dairy-free treat remains fresh for 2-3 weeks. For optimal texture and flavor, consume within the first week. Let sit at room temperature 5-10 minutes before scooping for easier serving.
- → What gives this Thai street dessert its authentic flavor?
-
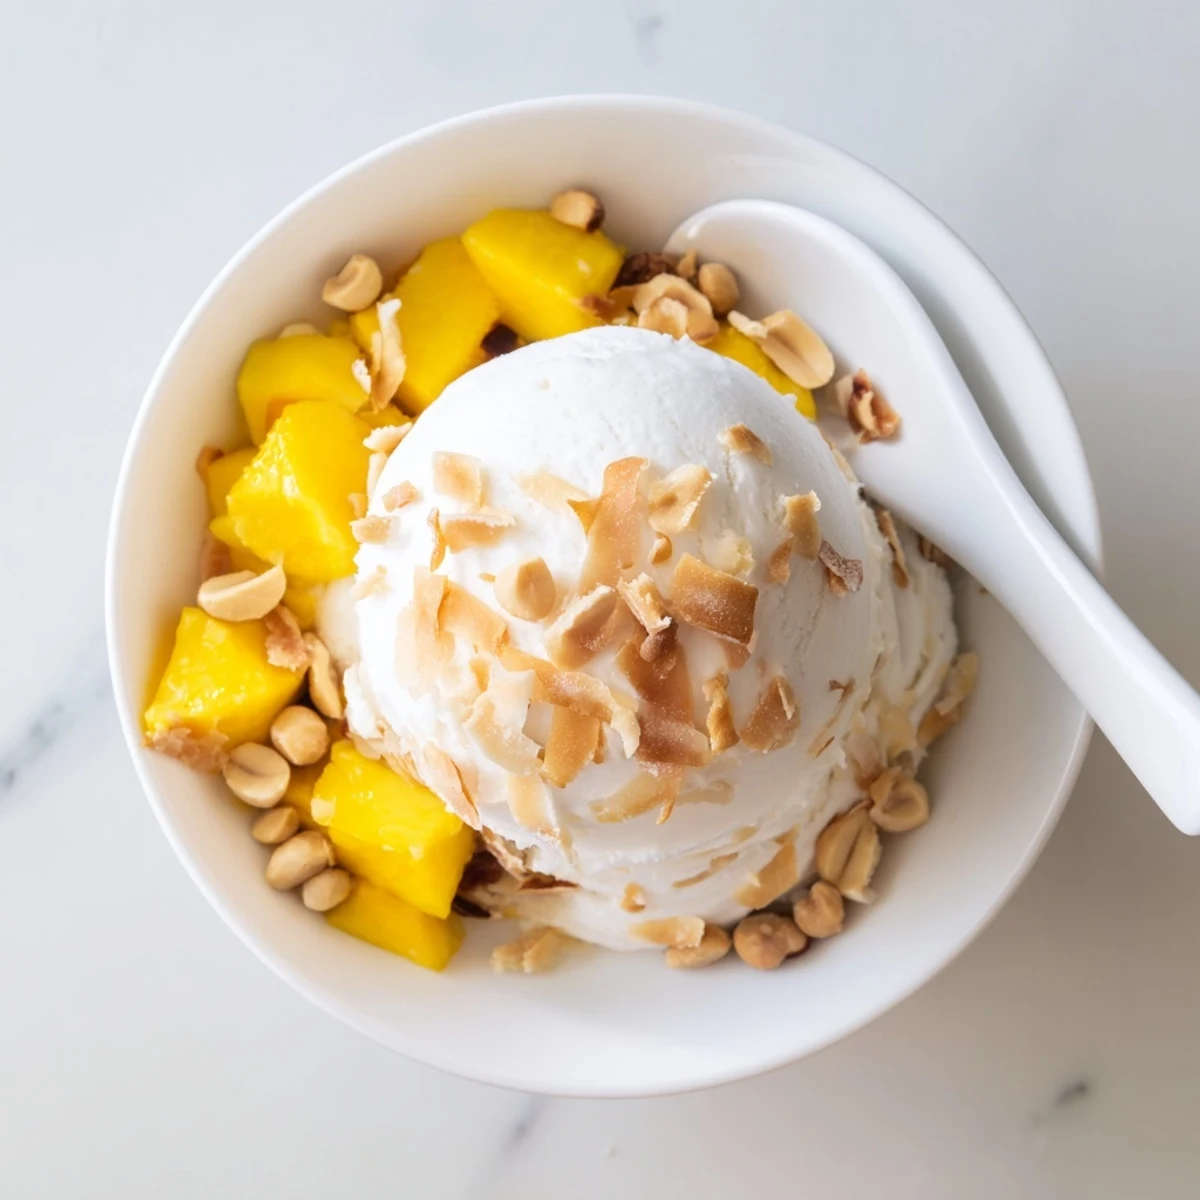
The combination of full-fat coconut milk with coconut cream creates the signature richness found in Thai street desserts. Adding toasted coconut flakes, roasted peanuts, or fresh mango mimics the varied toppings typical of authentic Thai sweet stands.
- → Why is chilling the mixture before churning important?
-
Proper chilling ensures the mixture reaches optimal temperature for churning, resulting in smaller ice crystals and smoother final texture. Skipping this step can yield grainy consistency. Refrigerate at least 2 hours, or overnight for best results.
- → Can I substitute the sugar with other sweeteners?
-
Maple syrup, agave nectar, or coconut sugar work well as alternatives. Use 3/4 cup liquid sweeteners or 1 cup coconut sugar. Note that liquid sweeteners may slightly alter freezing time and final texture. Adjust to taste preference.