 Pin it
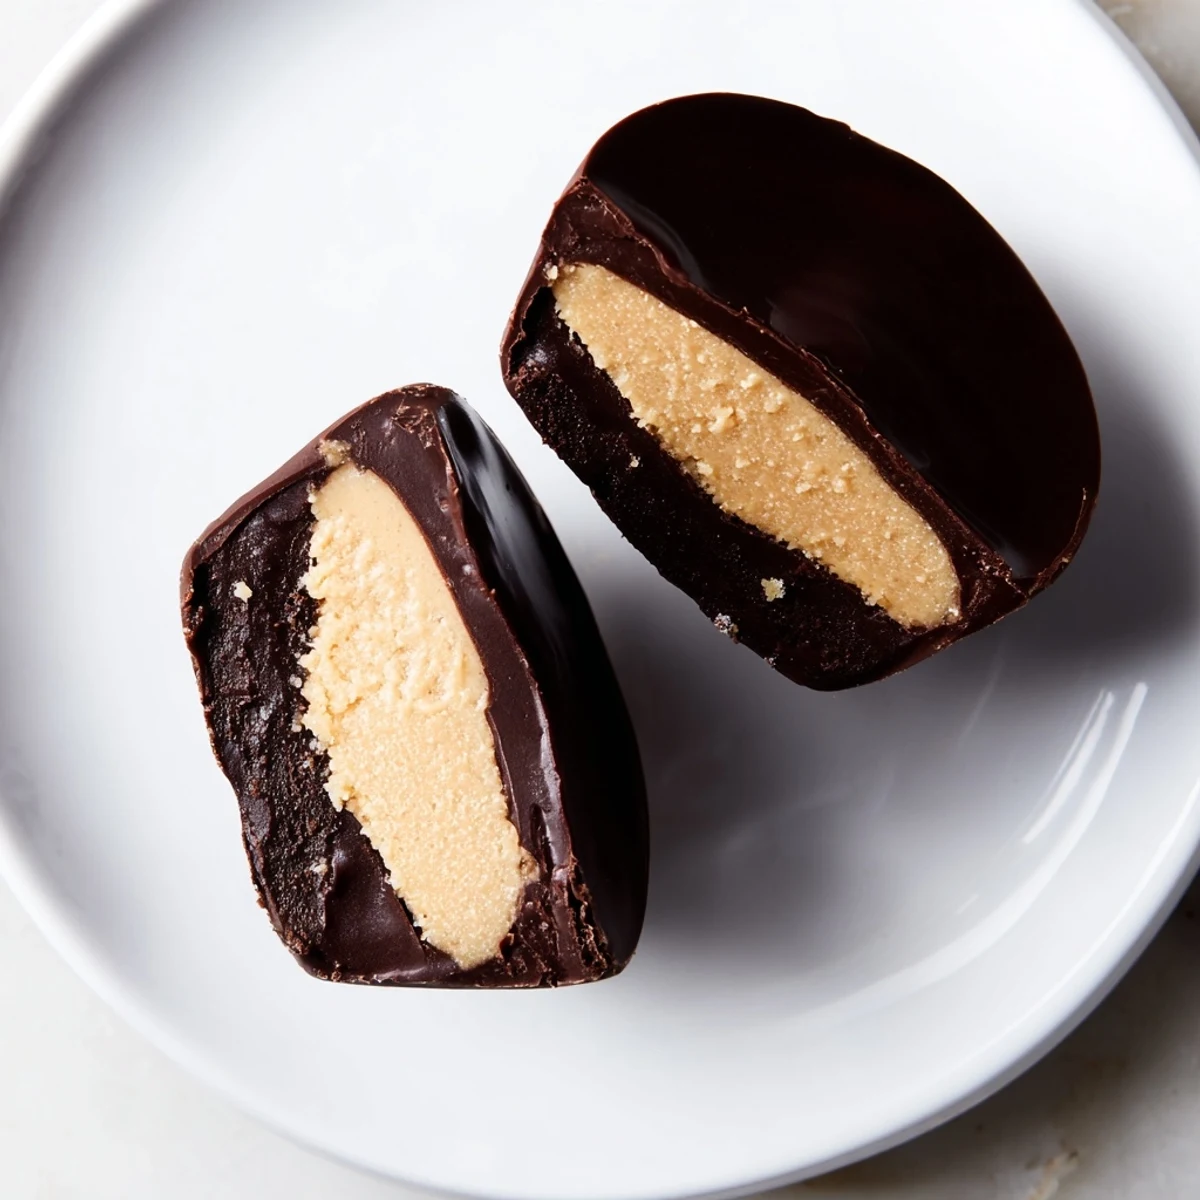
 Experience rich layers of melted chocolate surrounding a creamy peanut butter filling that melts in your mouth. These homemade cups combine semi-sweet or dark chocolate with a smooth peanut butter blend sweetened lightly with powdered sugar. Ready in under 30 minutes plus chilling, they offer a perfect balance of textures and flavors, ideal for easy preparation and sharing. Customize with crunchy peanut butter, dairy-free chocolate, or a sprinkle of sea salt for added taste. Chill until firm and enjoy a satisfying sweet bite anytime.
The first time I made these, my kitchen smelled like a chocolate shop had exploded in the best way possible. I'd been attempting to recreate those fancy candy store peanut butter cups that cost four dollars each, and honestly, these turned out even better. Now they're my go-to when I need something impressive but don't want to spend hours in the kitchen.
Last Christmas, I made triple batches and packaged them in little boxes with ribbon. My brother called me two days later asking if I'd accidentally left one batch out because he'd finished his entire box in 24 hours. There's something about homemade candy that makes people feel extra cared for, like you really went the extra mile just for them.
Ingredients
- 225 g semi-sweet or dark chocolate: I've learned that chopping a good quality bar gives smoother results than chips, but either works perfectly fine
- 1 tbsp coconut oil or butter: This tiny amount makes the chocolate coat more evenly and gives it that gorgeous snap when you bite in
- 120 g creamy peanut butter: Use the kind that stirs, not the shelf-stable stuff, for the best flavor
- 30 g powdered sugar: Essential for getting that silky texture without making the filling too sweet
- 20 g unsalted butter: Room temperature makes mixing effortless
- ¼ tsp vanilla extract: Don't skip this, it's what bridges the chocolate and peanut butter flavors
- Pinch of salt: This is the secret that makes everything taste more like itself
Instructions
- Prep your molds:
- Line a standard muffin tin with paper liners. I've learned the hard way that spraying them first makes peeling off the paper later so much easier.
- Melt the chocolate:
- Combine chocolate and coconut oil in a heatproof bowl. Use 30-second bursts in the microwave, stirring between each, until it's smooth and glossy.
- Create the bottom layer:
- Spoon about one teaspoon of chocolate into each liner, then tilt and swirl to coat the bottom evenly. Pop the tin in the freezer for exactly 10 minutes.
- Make the filling:
- While chocolate chills, mix peanut butter, powdered sugar, butter, vanilla, and salt until completely smooth. It should feel like soft dough.
- Shape and place:
- Roll the mixture into 12 small discs and press one gently onto each chocolate layer. The contrast between cold chocolate and room temperature filling is magical.
- Seal with chocolate:
- Spoon remaining chocolate over each cup, covering completely. Tap the pan firmly on the counter to level the tops and release any air bubbles.
- Chill completely:
- Refrigerate for at least 30 minutes until fully set. The waiting is the hardest part, but rushing this step leads to messy cups.
 Pin it
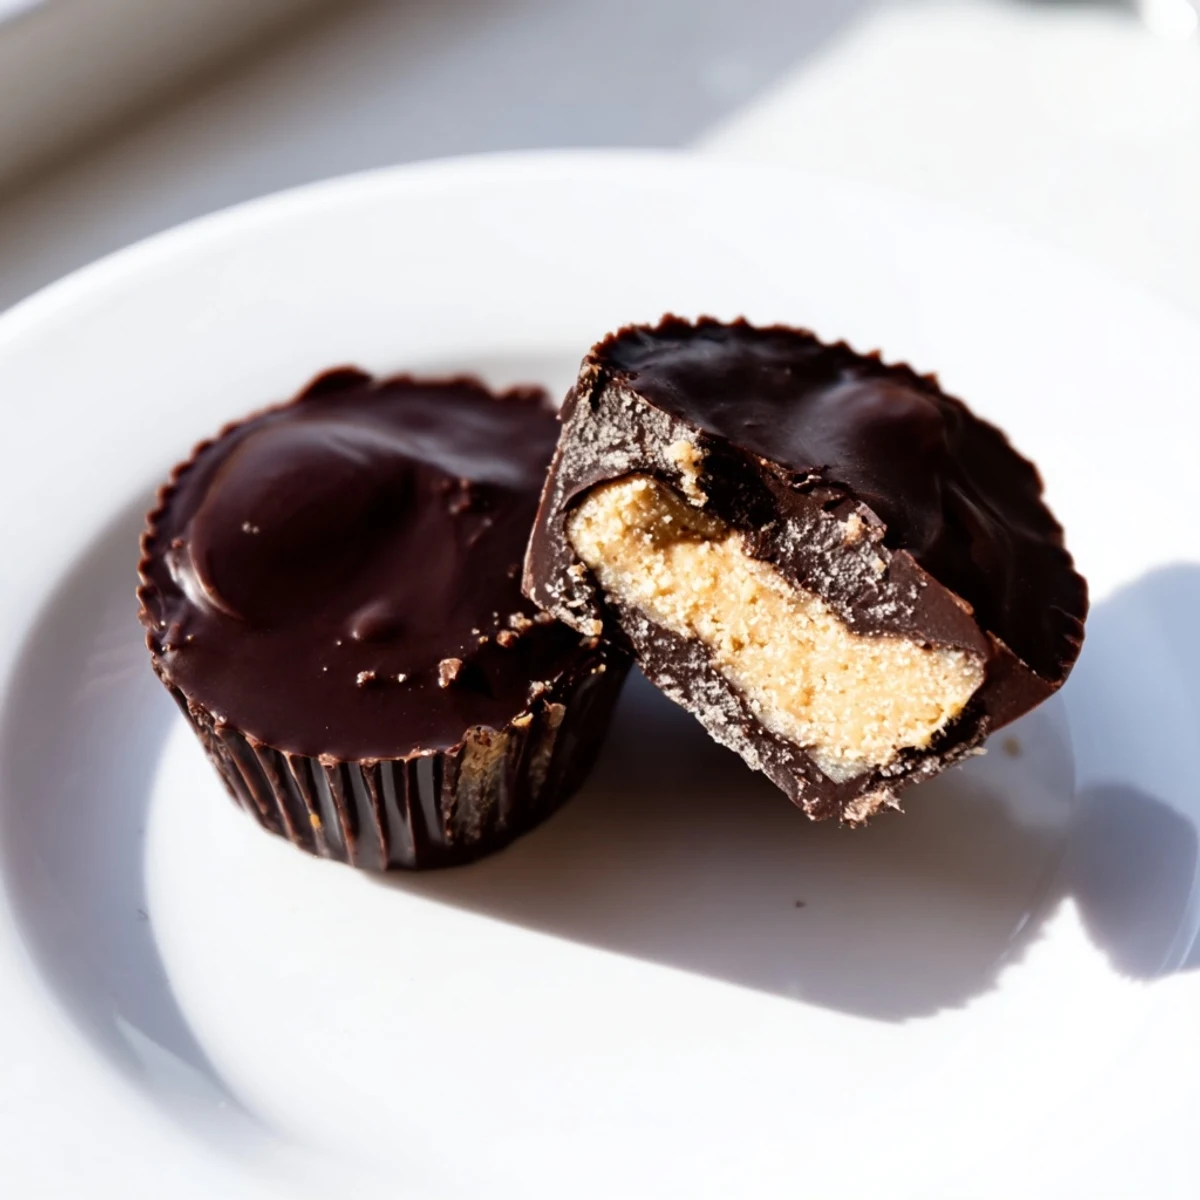
 My neighbor's daughter helped me make a batch last weekend, and she was absolutely fascinated watching the chocolate set. She kept running to the fridge every five minutes to check if they were ready, and honestly, I was doing the exact same thing. There's something deeply satisfying about watching simple ingredients transform into something so candy-store perfect.
Getting The Chocolate Just Right
I've discovered that using chocolate bars instead of chips gives a much smoother finish, especially if you chop it yourself. The pieces melt more evenly, and you won't end up with those weird chalky spots that sometimes happen with chips. Also, don't let even a drop of water near your melting chocolate, or it will seize up into a frustrating, unusable mess.
Making It Your Own
Swap in milk chocolate if you have a serious sweet tooth, or go extra dark for something more sophisticated. I've made these with almond butter and sunflower butter for friends with allergies, and they're just as delicious. A tiny pinch of flaky salt on top before chilling takes these from great to absolutely unforgettable.
Storage And Serving Tips
These keep perfectly in the fridge for a week, or freeze them for up to three months if you can manage not to eat them all first. I like to pull them out about 10 minutes before serving, so the chocolate softens slightly and the filling gets creamy again.
- Let them come to room temperature for the best texture experience
- Package them in cute boxes for an effortless homemade gift
- Keep them hidden in the back of the fridge if you want any for yourself
 Pin it
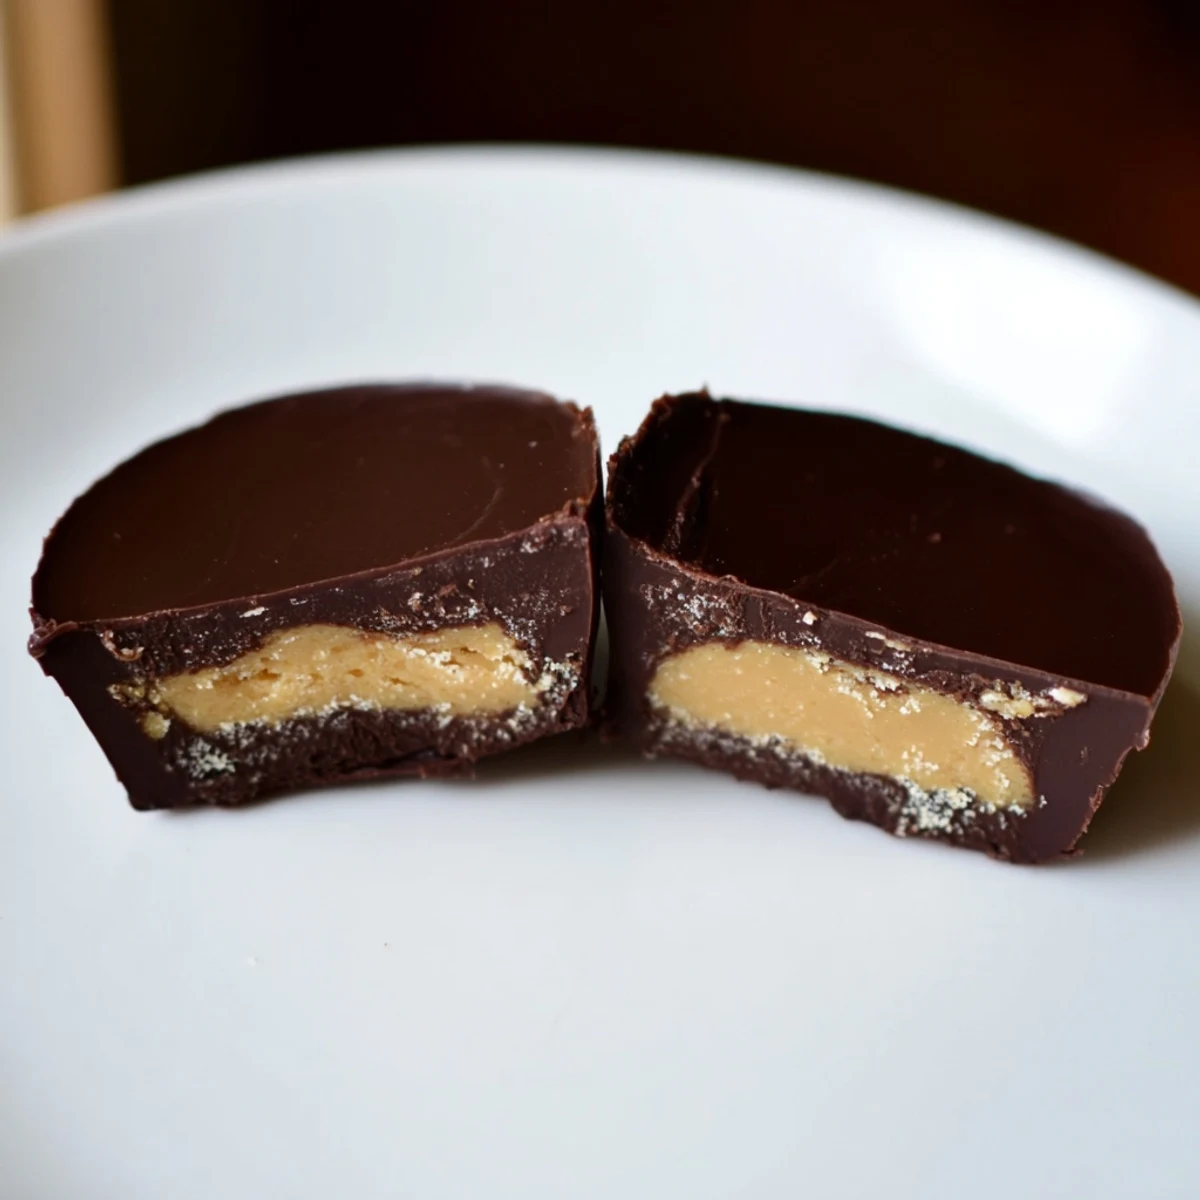
 Every time I make these, I'm reminded that sometimes the simplest homemade treats are the ones people remember most. There's pure joy in breaking through that chocolate shell and hitting the creamy peanut butter center.