 Pin it
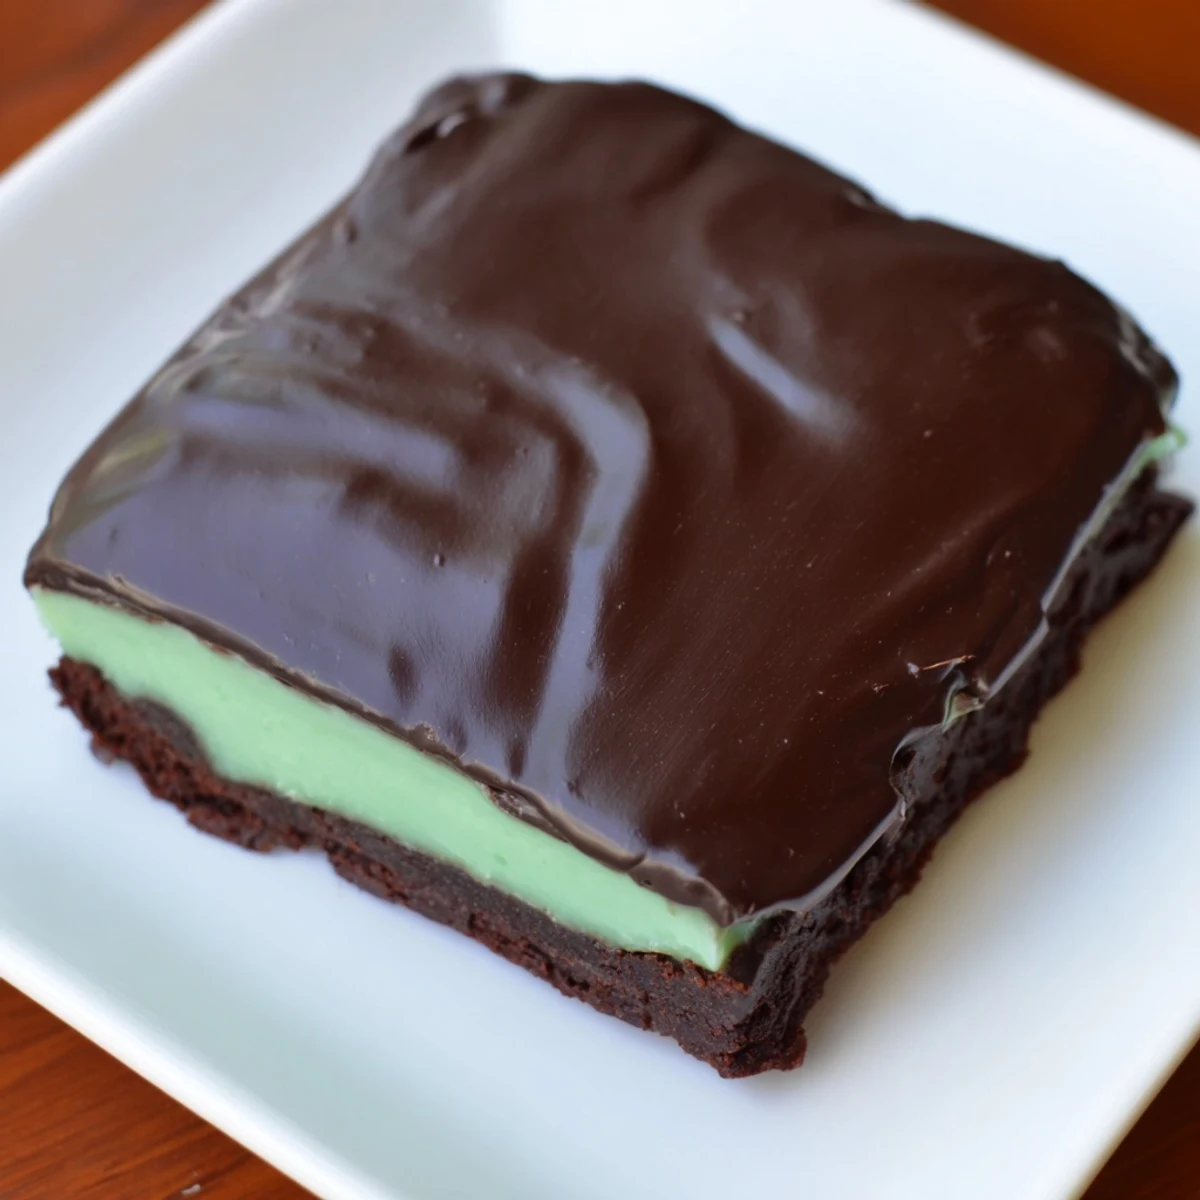
 These brownies offer a rich, fudgy base combined with a creamy peppermint layer that adds a refreshing twist. A smooth chocolate glaze crowns the dessert, balancing intense cocoa with cool mint notes. Baked to perfection and chilled for set layers, each bite delivers a smooth interplay of chocolate depth and mint freshness. Simple preparation and familiar ingredients make this layered treat a delightful ending to any meal or a special sweet snack.
My grandmother used to say that chocolate and mint were a match made in dessert heaven, but I never really understood what she meant until the winter I decided to experiment with brownies during a snow day. The house smelled incredible as everything baked, and when I pulled that first tray out of the oven, I knew I had stumbled onto something special.
I remember bringing these to a friend's dinner party last year, and honestly, I was nervous they would not turn out right after being transported. When I cut into them and saw those beautiful layers revealed, everyone gathered around the counter like I had performed magic. That night, three different people asked for the recipe, which is always the best compliment.
Ingredients
- Unsalted butter: I always use unsalted because it gives you control over the salt level, and room temperature butter blends so much more smoothly into the sugar
- Granulated sugar: This creates that perfect crackly top on brownies that everyone loves, so do not be tempted to reduce it
- Large eggs: Room temperature eggs incorporate better and help create that fudgy texture we are after
- Vanilla extract: Do not skip this even though we are using mint, it enhances the chocolate flavor beautifully
- All-purpose flour: Measure carefully because too much flour will make these cakey instead of fudgy
- Unsweetened cocoa powder: This is where all the chocolate intensity comes from, so use good quality cocoa
- Salt: Just a pinch brings out all the flavors and balances the sweetness
- Softened butter for mint layer: This needs to be genuinely soft so your cream layer becomes silky smooth without any lumps
- Powdered sugar: Sift it first to avoid any tiny lumps in your mint cream
- Peppermint extract: Start with one teaspoon and taste, you can always add more but you cannot take it back
- Green food coloring: Just a few drops gives that classic mint appearance everyone recognizes
- Semisweet chocolate chips: These melt perfectly for the glaze and provide just enough sweetness without being cloying
Instructions
- Getting your oven ready:
- Preheat to 175°C and line your square pan with parchment, letting those edges hang over like little handles that will save you later
- Making the brownie base:
- Melt the butter until it is hot and smooth, then whisk in the sugar until it is not gritty anymore before adding your eggs and vanilla
- Combining the dry ingredients:
- Sift the flour, cocoa, and salt right into the wet mixture, folding gently until you no longer see dry streaks
- Baking to perfection:
- Spread the batter evenly and bake for 22 to 25 minutes until a toothpick comes out with those moist crumbs we want
- Cooling completely:
- This is hard, but let the brownies cool completely in the pan or your mint layer will melt into a sad puddle
- Creating the mint cream:
- Beat that softened butter until it is pale and fluffy, then gradually add the powdered sugar, milk, peppermint, and food coloring
- Adding the mint layer:
- Spread the mint cream over your cooled brownies and chill for 15 minutes so it firms up enough to handle the glaze
- Making the chocolate glaze:
- Melt the chocolate chips and butter together, stirring until it is glossy and smooth like liquid velvet
- Finishing with flair:
- Pour the glaze over the mint layer and spread it gently before refrigerating for at least 30 minutes until everything is set
- Cutting and serving:
- Use those parchment overhangs to lift the whole thing out, then cut into squares with a sharp knife wiped clean between cuts
 Pin it
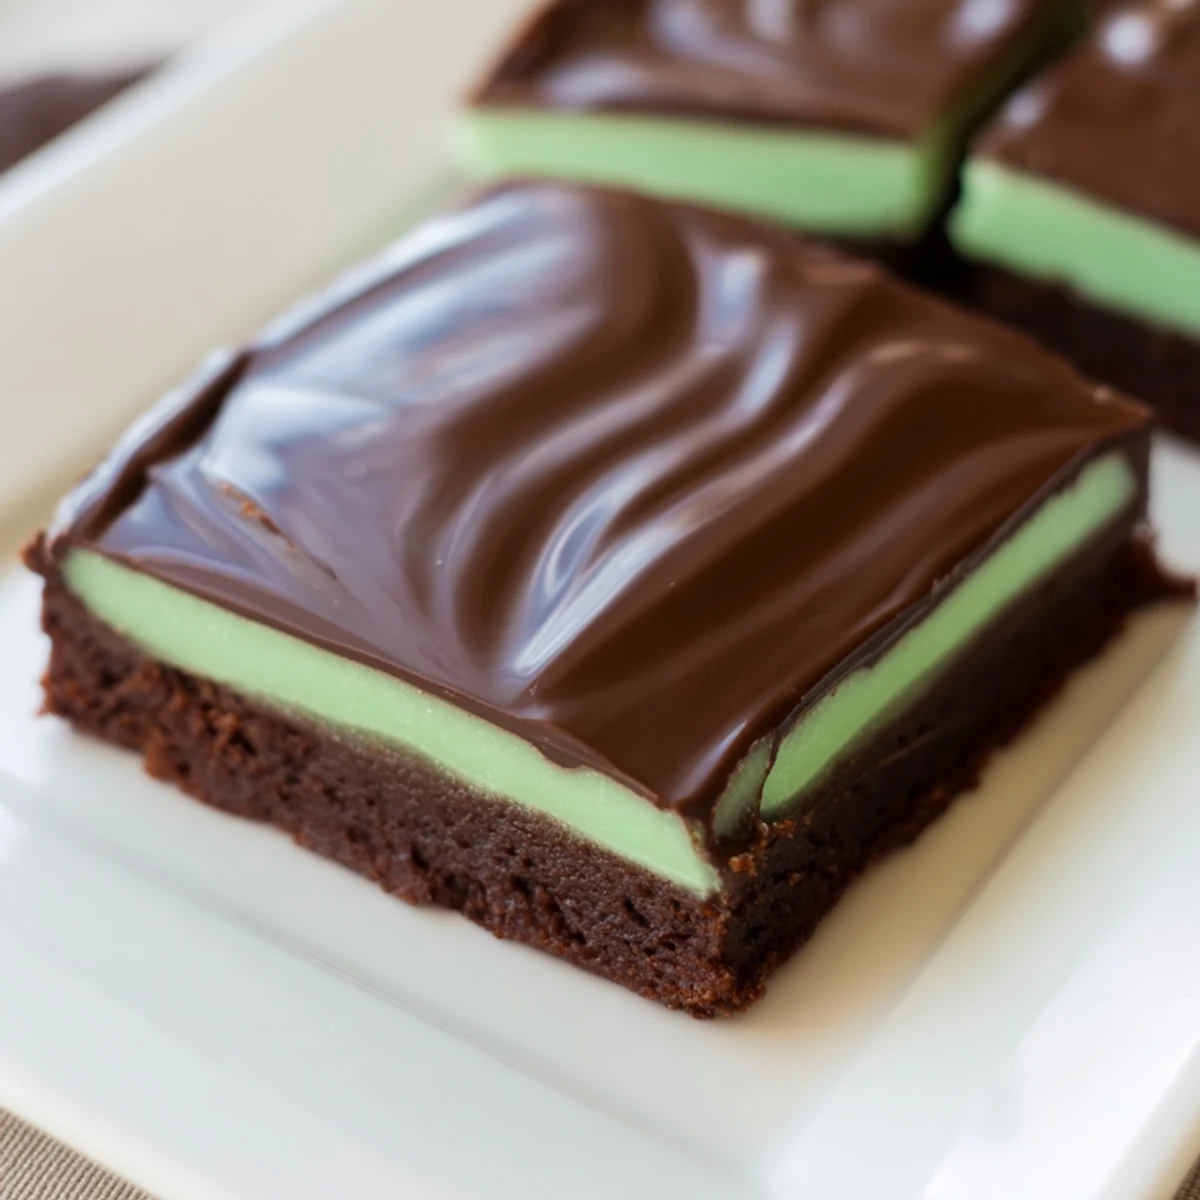
 These brownies have become my go-to whenever I need to bring something that feels impressive but does not require me to stress out in the kitchen. There is something so satisfying about cutting into those neat layers and watching people is eyes light up when they take that first bite.
Making These Your Own
Sometimes I add chopped walnuts to the brownie batter for extra crunch and texture. The nuts complement both the chocolate and mint flavors beautifully, plus they add that protein factor that somehow makes dessert feel slightly more wholesome.
Serving Suggestions
These brownies are incredibly rich on their own, so I like serving them with a simple cup of black coffee to cut through all that sweetness. A dessert wine works beautifully too if you are feeling fancy after dinner.
Storage And Make Ahead Tips
These actually get better after a day in the refrigerator as the flavors meld together. I have made them up to three days ahead, stored tightly covered, and they were still perfect when it was time to serve.
- Let the brownies sit at room temperature for about 15 minutes before serving for the best texture
- Place wax paper between layers if you need to stack them for storage
- These freeze beautifully for up to three months if you wrap them well
 Pin it
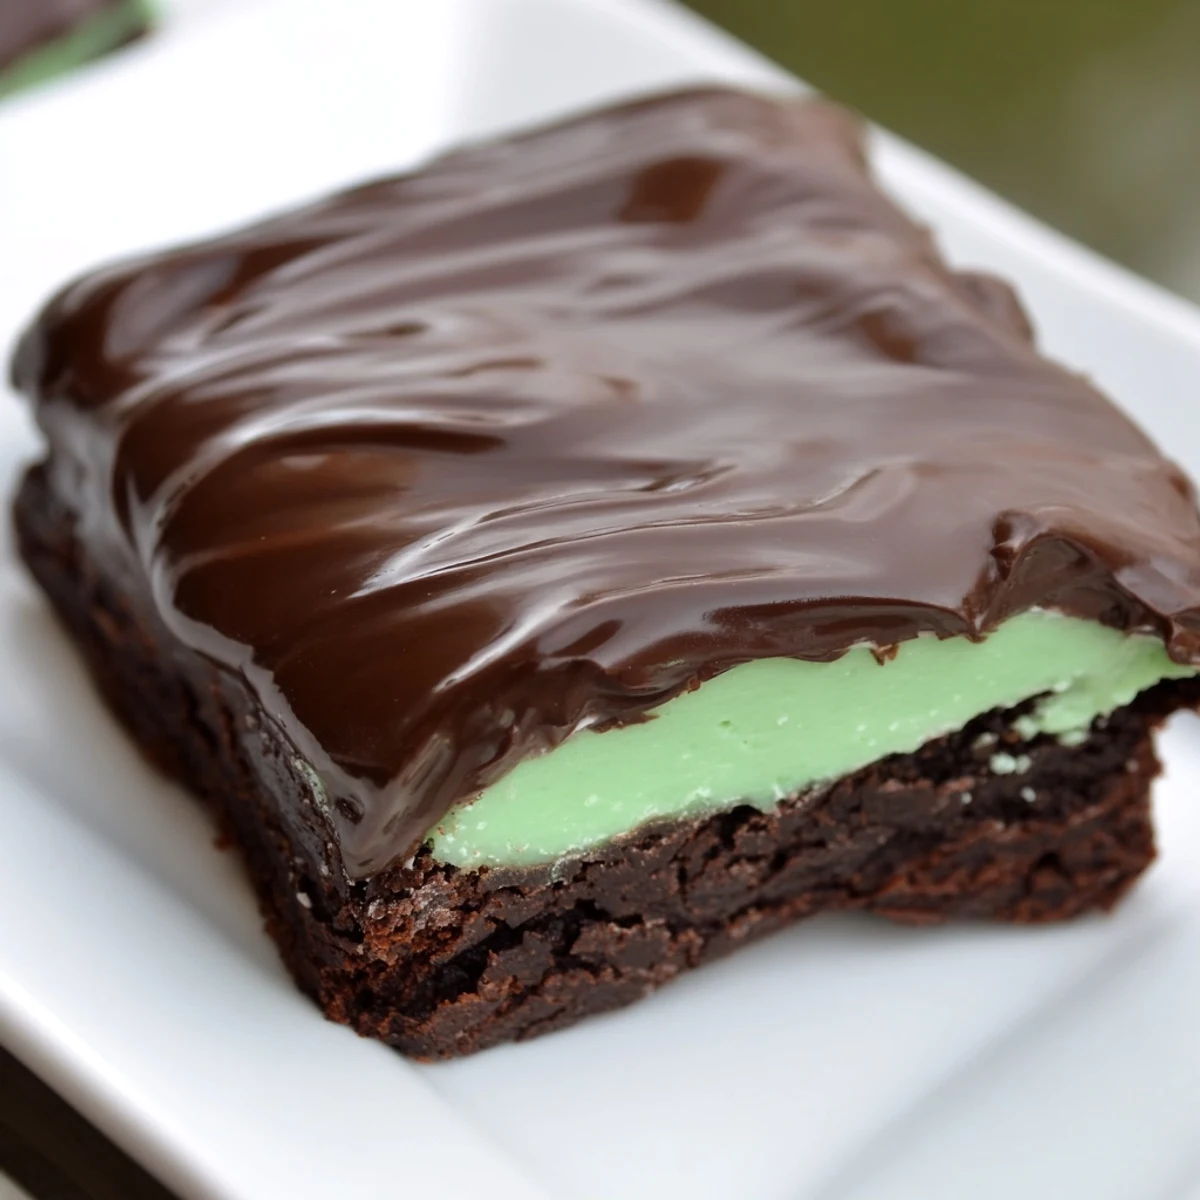
 There is something so comforting about a dessert that looks impressive but comes together with straightforward steps and ingredients you probably already have. These mint brownies have become that recipe I turn to whenever I want to make someone feel special.
Recipe FAQ
- → What type of butter is best to use?
-
Unsalted butter is recommended for better control over salt content and flavor balance.
- → Can the mint cream be made without food coloring?
-
Yes, the green color is optional; the peppermint flavor remains unchanged without coloring.
- → How do I know when the brownies are baked properly?
-
A toothpick inserted in the center should come out with moist crumbs but not wet batter.
- → Is it possible to add nuts for texture?
-
Chopped walnuts can be folded into the batter before baking to add crunch and depth.
- → How long should the glaze set before serving?
-
Refrigerate for at least 30 minutes to allow the chocolate glaze to firm up nicely.
- → Can these be stored and for how long?
-
Keep refrigerated in an airtight container for up to 4 days to maintain freshness.