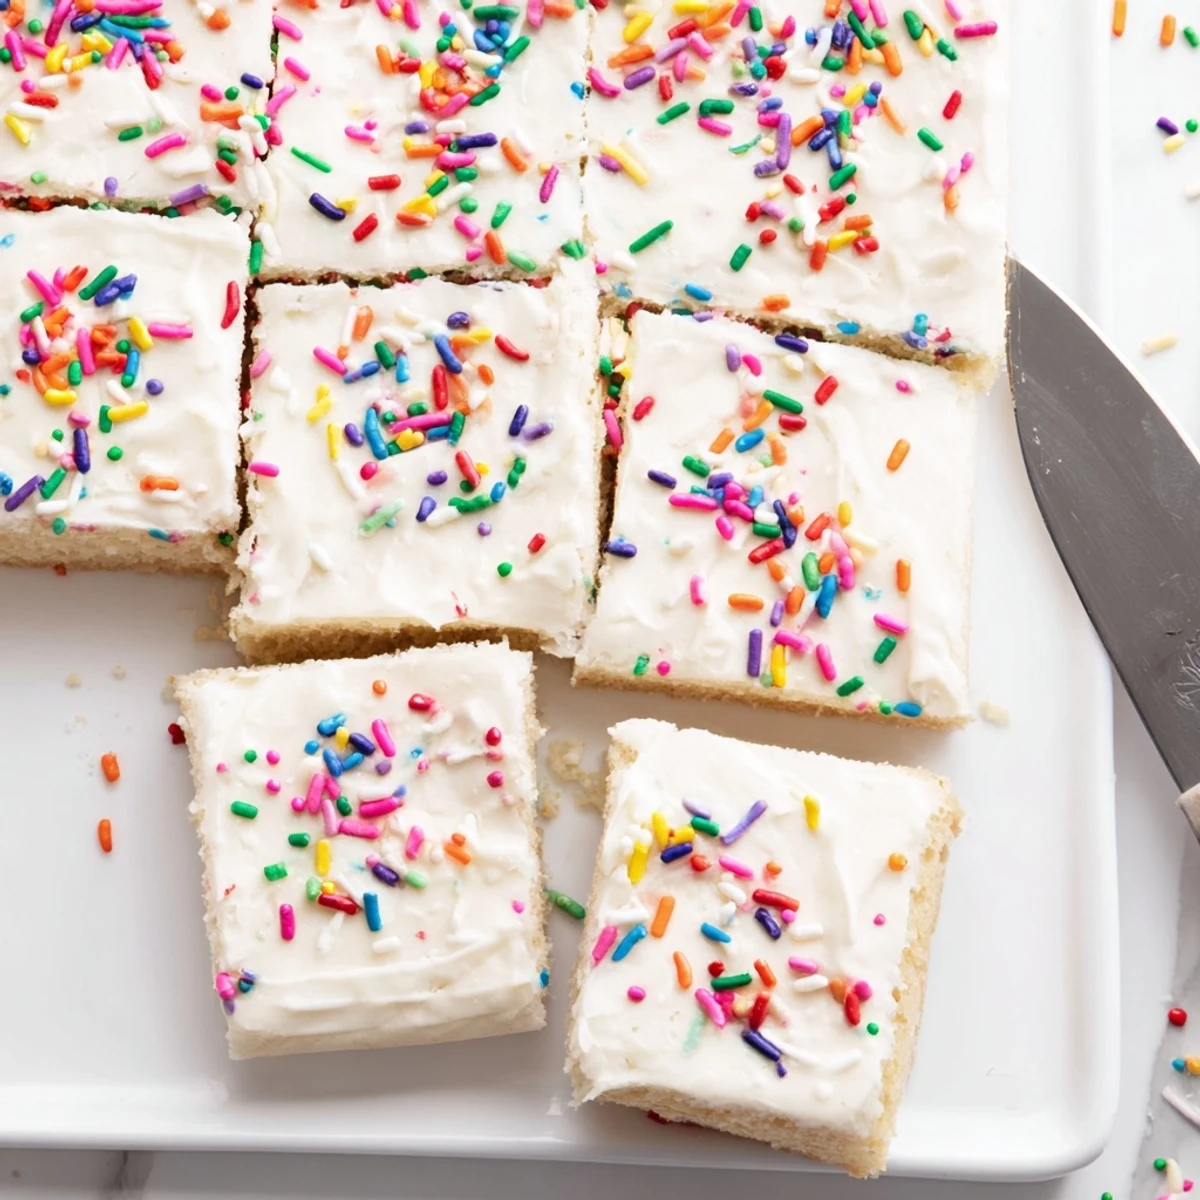
 Pin it
 These soft, buttery sugar cookie bars feature a tender crumb and are topped with luscious, creamy frosting that can be customized with any colors you like. The bars come together in just 40 minutes, making them perfect for last-minute treats, birthday parties, holidays, and any celebration that calls for something sweet.
The base uses simple pantry staples like flour, butter, sugar, and vanilla, while the frosting whips up in minutes with butter, powdered sugar, and a splash of milk. You can easily tint the frosting with food coloring or top with sprinkles for a festive touch that matches any theme.
The smell of butter creaming into sugar is one of those things that makes a kitchen feel like home, no matter whose kitchen it is. I threw these bars together on a rainy Tuesday when a birthday cake felt too ambitious but plain cookies felt too ordinary. They landed somewhere magical in between, soft and pillowy under a thick swoosh of frosting that I may have eaten off the spatula before it ever reached the pan. My friend Maria took one bite, closed her eyes, and told me I was never allowed to lose this recipe.
I made a double batch of these for a neighborhood potluck last summer and watched a six year old eat four of them before his mom noticed. The pan was empty within ten minutes, and two people texted me that night asking what sorcery I had used. There is something deeply satisfying about baking something that disappears that fast.
Ingredients
- 2 1/4 cups (280 g) all-purpose flour: This gives the bars their structure without making them dense, and spooning it into the cup instead of scooping prevents dry bars.
- 1/2 teaspoon baking powder: Just enough lift to keep things soft without turning cakey.
- 1/2 teaspoon salt: Salt is the quiet hero here, making the butter and vanilla taste more like themselves.
- 3/4 cup (170 g) unsalted butter, softened: Softened means you can press a fingerprint into it gently, not that it is melting or greasy.
- 1 cup (200 g) granulated sugar: Standard white sugar gives the clean sweetness these bars are known for.
- 1 large egg plus 1 large egg yolk: The extra yolk adds richness and chew without making the bars tough.
- 2 teaspoons pure vanilla extract: Use the real stuff here because it is the dominant flavor and imitations will taste flat.
- 1/4 cup (60 ml) whole milk: Whole milk keeps the dough spreadable and adds a gentle richness.
- Frosting butter, powdered sugar, milk, vanilla, food coloring, and sprinkles: The frosting is a simple American buttercream that whips up pillowy and sweet, ready for whatever color or sprinkle situation suits the occasion.
Instructions
- Prep your pan and oven:
- Heat the oven to 350 degrees F and line a 9 by 13 inch pan with parchment, letting the paper hang over the edges like handles so you can lift the whole slab out later.
- Whisk your dry ingredients:
- In a medium bowl, whisk the flour, baking powder, and salt together until evenly blended, then set it aside so it is ready when you need it.
- Cream butter and sugar:
- Beat the softened butter and sugar in a large bowl until the mixture looks pale and fluffy, about two to three minutes, scraping down the sides once or twice so nothing hides.
- Add eggs and vanilla:
- Drop in the whole egg, the extra yolk, and the vanilla, then beat until everything is smooth and combined.
- Incorporate flour and milk:
- On low speed, add the flour mixture and milk in alternating batches, starting and ending with the flour, and stop mixing as soon as the last streak of white disappears.
- Spread and bake:
- Press the dough evenly into the pan using an offset spatula, then bake for 18 to 22 minutes until the edges are just golden and the center still looks a little underdone.
- Cool completely:
- Leave the bars in the pan on a wire rack until they are entirely cool to the touch, because warm bars will melt your frosting into a sad puddle.
- Make and spread the frosting:
- Beat the butter until creamy, then gradually add powdered sugar, milk, and vanilla until light and fluffy, tint with food coloring if you like, and spread it over the cooled bars before adding sprinkles and slicing.
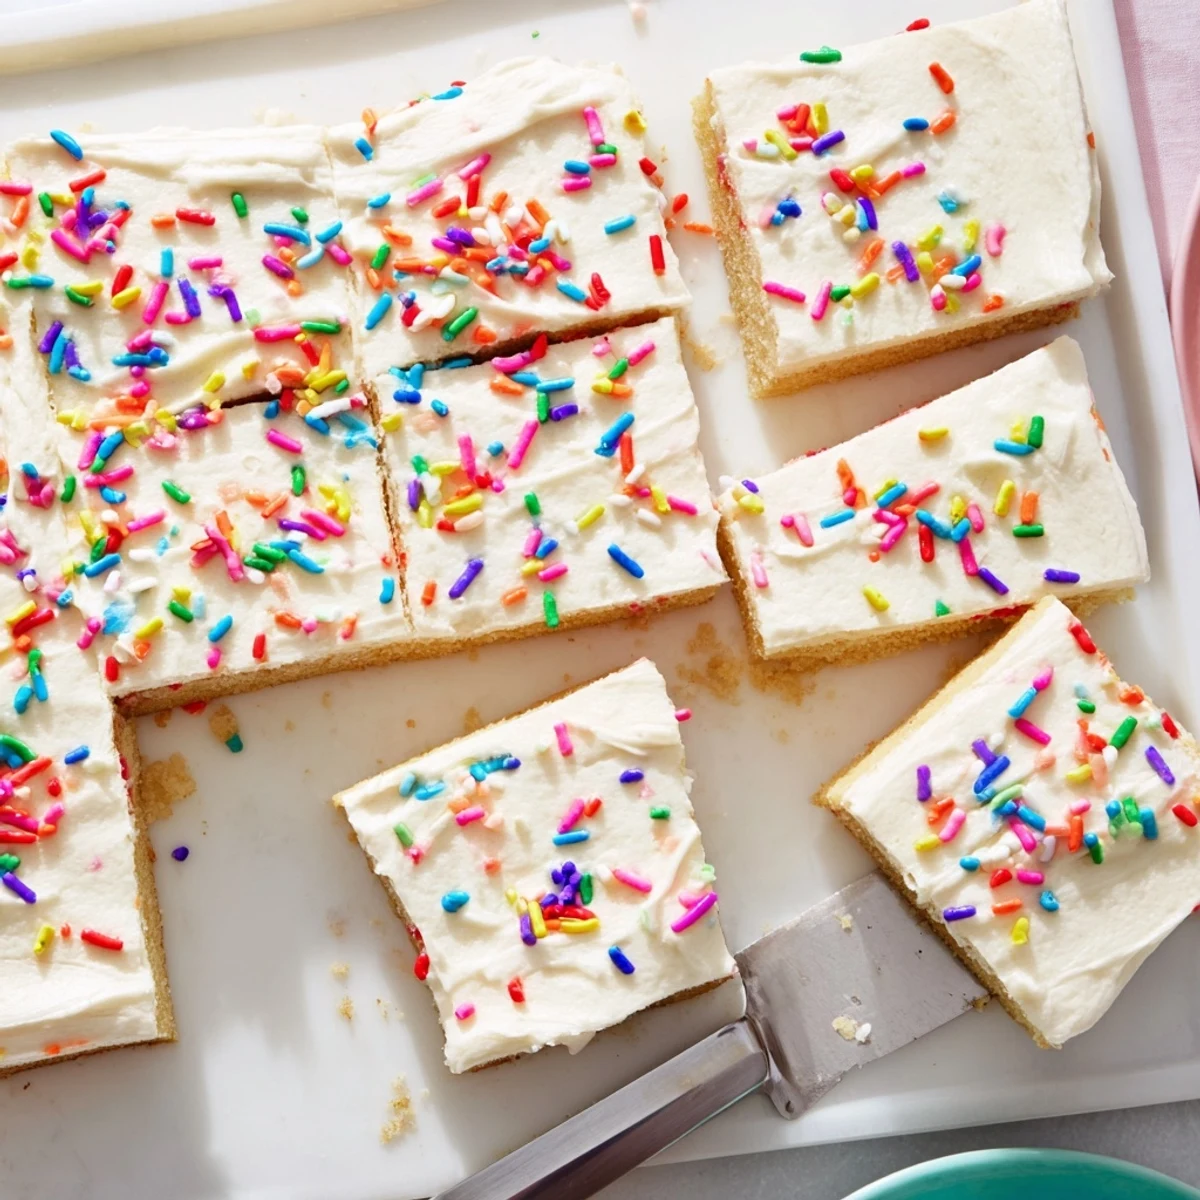 Pin it
 The moment I lifted the whole parchment slab out of the pan and set it on the counter, I realized these bars were designed for sharing. Cutting them into squares and arranging them on a plate felt like wrapping small edible gifts.
Storage and Make Ahead Tips
These bars keep beautifully in an airtight container at room temperature for up to three days, though in my experience they rarely last that long. You can bake the cookie base a day ahead and frost it the next morning, which is a lifesaver when you are prepping for a party. If you want to freeze them, do it without the frosting and thaw overnight on the counter.
Fun Variations to Try
Swap the vanilla extract in the frosting for almond or lemon extract and suddenly you have an entirely different dessert that people will swear came from a bakery. During the holidays I dye the frosting red and green and use snowflake sprinkles, and in summer a bright pink frosting with rainbow nonpareils makes them impossible to resist. You can even press chocolate chips or toffee bits into the dough before baking for extra texture.
Tools That Make This Easier
A good offset spatula is honestly the secret weapon for both spreading the dough and smoothing the frosting. Beyond that, a standard 9 by 13 pan, a couple of mixing bowls, and either a hand mixer or stand mixer will get you there without any fancy equipment.
- Parchment paper with overhanging edges is non-negotiable if you want clean removal.
- A wire rack underneath the pan speeds up cooling significantly.
- An electric mixer saves your arm from the effort of creaming butter by hand.
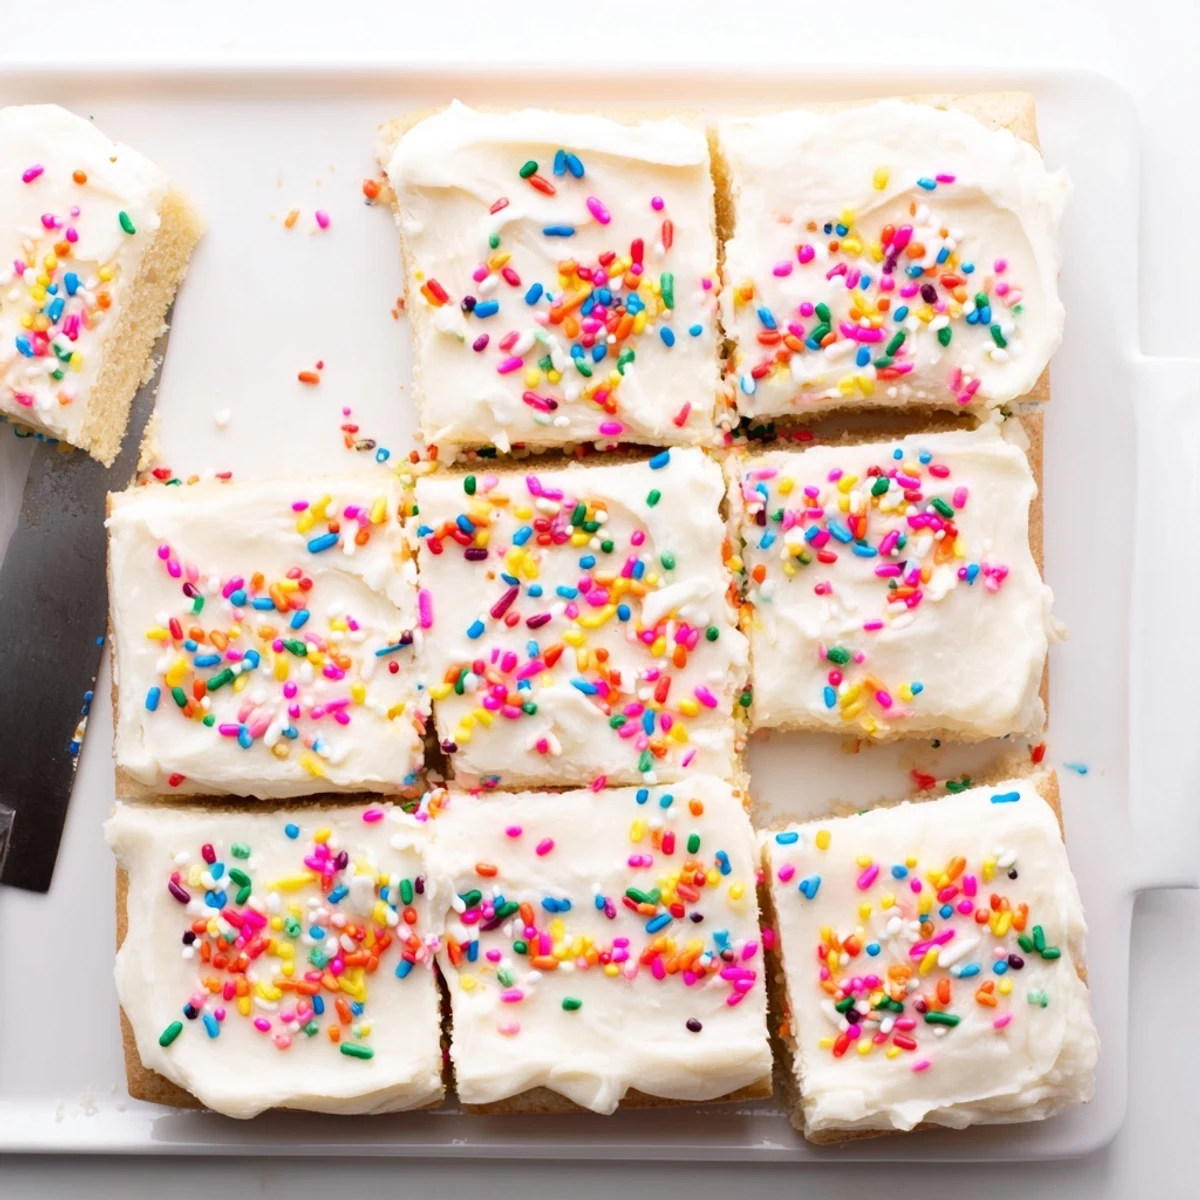 Pin it
 Every time I make these bars, someone asks for the recipe, and I always smile because the secret is how wonderfully simple they are. Bake them once and they will become your go-to for every celebration, potluck, and random Tuesday that deserves something sweet.
Recipe FAQ
- → How should I store these frosted cookie bars?
-
Store the bars in an airtight container at room temperature for up to 3 days. If you need to keep them longer, they can be refrigerated for up to a week, though bringing them to room temperature before serving gives the best texture. The bars can also be frozen unfrosted for up to 3 months.
- → Can I make these bars dairy-free?
-
Yes, you can substitute plant-based butter and dairy-free milk for both the cookie base and frosting. Look for a butter alternative that bakes well, such as those specifically designed for baking. The texture may vary slightly but will still be delicious.
- → How do I know when the bars are done baking?
-
The bars are done when the edges are lightly golden and a toothpick inserted into the center comes out with moist crumbs, not wet batter. Avoid overbaking, as this will dry out the bars. They should still feel slightly soft to the touch when you remove them from the oven.
- → Can I add different flavors to the frosting?
-
Absolutely! While vanilla is classic, you can substitute almond extract, lemon extract, or even coconut extract for the vanilla in the frosting. You can also add melted chocolate, fruit zest, or cocoa powder to create different flavor variations.
- → What size pan should I use?
-
A 9x13-inch baking pan is ideal for this recipe, yielding about 16 bars. If you use a different size pan, the baking time may need to be adjusted. A smaller pan will result in thicker bars that need more time, while a larger pan will make thinner bars that bake faster.
- → Can I make the bars ahead of time?
-
You can bake the bars up to 2 days ahead and store them unfrosted in an airtight container. Frost them the day you plan to serve for the freshest taste and appearance. The bars also freeze well unfrosted—just thaw completely before frosting and serving.