
 Pin it
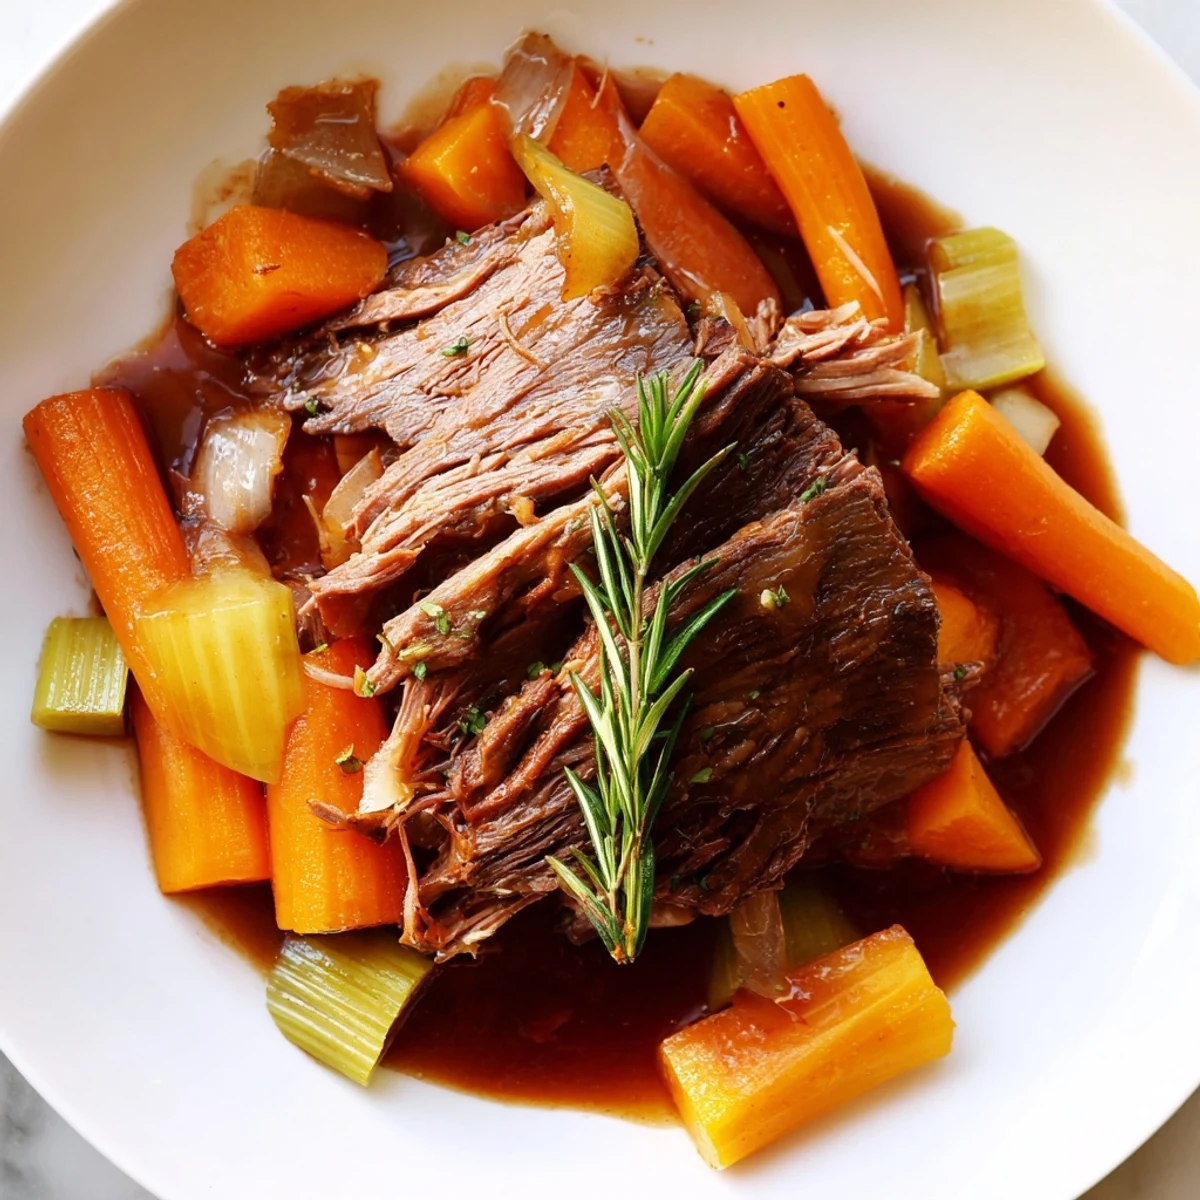
 This classic American pot roast features a generously seasoned beef chuck seared to a deep mahogany crust, then slow-braised for three hours in a fragrant bath of red wine, beef broth, and aromatics.
The low-and-slow oven method transforms the tough cut into something impossibly tender, while carrots, celery, and onions soak up all those rich pan juices. Tomato paste adds body, and fresh rosemary with thyme layers in earthy, herbal depth.
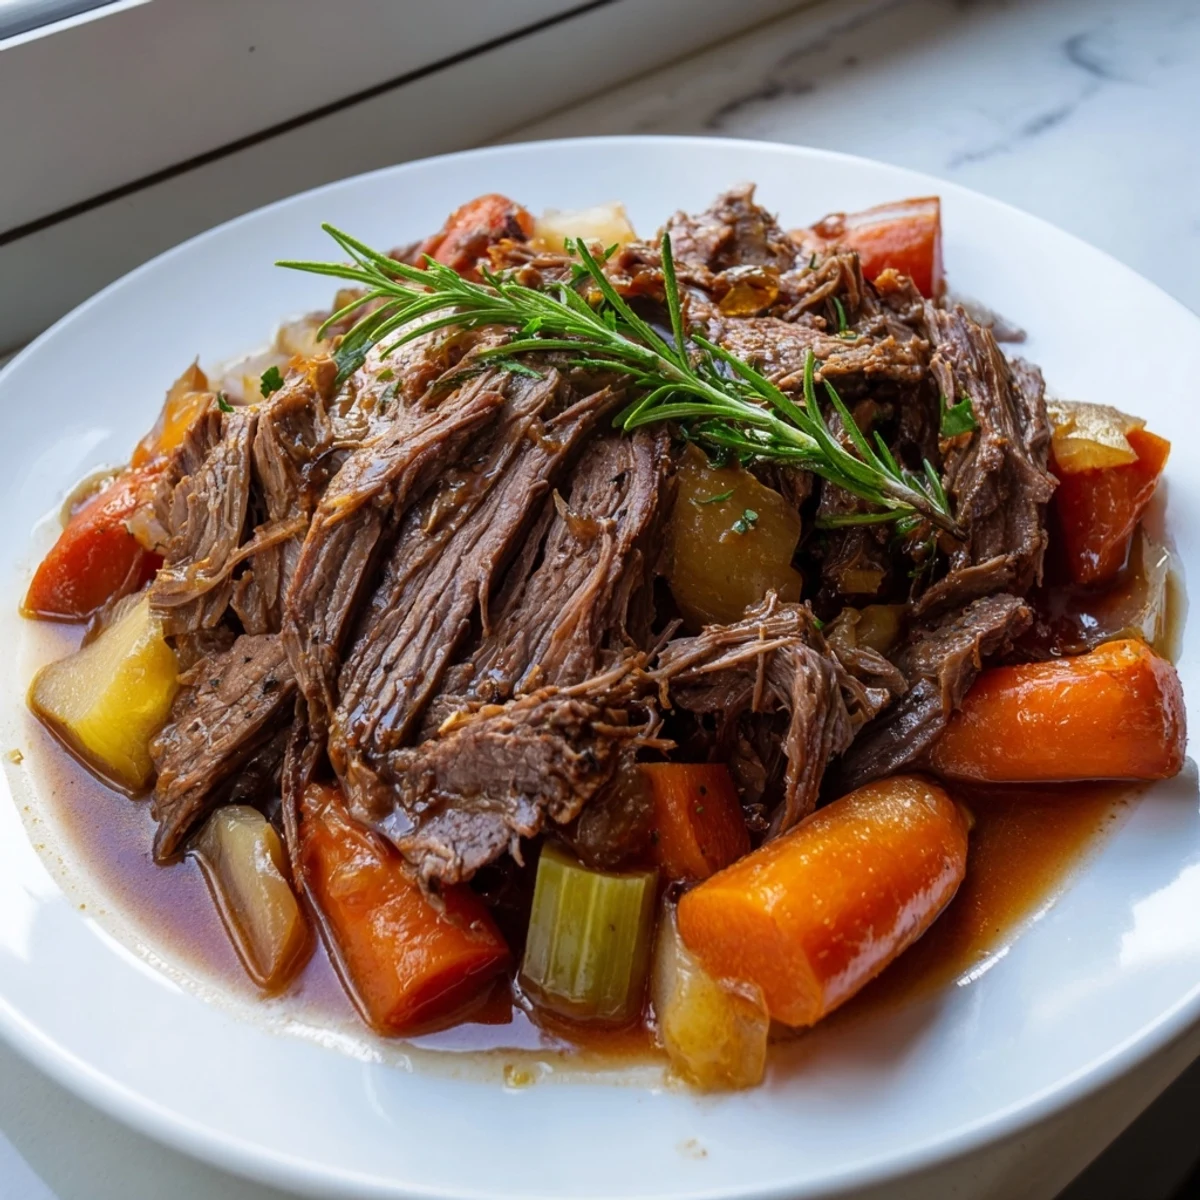
Serve the sliced or shredded beef alongside the soft vegetables with plenty of the braising liquid spooned over the top for a meal that tastes like it took all day — because it did, and it's worth every minute.
The screen door slammed and my grandmother looked up from the stove, wooden spoon in hand, and said dinner would not be ready for another two hours so I had better be patient. That patience, I eventually learned, was the entire secret. The smell that filled her small kitchen on Sunday afternoons was something no restaurant has ever replicated: deep, savory, unapologetically slow.
One January evening my car got stuck in the driveway during a snowstorm and my only plan became making this roast while the world outside went quiet. Three hours later, the driveway was still buried, but nobody in my house cared even slightly.
Ingredients
- 1 (3 to 4 lb) beef chuck roast: Chuck is the only cut I trust here because the marbling breaks down into pure tenderness over a long braise.
- 3 large carrots, peeled and cut into large pieces: Cut them thick so they hold their shape and soak up flavor without turning to mush.
- 3 celery stalks, cut into chunks: These disappear into the broth and give it a savory backbone you will miss if you skip them.
- 1 large yellow onion, quartered: Quartered pieces caramelize in the pot and create a natural sweetness.
- 3 to 4 cloves garlic, smashed: Smashing rather than mincing lets the garlic release flavor slowly without burning.
- 2 cups beef broth: Check the label for gluten free certification if that matters to you.
- 1 cup dry red wine (optional): A Cabernet or Merlot works wonders, but extra broth works fine too if you prefer to skip alcohol.
- 2 tablespoons tomato paste: This small amount deepens the color and adds a subtle richness most people cannot quite identify.
- 2 teaspoons kosher salt: Season generously because the long cooking time mellows the saltiness.
- 1 teaspoon freshly ground black pepper: Freshly ground makes a real difference here.
- 1 teaspoon dried thyme: Thyme and beef are old friends and this pairing proves it.
- 2 sprigs fresh rosemary: Whole sprigs are easy to fish out before serving.
- 2 bay leaves: Do not forget to remove these before serving because biting into one is deeply unpleasant.
- 2 tablespoons olive oil: Just enough to get a hard sear on the meat.
Instructions
- Crank the oven low and slow:
- Set your oven to 300 degrees Fahrenheit and let it come to temperature while you prep. Low heat is what turns a tough piece of chuck into something magical.
- Dry and season the roast:
- Pat the chuck roast thoroughly dry with paper towels, then coat all sides generously with kosher salt and pepper. Wet meat will steam instead of sear and you deserve a proper crust.
- Build that crust:
- Heat olive oil in a large Dutch oven over medium high heat until it shimmers, then lay the roast in and do not touch it for four to five minutes per side. A deep brown sear is the foundation of every good pan sauce that follows.
- Wake up the vegetables:
- Transfer the roast to a plate and drop in the onions, carrots, and celery, stirring until they pick up some color. Add the smashed garlic and tomato paste, stirring for about a minute until everything smells incredible.
- Deglaze the pot:
- Pour in the red wine and scrape the bottom with your spoon to loosen every last browned bit stuck to the pot. Let it bubble for two to three minutes so the alcohol cooks off and the liquid reduces slightly.
- Bring it all together:
- Nestle the roast back into the pot, pour in the beef broth, and tuck in the thyme, rosemary, and bay leaves. Bring everything to a gentle simmer on the stovetop, then clamp on the lid tight.
- Let time do the work:
- Transfer the covered pot to the oven and walk away for three hours. The roast is ready when a fork slides in and out with zero resistance and the vegetables are meltingly soft.
- Finish and serve:
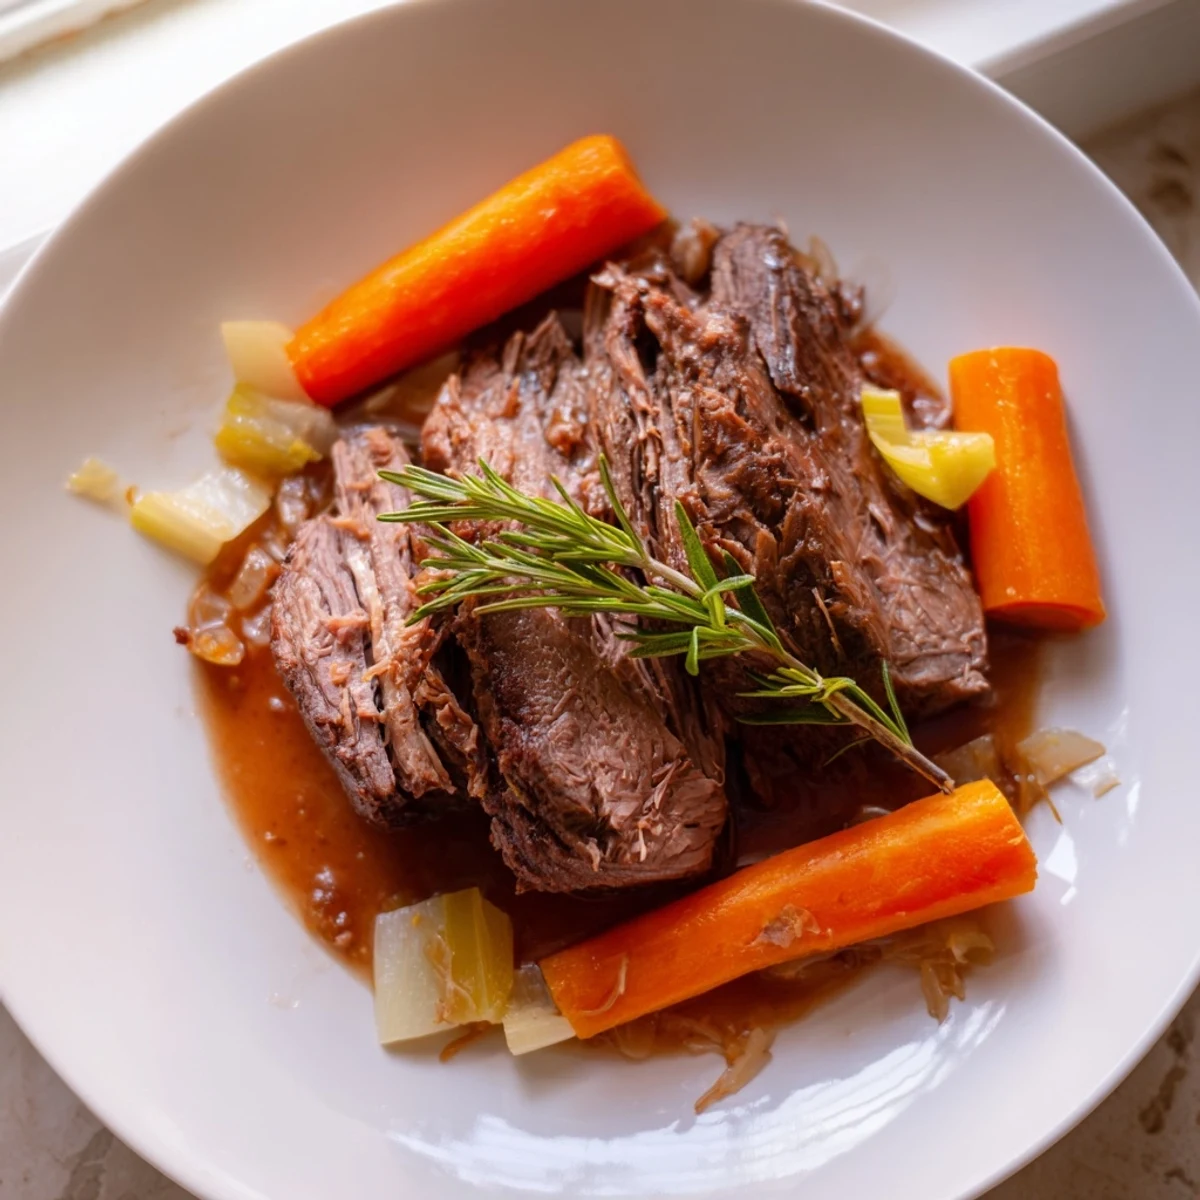
- Remove the pot from the oven, discard the bay leaves and herb stems, then slice or shred the beef right in the juices. Spoon the vegetables and pan juices generously over each portion.
 Pin it
 There was a Tuesday when I made this for no special reason, set it on the table with bread and butter, and my teenager put down his phone for twenty straight minutes. That is the real yield of this recipe and no nutritional label can measure it.
Choosing the Right Cut of Beef
Chuck roast is the gold standard because it has the right balance of fat and connective tissue that breaks down during a braise. I once tried this with a lean round roast thinking I was being clever, and the result was dry and stringy despite following every other step perfectly. Go to the butcher counter, ask for chuck, and do not overthink it. A well marbled piece with some white streaking throughout will give you the best results every single time.
What to Serve Alongside
Mashed potatoes are the obvious and correct answer because they give you something to soak up every drop of those pan juices. Buttery egg noodles work beautifully too, or a loaf of crusty bread for tearing and dipping. If you want greens, roasted Brussels sprouts or a simple bitter salad with vinaigrette cut through the richness nicely.
Making It Your Own
This recipe is a framework that welcomes improvisation once you understand the basic technique. Toss in a few parsnips or cubed potatoes during the last hour and they will become the best part of the meal.
- Leftovers shred beautifully into soup the next day with extra broth and a handful of kale.
- The pan juices make an incredible base for gravy if you reduce them with a little butter.
- Always let the roast rest for ten minutes before slicing so the juices redistribute properly.
 Pin it
 Some recipes feed people and some recipes gather them, and this one has always done both for me. Make it on a day when you have nowhere else to be.
Recipe FAQ
- → What cut of beef works best for pot roast?
-
Beef chuck roast is the ideal choice. It has excellent marbling and connective tissue that break down during long, slow cooking, resulting in that coveted fork-tender texture. Chuck shoulder or arm roast are also great alternatives.
- → Can I make pot roast without red wine?
-
Absolutely. Simply substitute the wine with an additional cup of beef broth. The dish will still develop deep, rich flavors from the tomato paste, herbs, and the long braise. For a hint of acidity, a splash of balsamic vinegar can mimic what the wine contributes.
- → Why do I need to sear the roast before braising?
-
Searing creates a Maillard reaction on the meat's surface, building a complex layer of caramelized flavor that infuses the entire dish during braising. Those browned bits left in the pot — called fond — are concentrated flavor that gets lifted when you deglaze with wine.
- → Can I add potatoes to the pot roast?
-
Yes, adding quartered Yukon Gold or red potatoes during the last 1.5 to 2 hours of cooking works beautifully. They absorb the savory braising liquid and round out the meal. Root vegetables like parsnips and turnips are also excellent additions.
- → How do I store and reheat leftover pot roast?
-
Store the beef and vegetables in their braising liquid in an airtight container in the refrigerator for up to 4 days. Reheat gently in a covered pot on the stovetop over medium-low heat. The leftovers often taste even better as the flavors continue to meld. Shredded leftovers also make excellent sandwiches or soup additions.
- → Why is my pot roast tough instead of tender?
-
Toughness almost always means the roast needs more time. Chuck roast requires patience — it typically hits a tender zone after 3 hours at 300°F. If it's still resistant, cover it and return it to the oven for another 30 to 60 minutes. The connective tissue needs sufficient time to break down into gelatin.